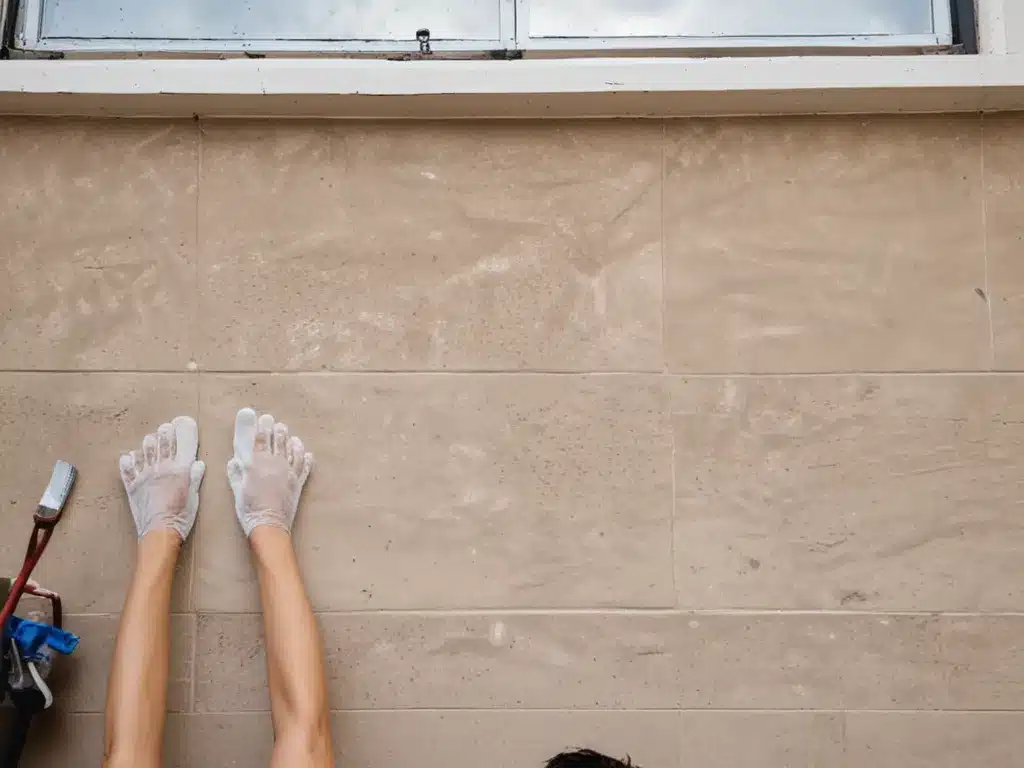
Why Wash Walls from Top to Bottom
Washing walls from top to bottom makes the most sense for a few key reasons:
Prevents Drips and Streaks
When you wash walls from top to bottom, gravity works in your favor. As you work your way down, excess water and soap drip down onto lower sections that you haven’t cleaned yet. This prevents drips and streaks from developing on already cleaned lower areas. If you wash bottom to top, drips can stain cleaned lower sections.
Loosens Dirt and Grime
Washing top down helps loosen baked-on dirt, dust, and grime as you work your way down. By the time you get to the bottom sections, the water has had time to penetrate and soften the layers of grease and grime that have built up over time. This makes scrubbing the lower walls much easier.
Easier to Reach Higher Sections
It’s easier to reach and exert pressure on higher wall sections before your arms get tired. By starting at the top, you can thoroughly wash and scrub upper areas. This ensures the entire wall surface gets cleaned, not just the lower portions.
Supplies Needed
To wash walls top to bottom, you’ll need:
-
Bucket – Use two buckets, one for clean rinse water and one for the cleaning solution.
-
Sponge or rag mop – Use a large sponge with an extendable handle or a rag mop designed for walls.
-
Dust mask – Wear a mask to avoid breathing in dust and particles.
-
Stepladder – Have a sturdy stepladder ready to reach high areas.
-
Mild detergent – Use a small amount of mild dish soap or detergent in the wash water.
-
Scrub brush – Have a scrub brush for tougher grease spots.
-
Squeegee – Use a squeegee to wipe excess drips at the bottom.
-
Microfiber cloths – Have clean cloths ready to dry walls when done.
Step-By-Step Process
Follow these steps for washing walls top to bottom:
1. Dust Walls
Use a microfiber cloth to dust picture frames, wall hangings, and the entire wall surface. This removes loose dust and debris before washing.
2. Fill Bucket with Warm Water and Detergent
Fill a bucket with warm water and add a small amount of mild detergent. Use another bucket for clean rinse water.
3. Start at the Top
Use a stepladder to reach the top sections. Dip the sponge mop or rag mop in the soap solution and wring out excess.
4. Wash in Sections
Wash in 3-4 foot sections, working side to side and then down. Scrub gently and rinse often in clean water bucket.
5. Work Down Systematically
Continue washing in sections, working your way down the wall. Let gravity help drips work cleaning solution lower.
6. Spot Clean Stubborn Areas
Use a scrub brush and concentrated detergent on grease spots or baked on splatters. Avoid excessive scrubbing.
7. Rinse Walls Thoroughly
Use clean water to rinse each section after washing. Change rinse water often to prevent streaking.
8. Squeegee Bottom Drips
Use a squeegee on an angle to wipe excess drips at the bottom before they stain.
9. Wipe and Dry Walls
Use a clean microfiber cloth to wipe entire wall surface. Allow walls to fully air dry.
Tips for Top-Down Wall Washing
-
Wash walls before washing ceilings to avoid drips staining freshly cleaned walls.
-
Work in the shade or on overcast days so walls don’t dry too quickly.
-
Ventilate the room by opening windows to allow moisture to escape.
-
Avoid excessive scrubbing and rubbing to prevent damaging the wall surface.
-
For heavily soiled walls, consider lightly sanding and priming before washing.
-
Test cleaning solutions on an inconspicuous spot first to check for damage or discoloration.
Washing walls from the top down takes a bit more time and effort but prevents drips, eases cleaning, and ensures the entire wall surface gets cleaned evenly. The end result is walls that look freshly painted!


