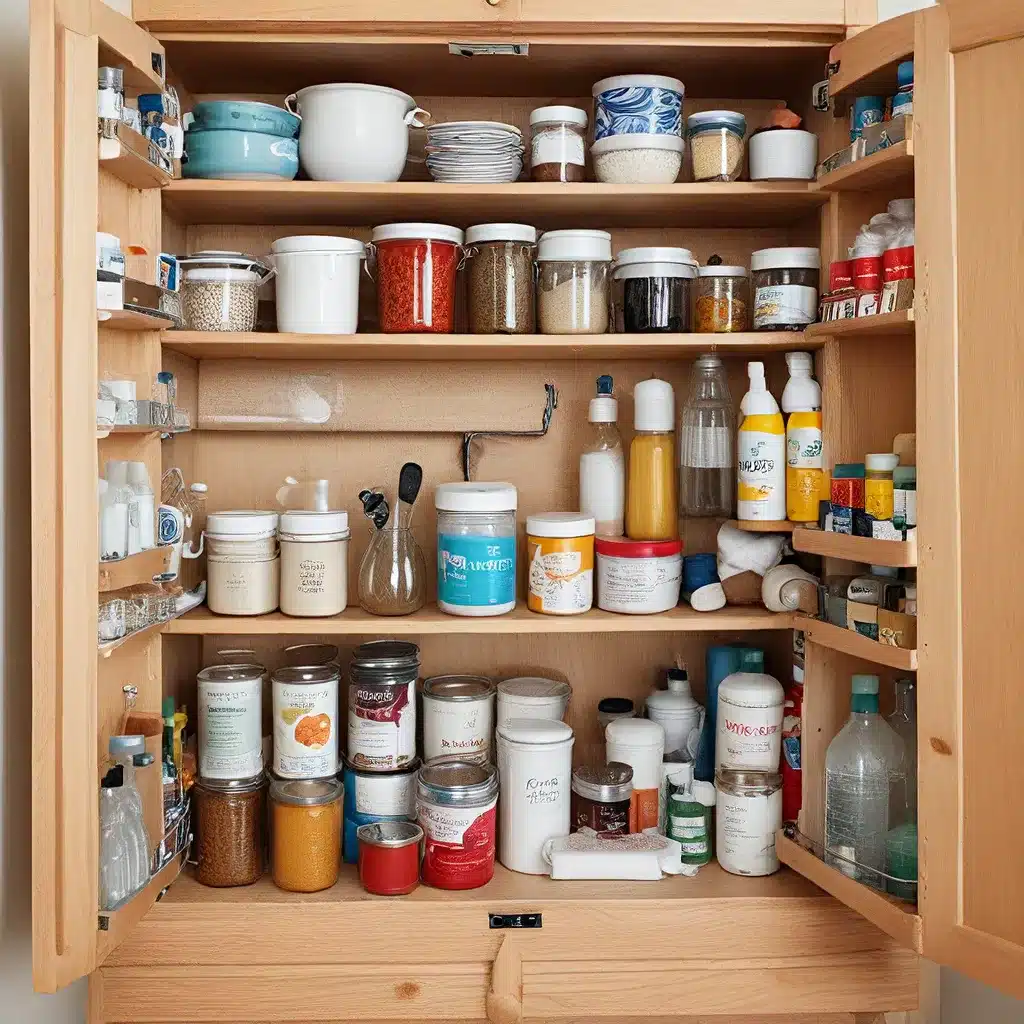
Have you ever stared at your kitchen cabinets, grimacing at the fingerprints, smudges, and dust that seem to accumulate on them like clockwork? I hear you, my friend. When we renovated our kitchen a few months ago and installed these gorgeous, dark cabinets, I was both thrilled and terrified. On one hand, I loved the sleek, sophisticated look they brought to the space. But on the other, I knew keeping them clean would be a constant battle.
Searching for an Effective, Affordable Solution
As someone who takes great pride in maintaining a tidy home, I was determined to find a foolproof way to keep those cabinets looking their best. I scoured the internet, read countless blog posts, and even enlisted the help of my mom – who we jokingly refer to as the “cleaning doctorate” due to her unparalleled expertise.
After trial and error, we landed on a simple, all-natural DIY solution that has become a game-changer. The best part? It uses common household ingredients you likely already have in your cupboard. No harsh chemicals, no complicated steps – just an effective way to tackle those pesky smudges and fingerprints.
The Magic Cleaning Mixture
The secret recipe? A combination of white distilled vinegar, warm water, and a hint of dish soap, all mixed together in a spray bottle. That’s it! This unassuming trio packs a powerful punch when it comes to cutting through grime and restoring that pristine, just-cleaned look.
I know what you might be thinking – vinegar and water, really? Isn’t that kind of…basic? Well, my friend, sometimes the simplest solutions are the most effective. And let me tell you, this method has transformed the way I approach cleaning my cabinets (and so many other surfaces around the house).
The Step-by-Step Process
Here’s how it works:
-
Mix the Solution: In a clean spray bottle, combine 1 part white distilled vinegar, 1 part warm water, and a small squirt of dish soap. Give it a good shake to blend everything together.
-
Prep the Cloth: Grab a fresh, clean microfiber cloth. It’s important to use a microfiber because it won’t leave behind any pesky lint or fibers, which could potentially scratch your precious cabinets.
-
Spray and Wipe: Lightly mist the solution onto the microfiber cloth, rather than spraying it directly onto the cabinet surface. This helps to control the amount of liquid you’re using. Then, gently wipe down the cabinet, paying special attention to areas with stubborn fingerprints or smudges.
-
Buff it Out: Once you’ve tackled the entire surface, go back over it with a clean, dry microfiber cloth to buff away any remaining moisture and ensure a streak-free finish.
The great thing about this method is that it works on cabinets of all colors and materials, not just dark ones. I’ve used it on our wood cabinets, our laminate ones, and even on our white doors and frames. It’s a true multi-purpose wonder!
Put It to the Test
Of course, before unleashing this solution on your beloved cabinets, I always recommend doing a spot test, even if it’s just on the inside of a cabinet door. This will ensure the mixture doesn’t cause any discoloration or damage. And if you have any doubts, err on the side of caution and consult a professional cleaning service for guidance.
But in my experience, this DIY cabinet cleaner has been an absolute lifesaver. It’s affordable, effective, and couldn’t be simpler to use. Plus, it’s gentle enough that I can incorporate it into my regular weekly cleaning routine without worrying about harming the finish.
Beyond the Cabinets
The best part? This magic solution isn’t just for cabinets. Oh no, my friends. I’ve found it works wonders on all sorts of surfaces around the house – from door frames and tables to even our stainless steel appliances. Anywhere you spot pesky fingerprints, smudges, or general grime, this cleaning combo is up for the challenge.
I’ll admit, before trying this method, I used to dread cleaning our dark cabinets. It felt like a never-ending battle, and I was constantly worried about using the wrong product and damaging the finish. But now, it’s a quick, painless task that I can easily fit into my weekly cleaning routine. And the results? Stunning. Those cabinets practically shine, and I can’t help but smile every time I walk into the kitchen.
Cleaning Doesn’t Have to be a Chore
So, if you’re in the same boat as me – staring at your gorgeous (but high-maintenance) cabinets and wondering how on earth to keep them looking their best – give this DIY cleaning solution a try. It might just change the way you approach cleaning forever.
Remember, cleaning doesn’t have to be a dreadful chore. With the right tools and a little bit of know-how, it can actually be enjoyable – or at the very least, not nearly as much of a hassle as it used to be. And who knows, you might even start to look forward to tackling those cabinet smudges. Okay, maybe that’s a bit of a stretch, but I can pretty much guarantee you’ll be amazed by the results.
Happy cleaning, my friends! Let me know if you have any other DIY cleaning tips to share. I’m always on the lookout for new ways to make my life (and my home) a little bit easier.


