Behind the Refrigerator
I open my refrigerator and pull it away from the wall once a year to clean behind it. This is an area that tends to collect a lot of dust, dirt, and grime over time.
To clean behind the refrigerator, I first unplug it to make sure it is powered off. Safety first! Then, I gently pull the refrigerator away from the wall, being careful not to scratch the floor. Once I have access to the back and underside, I use a vacuum cleaner with a crevice tool to suck up all the dust bunnies and debris. I make sure to vacuum along the coils, vents, and compressor to remove any built-up lint or pet hair.
For any stuck-on grime or grease, I use a multi-purpose cleaner and a soft cloth or sponge. I scrub gently to dissolve the gunk without damaging the surfaces. For sanitization, I like to go over the area with a disinfecting spray and let it sit for a few minutes before wiping it down.
Once the area looks clean, I slide the refrigerator back into place and plug it back in. My kitchen smells fresher and I have the peace of mind knowing that an often-neglected area is now clean!
Under the Oven
My oven doesn’t get pulled out from the wall very often. But when it does during my seasonal deep clean, there are always spatters, drips, and crumbs to tidy up underneath it.
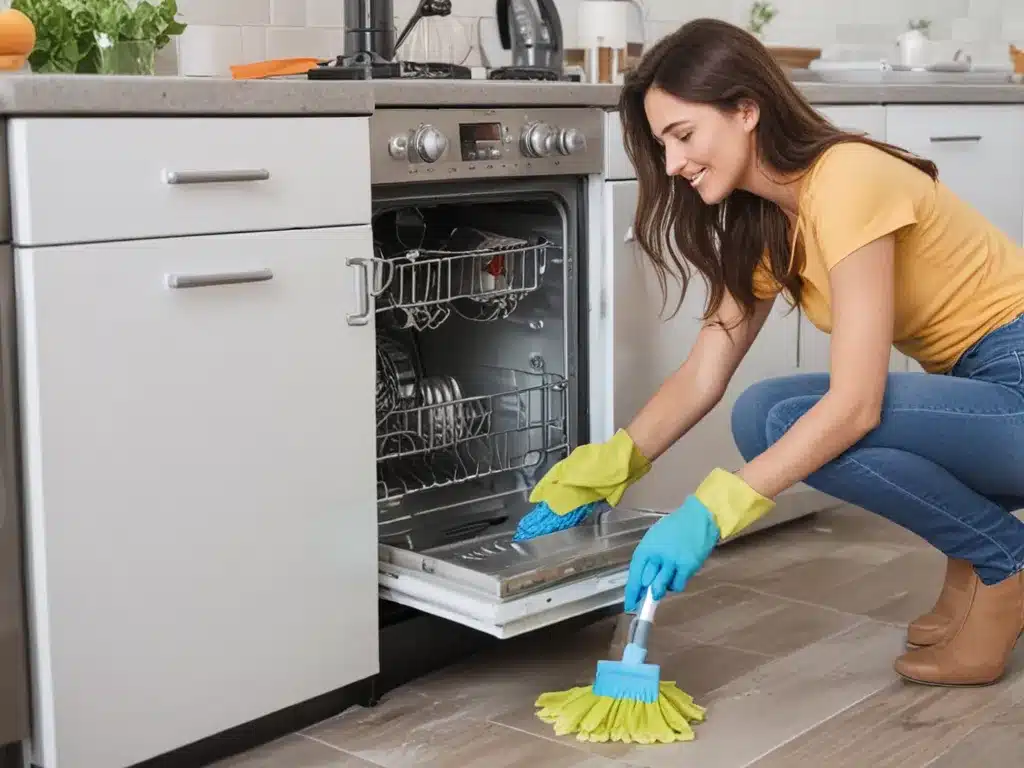
To clean under the oven, I start by removing the kickplate if my oven has one installed. This provides full access to the base and underside. I vacuum up all the loose debris with a brush attachment. For baked-on grease and food residue, I use a degreasing oven spray and let it soak for 10 minutes before scrubbing with a plastic bristle brush. This usually gets even the toughest grime up.
For the oven floor underneath, I sweep and mop it to get rid of all the crumbs and dust bunnies. If there are any scorch marks from spillovers, I use a gentle abrasive cleaner and a Dobie pad to buff them out. I make sure to get into the corners and crevices with a toothbrush.
When the area looks spotless, I replace the kickplate and slide the oven back into position. My newly cleaned oven floor makes loading and unloading bakeware much more pleasant!
Behind the Washing Machine
It’s easy for lint and dirt to accumulate behind my washing machine where I can’t see it. That’s why I make an effort to pull the machine out and clean back there a few times a year.
First, I unplug the washing machine and turn off the water supply valves. I use a wrench to disconnect the hoses. Then, I slowly pull the washing machine away from the wall, laying down towels to catch any water drips.
Once I have access behind the machine, I vacuum up all the lint, dust and pet hair with a crevice tool. If the wall or floor area is grimy, I spray it down with an all-purpose cleaner and let it soak before scrubbing away any residue. For stubborn soap scum buildup on the pipes, I use a scrub brush and tile cleaner to remove it.
I pay special attention to cleaning the dust and lint out of the dryer vent hose connection. I use a vent brush to clear any blockages so that it can vent properly again.
When the area looks freshly cleaned, I slide the washing machine back into place, reconnect the hoses and turn the water supply back on. Doing this periodic deep clean keeps my laundry area cleaner and improves the performance of my washer.
Under the Kitchen Sink
The space under my kitchen sink can turn into a grimy mess with leaks, food spills, and accumulated gunk. That’s why I clear everything out from under the sink twice a year and give it a thorough deep cleaning.
I start by removing everything from the cabinet – spray bottles, cleaners, pipe covers. I give the bottles and surfaces a wash to prep them for going back in.
Then, I use a vacuum attachment to clear out dirt, crumbs and any grossness. For grease on the pipes or walls, I spray on degreaser and let it soak before wiping clean. I scrub the sink basin and pipe connections with an abrasive sponge to remove stains.
Under the sink is also prone to mildew buildup, so I spray all surfaces with a mildew remover and brush it into cracks and crevices before rinsing. I let everything dry fully before putting back the clean bottles and organizers.
Finally, I address any leaky pipes by tightening connections or replacing worn washers. My newly tidied up sink cabinet always makes doing dishes a bit more pleasant!
Behind the Toilet
Here’s an unglamorous but very necessary task – cleaning behind the toilet! I make sure to get back there a few times a year to tidy up.
I start by shutting off the toilet’s water supply and flushing to empty the tank. Then, I use a rag to soak up any remaining water in the bowl. Next, I tip the toilet away from the wall, laying down towels to protect the floor.
With the back of the toilet exposed, I can thoroughly scrub away mineral deposits, dust, and grime using a toilet brush and an all-purpose cleaner. For stubborn stains, I let a pumice stone or limescale remover sit for a few minutes before scrubbing.
I pay special attention to disinfecting all around the base, as well as cleaning off hard water stains from the water line. I take the opportunity to also refresh the wax ring seal if needed before tipping the toilet back into place.
Finally, I turn the water supply back on and test for leaks. Cleaning behind the toilet takes a bit of physical effort, but it really helps keep everything sanitary!


