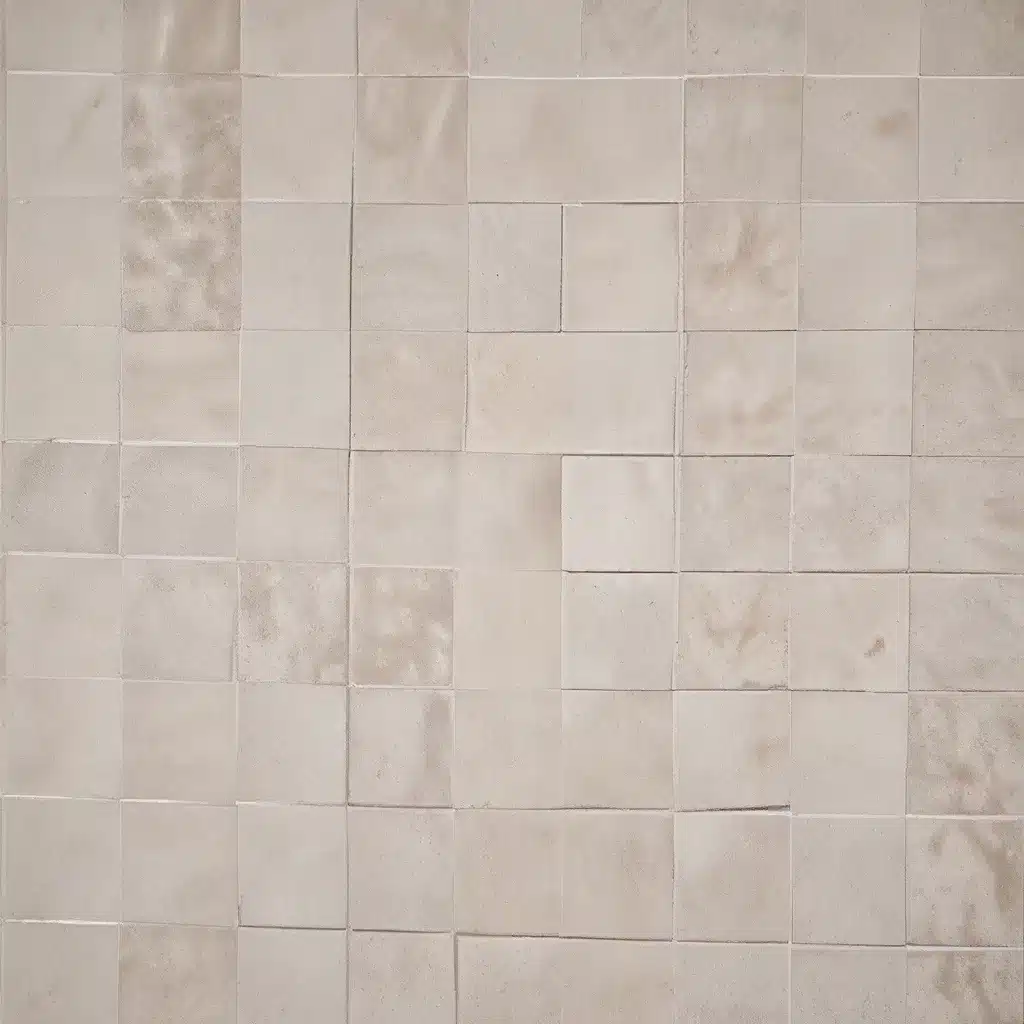
The Struggle with Dull and Dingy Grout
As a homeowner, I know the frustration of dealing with tired, dull tiles and discolored grout. It’s like watching the once-vibrant charm of your floors slowly fade away, leaving you with a space that feels lackluster and uninviting. I’ve been there, and I’ve learned that the key to reviving those tired tiles lies in mastering the art of effective grout cleaning.
Uncovering the Culprits: What Causes Grout Discoloration?
Before we dive into the cleaning techniques, it’s important to understand what’s really going on with our grout. Grout, that cement-based material that fills the gaps between tiles, is surprisingly porous and susceptible to a variety of issues. From ground-in dirt and grime to staining from spills and heavy foot traffic, there are many culprits that can lead to that dull, dingy appearance.
But the true villain in this tale? Neglect. When we fail to properly maintain our grout, it becomes a breeding ground for all sorts of unsavory problems. That’s why it’s crucial to stay on top of regular cleaning and sealing to keep our floors looking their best.
Revealing the Secrets: Tried-and-True Grout Cleaning Methods
Alright, let’s get down to business. Here are some of the most effective grout cleaning techniques I’ve discovered through my own trial and error, as well as insights from the cleaning experts at Slate Tile Cleaning and Tile Doctor:
The Deep Clean Approach
When dealing with heavily soiled or stained grout, a deep cleaning is often the way to go. This involves using a strong cleaning solution like Tile Doctor Remove and Go to strip away old sealers and built-up grime.
I’ve found that pairing this with a rotary machine fitted with a black scrubbing pad and Tile Doctor Pro-Clean can work wonders. The key is to scrub the solution into the grout lines, let it sit for a bit, and then thoroughly rinse and extract the dirty residue with a wet vacuum. Repeat this process until the grout is as clean as it can be.
Targeted Grout Cleaning
For areas with stubborn stains or discoloration, a more targeted approach may be necessary. Instead of relying solely on the rotary machine, I like to use a stiff wire brush and apply some elbow grease. This allows me to really get in there and scrub the grout lines, lifting out any deep-seated dirt or discoloration.
Just be sure to follow up with a final rinse and moisture extraction to ensure the grout is completely clean and dry before sealing.
Grout Sealing for Long-Lasting Protection
Once the grout is sparkling clean, it’s time to seal it up to protect against future staining and discoloration. Tile Doctor Seal and Go is a product I’ve had great success with, as it not only seals the grout but also adds a lovely sheen to the surface.
The key here is to make sure the grout is fully dry before applying the sealer. I’ve found that it can take several coats to achieve a complete seal, especially on porous materials like slate. But trust me, the effort is worth it – your floors will look brand new and stay that way for years to come.
Maintaining that Refreshed Look: Ongoing Grout Care
Of course, the work doesn’t end once you’ve restored your grout to its former glory. Maintaining that revived, sparkling look requires a bit of ongoing attention. Here are some tips I’ve learned along the way:
Regular Cleaning and Spot-Treating
Incorporate grout cleaning into your regular floor maintenance routine, whether that’s weekly, monthly, or quarterly. A mild detergent and a soft-bristle brush can go a long way in keeping that grout looking its best.
And when you do notice new stains or discoloration, don’t wait – tackle them right away. The sooner you can address those problem areas, the easier it will be to keep your grout in tip-top shape.
Resealing at the Right Intervals
Depending on the traffic and usage of your floors, you may need to reseal the grout every 1-3 years. Pay attention to any signs of wear, like fading shine or increased staining, and be proactive about reapplying that protective sealer.
Preventative Measures
Lastly, consider some preventative steps to keep your grout looking its best. Use doormats to trap dirt and grime before it can get tracked in, and be mindful of spills and stains, addressing them quickly before they have a chance to set in.
Embracing the Transformation: A Renewed Sense of Pride
As I look back on my journey of reviving my tired tiles and dingy grout, I can’t help but feel a renewed sense of pride and accomplishment. It’s amazing how a little elbow grease and the right cleaning techniques can completely transform the look and feel of a space.
And you know what? I’ve found that this process isn’t just about restoring the physical appearance of my floors – it’s also about reclaiming a sense of control and ownership over my home. By taking the time to properly care for and maintain my tile and grout, I’ve regained that feeling of a well-kept, inviting space that I can truly be proud of.
So, if you’re in the same boat as I was, struggling with dull, discolored grout, I encourage you to dive in and tackle the challenge. Trust me, the rewarding feeling of seeing your floors come back to life is worth every bit of effort. Who knows, you might even find yourself spending a little extra time admiring your handiwork – I know I do!
Adam Cleaning is here to help if you need professional assistance with your tile and grout restoration project. Don’t hesitate to reach out and let us guide you through the process. Together, we can breathe new life into your tired tiles and reclaim the beauty of your floors.


