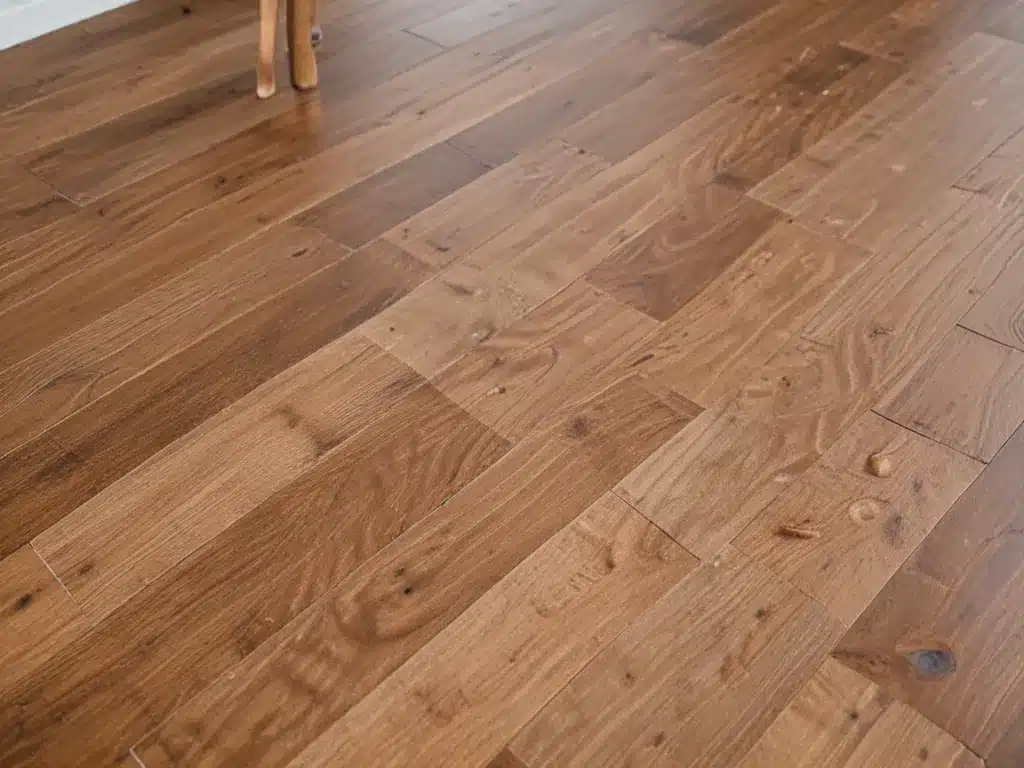
Why Revitalize Floors in the Spring?
The spring season is the perfect time to tackle floor revitalization projects for a few key reasons:
Warmer Weather
With warmer temperatures arriving, you can open up windows to allow fresh air circulation while you work on floors. This allows fumes from products like polyurethane or stain to dissipate. Cold weather makes ventilating more difficult.
Less Furniture Dragging
During spring cleaning, you’re already moving furniture and items around. This makes it easier to clear floors for revitalization work, minimizing extra furniture dragging later.
Open Schedule
Summertime often fills up quickly with activities and vacations. Getting floor projects done in spring prevents rushing while the weather is nice.
Coordination With Other Projects
Spring is a popular season for interior painting and renovations. Revitalizing floors at the same time allows you to coordinate colors and styles.
Steps for Revitalizing Wood Floors
Hardwood floors can really show their age after years of traffic and wear. Luckily, there are several relatively easy steps I can take to bring back their beauty this spring.
1. Remove Furniture
First, I’ll remove all furniture and rugs from the rooms with floors to refinish. This includes disassembling pieces too large to carry out.
2. Deep Clean
Next, I’ll thoroughly clean the floor’s surface with the appropriate wood floor cleaner and let it fully dry. This removes dirt, grime, and previous layers of wax buildup.
3. Sand Away Imperfections
Using an orbital sander with progressive grit sandpaper, I’ll sand away any remaining stubborn stains, scratches, or discoloration. I’ll vacuum up dust between sanding.
4. Apply Stain and Polyurethane
If desired for color, I’ll apply a stain matching the original tone of the wood. Multiple thin coats of water-based polyurethane finish evenly across the floors provide protection. I’ll sand lightly between coats for a smooth surface.
5. Replace Trim Pieces
Lastly, I’ll reinstall any baseboard trim, quarter round, or thresholds that were removed, applying fresh paint or stain if needed.
Steps for Revitalizing Tile Floors
Tile floors tend to show age through cracked, missing, or dull and stained grout lines. Through some simple DIY steps, I can have them looking like new again.
1. Deep Clean the Tile
Just like with wood floors, I’ll start by giving the tile a thorough cleaning using a tile floor cleaner or mix of water and vinegar. This gets rid of any waxy buildup or residue.
2. Remove Old Grout
Using a carbide-tipped grout saw, I’ll scrape out all of the old grout between tiles, getting down to the bare edges. I’ll vacuum up debris as I go.
3. Re-Grout Clean Tile
After all old grout is removed, I’ll apply new grout matching the original color, pushing it deeply into the clean joints. I’ll wipe excess grout off the tile surfaces as I work to prevent staining.
4. Seal the Grout
Once the new grout has cured fully, I’ll apply a penetrating grout sealer. This prevents stains and makes the grout easier to clean going forward.
With a bit of time and elbow grease, I can bring my dull wood or tile floors back to life this spring. They’ll look fresh and renewed for the season ahead.


