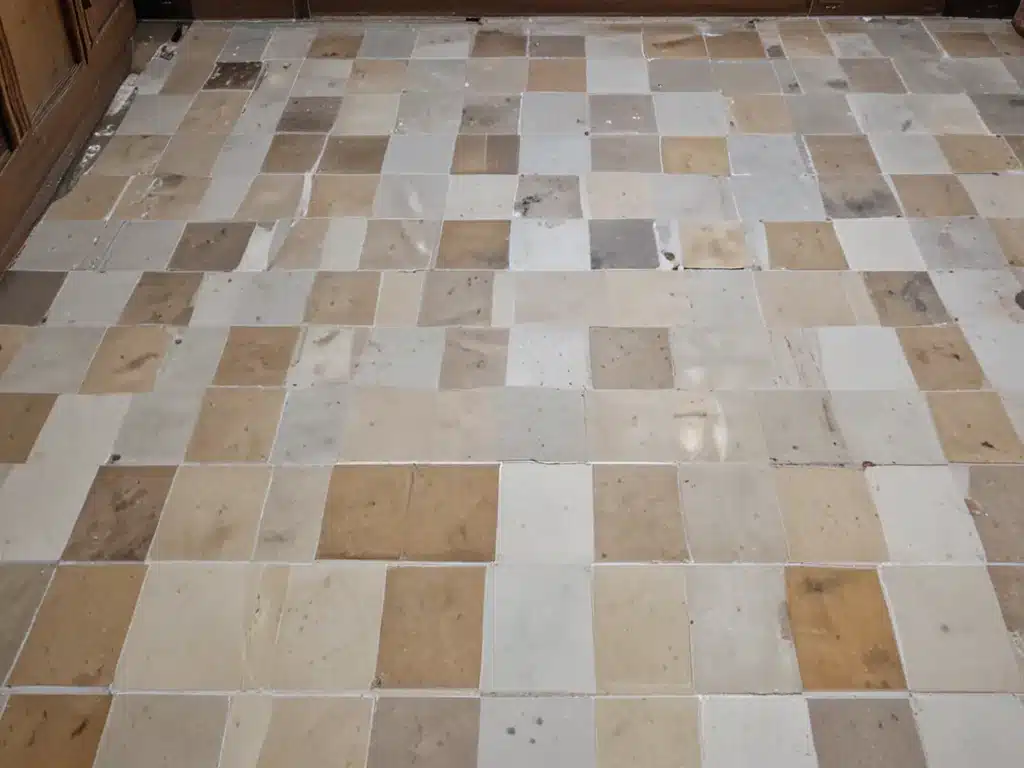
Assess the Damage
Taking a close look at your tiled floors is the first step to understanding what needs to be done to restore them. Here are some things I check:
-
Cracks or missing tiles: Make note of any cracked, broken, or missing tiles. These will likely need to be replaced.
-
Grout discoloration: Check if the grout lines have become stained or discolored. Cleaning or regrouting may be necessary.
-
Loss of shine: See if the tiles have become dull or lost their luster. This indicates a need for deep cleaning and resealing.
-
Lippage: Use a coin to check for uneven tile edges, also known as lippage. This may require grinding or replacing problem tiles.
-
Hollow spots: Tap tiles with a coin to identify hollow or loose areas. These tiles will need to be reattached or replaced.
Thoroughly inspecting all areas of the tiled surface helps me understand which restoration methods are needed for optimal results.
Clean the Tiles and Grout
Cleaning tile and grout is an essential first step before performing any other restorative work. Here are effective cleaning methods:
-
Mix a tile cleaner solution and use a stiff scrub brush to clean off dirt, grime, and old sealant. Rinse thoroughly.
-
Use a grout brush with the tile cleaner to scrub grout lines. Ensure all stains are lifted.
-
For stubborn stains, apply a grout whitener and allow it to sit for 5-10 minutes before scrubbing and rinsing.
-
Use a wet/dry vacuum to extract any remaining cleaning solution and soil from the tile pores.
Thorough cleaning opens tile pores, removes stains, and prepares the surfaces for resealing and other restoration work. Cleaning also prevents dirt from becoming trapped under new sealant.
Regrout Stained or Missing Grout
Once the tiles are clean, inspect the grout closely. Any cracks, chips, or missing grout will need to be repaired:
-
Use a grout saw to remove old, crumbling grout. Vacuum up debris.
-
Re-grout any missing areas with new grout in a matching color. Allow to dry completely.
-
For stained grout, you can apply a grout colorant in a slim applicator bottle. Allow to sit for 1 hour before wiping away excess.
-
Seal grout repairs with a grout sealer, which protects from moisture and further staining.
Properly regrouting helps waterproof the tile joints, prevents staining, and gives the floors a uniform, finished look.
Grind Down Any Uneven Tiles
If any tiles have uneven edges or lippage, they must be ground down for safety and aesthetics:
-
Mark problem tile edges with a wax pencil.
-
Use an electric grinding stone to evenly grind marked areas. Apply even, gentle pressure.
-
Vacuum up all dust and debris when finished grinding.
-
Smooth any rough spots with a hand-held sanding block.
-
Reseal the sanded tiles since their pores are now exposed.
Careful grinding removes trip hazards and makes the tile edges flush for a seamless appearance.
Reseal the Entire Surface
After deep cleaning, repairs and grinding are complete, new sealant should be applied:
-
Use a microfiber mop to wash the floors with a pH-neutral cleaner. Rinse thoroughly and allow to dry completely.
-
Read the sealant label and follow instructions closely. Apply 2-3 thin, even coats with a sealant applicator.
-
Allow proper drying time between coats. Check for puddling in grout lines.
-
Keep traffic off the floors per the sealant directions, usually 24-48 hours.
Resealing provides stain protection and creates aglossy, vibrant finish on your restored tiled surfaces.
Replace Broken Tiles and Address Hollow Areas
For cracked, broken, or missing tiles that are beyond repair, replacement is likely needed:
-
Carefully pry up damaged tiles with a putty knife or chisel. Be sure not to harm surrounding tiles.
-
Scrape away old thinset and vacuum the area smooth.
-
Using a notched trowel, apply fresh thinset mortar and firmly press in the replacement tile.
-
Use painter’s tape to hold tile in place for 24 hours while the mortar sets.
For hollow or loose areas, inject epoxy mortar beneath the tile and depress it firmly to re-adhere. Wipe away any excess.
Replacing broken tiles and addressing hollow sounds preserves the integrity of the flooring.
Be Patient During the Curing Process
Some restoration steps require adequate curing time before resuming normal use of the floors:
-
Avoid walking on sealed floors for the time specified on the product, usually 24-48 hours.
-
Prevent foot traffic or water exposure on regrouted areas for 72 hours as they set.
-
Allow mortar beds to cure under tile replacements for a full 24 hours.
-
Let epoxy injections harden overnight before removing painter’s tape.
-
Give grout colorant a full hour to set before wiping away residue.
Have patience and follow all manufacturer drying times carefully to ensure your restorations last.
With some determination and helpful techniques, I can bring my tiled floors back to their original glory. Assess, clean, repair, replace, seal, and cure – restoring tiles is very manageable with the right approach and products. My floors will look beautifully revived.


