Introduction
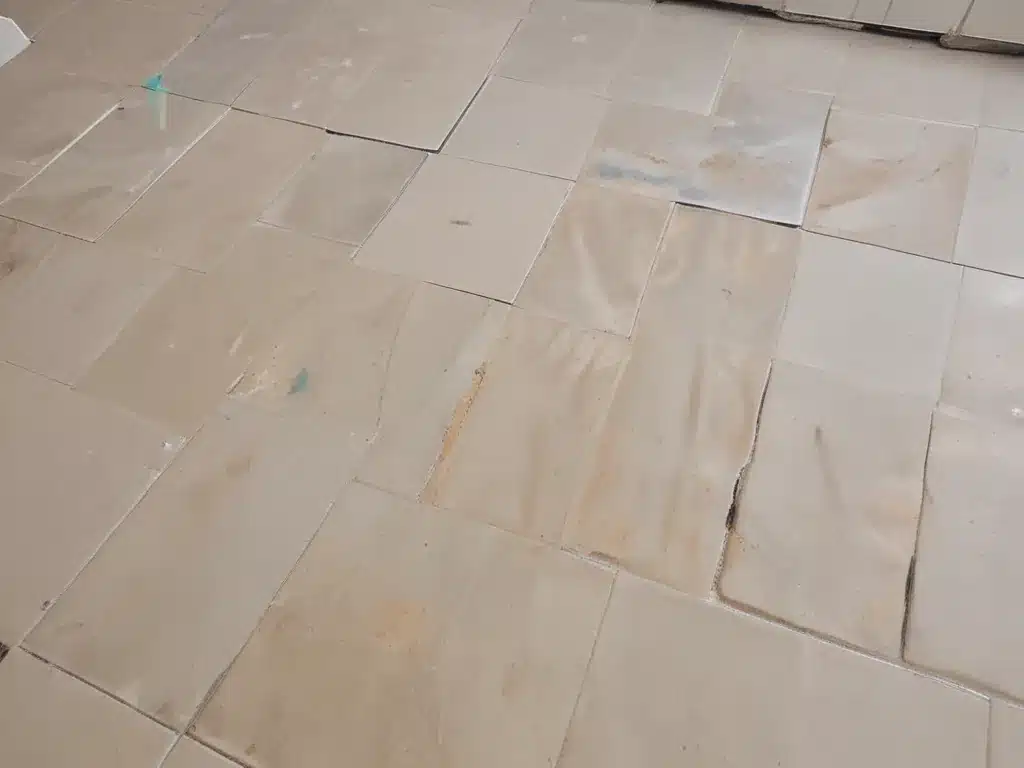
Are you tired of looking at your once-pristine tiles and grout, now dulled and discolored by years of wear and tear? Don’t despair! With the right techniques and products, you can restore the vibrant beauty of your tile surfaces, making them look as good as new. In this comprehensive guide, I’ll take you through the process of restoring dingy tiles and grout, ensuring a long-lasting, sparkling finish.
Understanding Tile and Grout Discoloration
Before we dive into the restoration process, it’s essential to understand what causes tiles and grout to lose their luster over time. Tiles and grout can become discolored due to various reasons:
- Dirt and grime accumulation: Daily foot traffic, spills, and regular use can lead to the buildup of dirt and grime on tile and grout surfaces.
- Mold and mildew growth: Damp and humid environments provide the perfect breeding ground for mold and mildew, which can stain and discolor grout lines.
- Improper cleaning techniques: Using harsh chemicals or abrasive cleaning methods can damage the surface of tiles and grout, leading to discoloration and deterioration.
- Natural wear and tear: Over time, the constant exposure to sunlight, moisture, and foot traffic can cause tiles and grout to fade and lose their original color.
Preparing for Tile and Grout Restoration
Before you begin the restoration process, it’s crucial to prepare the area properly. Here’s what you need to do:
- Clear the area: Remove any furniture, rugs, or other obstructions from the room to ensure easy access to the tile and grout surfaces.
- Protect surrounding areas: Use plastic sheeting or drop cloths to cover any areas that you don’t want to get wet or dirty during the cleaning process.
- Gather the necessary supplies: You’ll need a variety of tools and products, such as a grout brush, a grout removal tool, a steam cleaner, tile and grout cleaner, a sponge, and clean rags or towels.
Step-by-Step Tile and Grout Restoration Process
Now, let’s dive into the step-by-step process of restoring your dingy tiles and grout:
Cleaning the Tiles
- Remove surface dirt and debris: Begin by sweeping or vacuuming the tile surface to remove any loose dirt, dust, or debris.
- Apply a tile cleaner: Choose a pH-neutral tile cleaner specifically designed for your type of tile (e.g., ceramic, porcelain, natural stone). Follow the manufacturer’s instructions for application and dwell time.
- Scrub the tiles: Using a soft-bristled brush or a non-abrasive scrub pad, gently scrub the tiles to remove any remaining dirt, grime, or stains.
- Rinse thoroughly: Once you’ve scrubbed the tiles, rinse the area thoroughly with clean water to remove any residual cleaner or dirt.
- Dry the tiles: Use clean, absorbent towels or a mop to dry the tile surface completely before moving on to the grout restoration.
Cleaning the Grout
- Apply a grout cleaner: Choose a grout cleaner specifically designed for the type of grout you have (e.g., sanded, unsanded, epoxy). Follow the manufacturer’s instructions for application and dwell time.
- Scrub the grout lines: Using a stiff-bristled grout brush or a grout removal tool, scrub the grout lines to loosen and remove any dirt, grime, or discoloration.
- Use a steam cleaner (optional): For stubborn stains or heavily soiled grout, a steam cleaner can be an effective tool. The high-temperature steam helps to break down and lift stubborn grime.
- Rinse thoroughly: Once you’ve scrubbed the grout lines, rinse the area thoroughly with clean water to remove any residual cleaner or dirt.
- Dry the grout: Use clean, absorbent towels or a mop to dry the grout lines completely.
Sealing and Protecting the Restored Surfaces
After completing the cleaning process, it’s essential to protect your newly restored tile and grout surfaces. Here’s what you need to do:
- Apply a grout sealer: A grout sealer helps to protect the grout from future stains, discoloration, and moisture penetration. Choose a high-quality sealer specifically designed for your type of grout.
- Seal the tiles (if necessary): Some types of tiles, such as natural stone or porous ceramic tiles, may also benefit from a tile sealer to protect them from stains, moisture, and damage.
- Follow the manufacturer’s instructions: Carefully read and follow the instructions provided by the sealer manufacturer for proper application and drying times.
- Maintain the surfaces regularly: Regular cleaning and maintenance will help to prolong the life of your restored tile and grout surfaces, ensuring they stay looking beautiful for years to come.
Hiring Professional Tile and Grout Cleaning Services
If you find the process of restoring dingy tiles and grout too daunting or time-consuming, consider hiring a professional tile and grout cleaning service like Adam Cleaning. These experienced professionals have the specialized equipment and expertise to tackle even the toughest tile and grout cleaning jobs, ensuring a thorough and long-lasting restoration.
Conclusion
Restoring dingy tiles and grout can be a challenging task, but with the right techniques and products, you can breathe new life into your tile surfaces. By following the step-by-step process outlined in this guide, you’ll be able to enjoy the vibrant beauty of your tiles and grout for years to come. Remember, regular maintenance and proper sealing are key to preserving the results of your hard work. If you’re short on time or prefer to leave it to the experts, consider hiring a professional tile and grout cleaning service like Adam Cleaning for outstanding results.


