Introduction
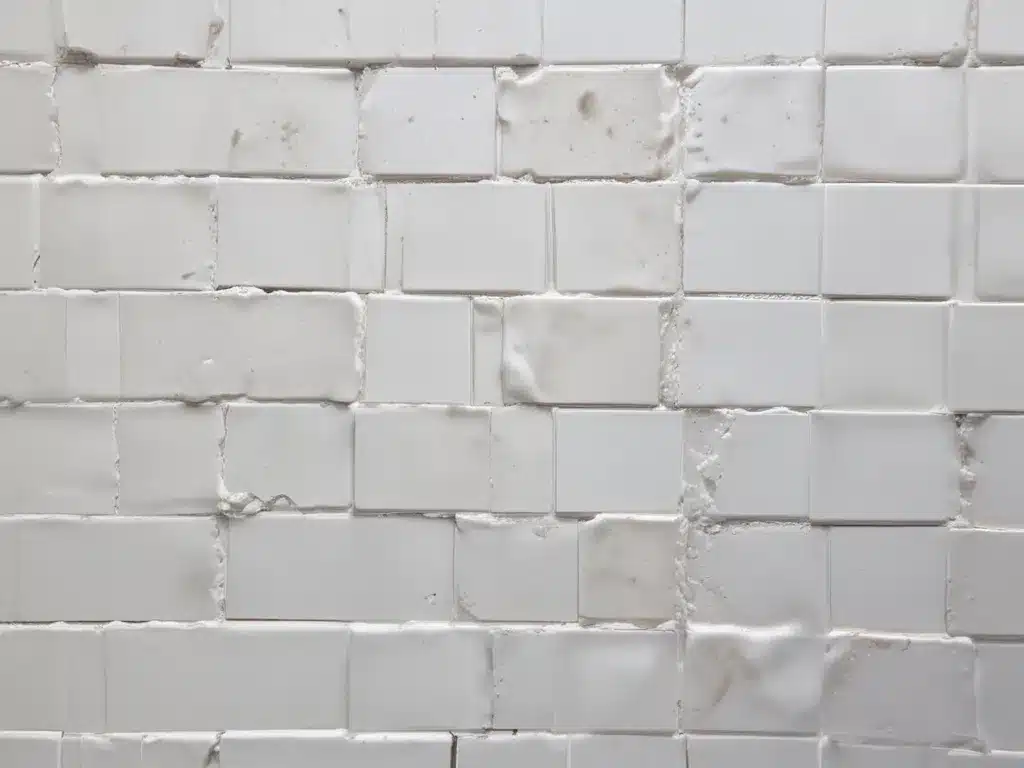
Grout, the cement-based material that fills the spaces between tiles, is a crucial component of any tiled surface. However, over time, it can become discolored, stained, and dingy, detracting from the overall appearance of the tiled area. Fortunately, there is a cost-effective and environmentally friendly solution to this problem: homemade poultice.
A poultice is a paste-like mixture that is applied directly to the grout lines, allowing it to absorb and draw out the deeply embedded dirt, grime, and stains. By creating a poultice using common household ingredients, you can restore your dingy grout to its pristine white condition without resorting to harsh chemicals or professional cleaning services.
In this comprehensive article, I will guide you through the step-by-step process of creating and applying a homemade poultice, ensuring that your tiled surfaces regain their former glory.
Materials Needed
To create a homemade poultice, you will need the following materials:
- Baking Soda
- Hydrogen Peroxide
- Water
- Disposable Plastic Container or Mixing Bowl
- Wooden Spoon or Spatula
- Grout Brush or Toothbrush
- Clean Rags or Paper Towels
- Protective Gloves (optional)
Preparing the Poultice
The process of preparing the poultice is straightforward:
- In the disposable plastic container or mixing bowl, combine equal parts baking soda and hydrogen peroxide. For example, if you use 1 cup of baking soda, add 1 cup of hydrogen peroxide.
- Slowly add water to the mixture, stirring continuously with the wooden spoon or spatula. The consistency should be thick, but not too runny.
- Mix the ingredients until you achieve a smooth, paste-like consistency.
The poultice is now ready for application.
Application and Cleaning Process
Follow these steps to apply the poultice and clean your grout:
- Using the grout brush or toothbrush, apply the poultice mixture to the grout lines, working in small sections. Ensure that the poultice is pressed firmly into the grout crevices.
- Allow the poultice to sit on the grout for at least 30 minutes, or longer if the stains are particularly stubborn. This will give the mixture time to penetrate and absorb the dirt and grime.
- After the recommended time has elapsed, use the grout brush or toothbrush to scrub the grout lines gently. The abrasive action combined with the poultice will help lift the stains and discoloration.
- Wipe away the loosened poultice and residue with clean rags or paper towels, rinsing and changing them as needed.
- Repeat the application and cleaning process on any remaining stubborn areas until the desired level of cleanliness is achieved.
Tips and Considerations
- If the grout is severely stained or discolored, you may need to apply the poultice multiple times for optimal results.
- For tough, set-in stains, you can let the poultice sit overnight before scrubbing and wiping it away.
- Wear protective gloves if you have sensitive skin, as the hydrogen peroxide can cause irritation.
- Avoid using this poultice on colored or epoxy grout, as it may cause discoloration or damage.
- Always perform a spot test in an inconspicuous area to ensure the poultice does not react negatively with your tile or grout material.
- Keep the area well-ventilated during the cleaning process, as the hydrogen peroxide can release fumes.
Real-Life Example
To illustrate the effectiveness of this homemade poultice, let me share a real-life example:
“My bathroom tiles had been installed over a decade ago, and the grout had become severely discolored and dingy. I tried various commercial grout cleaners, but they only provided temporary relief. That’s when I stumbled upon the homemade poultice recipe. After applying the poultice and scrubbing, the transformation was incredible! The grout lines looked brand new, and the entire bathroom felt refreshed. I couldn’t believe how simple and affordable this solution was, and I’m now a firm believer in the power of homemade poultice.”
Comparison Table: Homemade Poultice vs. Commercial Grout Cleaners
To help you make an informed decision, here’s a comparison table between the homemade poultice and commercial grout cleaners:
| Criteria | Homemade Poultice | Commercial Grout Cleaners |
|---|---|---|
| Cost | Inexpensive (uses common household ingredients) | Costly (specialized products) |
| Eco-Friendliness | Environmentally friendly | May contain harsh chemicals |
| Effectiveness | Highly effective for deep-seated stains | Varies, may only provide temporary relief |
| Ease of Use | Simple to prepare and apply | Ready-to-use, but may require specialized tools |
| Safety | Safe for most tile and grout materials (except colored/epoxy grout) | Potential for damage or discoloration |
As the table illustrates, the homemade poultice offers a cost-effective, eco-friendly, and highly effective solution for restoring dingy grout to its pristine white condition.
Conclusion
Restoring dingy grout to its pristine white state is a challenging task, but with the homemade poultice technique, it becomes a manageable and rewarding endeavor. By combining common household ingredients like baking soda, hydrogen peroxide, and water, you can create a powerful cleaning solution that penetrates deep into the grout lines, drawing out embedded dirt, grime, and stains.
The step-by-step guide provided in this article will equip you with the knowledge and confidence to tackle even the most stubborn grout discoloration. Remember, patience and persistence are key when working with the poultice, as some stains may require multiple applications for optimal results.
Embrace the benefits of this homemade poultice, and enjoy the satisfaction of revitalizing your tiled surfaces without breaking the bank or compromising your environmental values. Say goodbye to dingy grout and hello to a fresh, clean, and inviting space!


