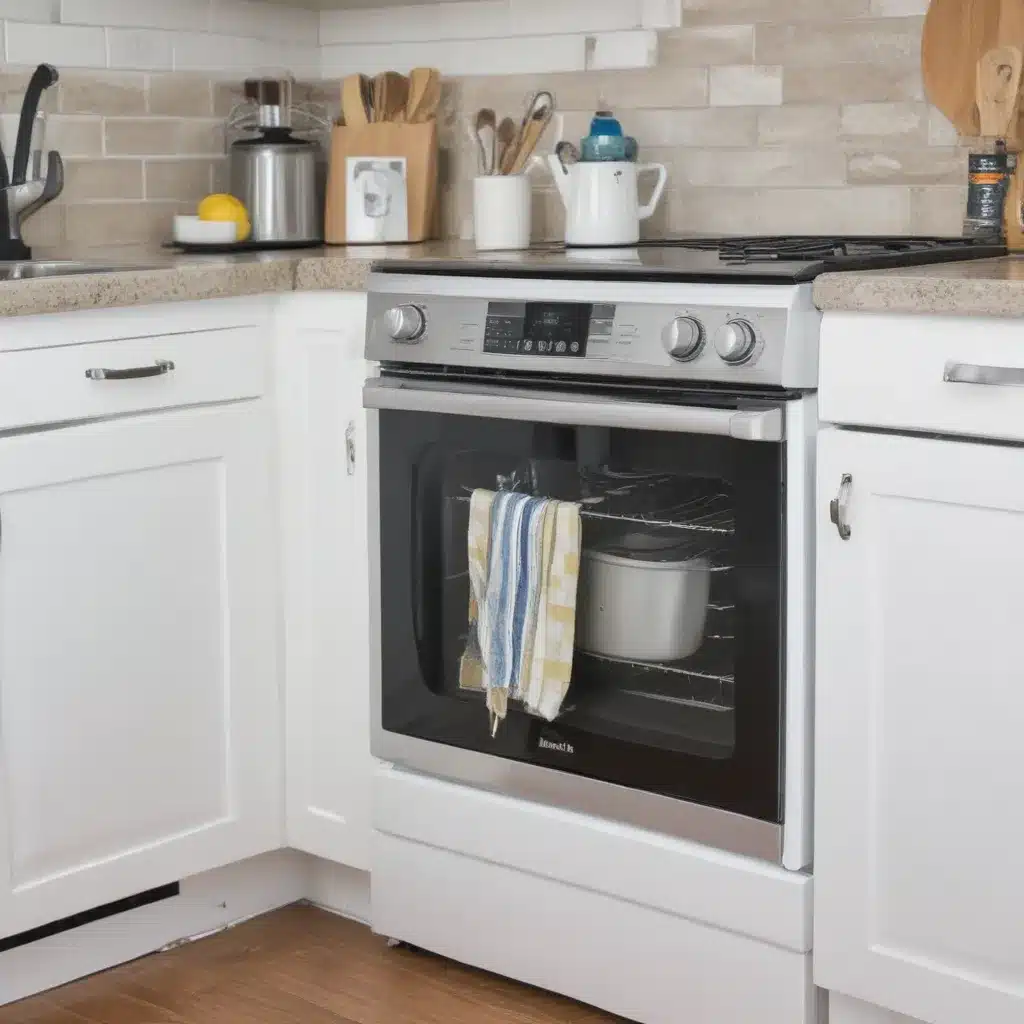
The Bane of Appliances: Fingerprints, Streaks, and Grime
As a self-professed cleaning enthusiast, I’ve had my fair share of battles with dirty appliances. When we first moved into our new home, I was thrilled to have a sleek set of black kitchen appliances. No more dealing with the constant battle of fingerprints on stainless steel! Or so I thought.
Little did I know, my new black beauties would present a different challenge – stubborn streaks that seemed to appear out of nowhere. It was like they had a vendetta against me, taunting my futile attempts to keep them spotless. I’d spend hours scrubbing and polishing, only to step back and see the dreaded smudges staring right back at me.
The Search for a Streak-Free Solution
Determined to find a solution, I scoured the internet for the ultimate DIY appliance cleaner. I tried all the store-bought options, from citrus-based sprays to fancy microfiber cloths, but nothing seemed to do the trick. That is, until I stumbled upon a game-changing recipe on Sustaining the Powers.
The key, it turned out, was a simple combination of ingredients I already had in my kitchen – rubbing alcohol and a splash of white vinegar. I mixed them together in a spray bottle and eagerly tried it out on my stove. To my delight, the streaks disappeared like magic, leaving behind a gleaming, streak-free surface.
Mastering the Art of Appliance Cleaning
With my newfound DIY cleaner in hand, I set out to tackle the rest of my kitchen appliances. The microwave, the fridge, even the stainless steel trash can – they all responded beautifully to this miraculous mixture.
The secret, as I learned, was in the application. Using a microfiber cloth to wipe down the surfaces after spraying made all the difference, gently buffing away any remaining residue. No more frustrating paper towel lint or unsightly smears.
Sharing the Streak-Free Love
Now that I’ve cracked the code for cleaning my appliances, I can’t help but want to shout it from the rooftops. That’s why I’m sharing this DIY appliance cleaner with everyone who’s struggled with the same grime-busting battle.
Whether you have sleek black appliances like me or the ever-tricky stainless steel, this simple solution is a game-changer. And the best part? You can whip it up in minutes using just a couple of common household ingredients.
So, the next time you find yourself staring at a forest of fingerprints or a sea of stubborn streaks, don’t reach for the store-bought cleaners. Grab a spray bottle, mix up this DIY concoction, and watch your appliances transform before your eyes.
Keeping Your Appliances Sparkling: A Step-by-Step Guide
Ready to bid farewell to those pesky appliance blemishes for good? Here’s a step-by-step guide to using your homemade appliance cleaner:
- Gather your ingredients: rubbing alcohol, white vinegar, and a clean spray bottle.
- Mix the solution in the spray bottle, using a ratio of 1 part vinegar to 2 parts rubbing alcohol.
- Spray the solution liberally onto your appliance surface, making sure to cover the entire area.
- Grab a microfiber cloth and gently wipe the surface, buffing it until it shines.
- Step back and admire your handiwork – your appliances will be sparkling clean and streak-free!
Remember, this DIY cleaner works wonders on both black and stainless steel appliances, so you can use it throughout your kitchen for a consistent, polished look.
Troubleshooting Tips and Tricks
Of course, every appliance is unique, and you may encounter the occasional stubborn spot or two. Fear not, I’ve got you covered with a few troubleshooting tips:
- For extra-greasy areas, add a teaspoon of dish soap to the solution and give it a good shake before applying.
- For dried-on grime, let the solution sit for a few minutes before wiping to give it time to work its magic.
- Switching to a clean microfiber cloth can make a big difference if the first one starts to get saturated.
And don’t forget, regular maintenance is key. Try to wipe down your appliances weekly to prevent buildup and keep them looking their best.
Embrace the Shine: A Cleaner Kitchen Awaits
Gone are the days of feeling frustrated and defeated by my appliances. Thanks to this simple DIY cleaner, I can now maintain a spotless kitchen with ease. No more stressing over streaks or fingerprints – just a beautiful, gleaming space that makes me want to fire up the oven and get cooking.
So, what are you waiting for? Grab those household staples, mix up a batch of this miracle solution, and say goodbye to appliance grime for good. Your kitchen (and your sanity) will thank you.


