Introduction
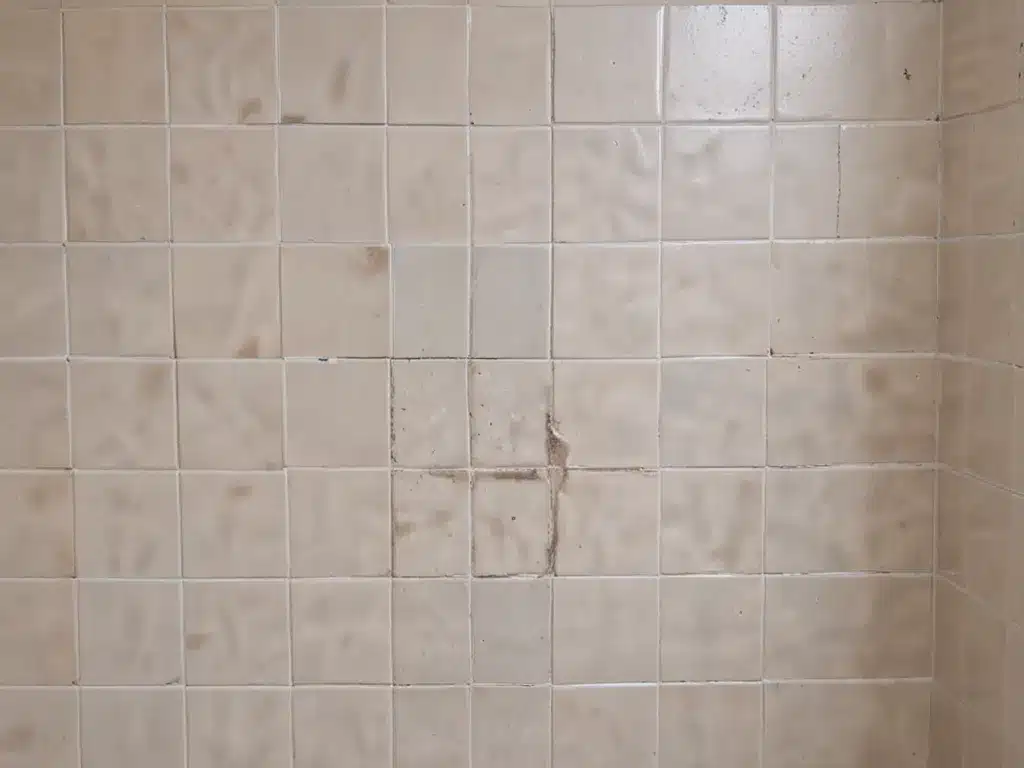
Having dingy, stained tiles and grout can make any bathroom or kitchen look dirty and outdated. While professional cleaning services can be expensive, there are inexpensive homemade solutions that can dramatically improve the look of your tiles and grout. In this article, I will share my tips for making a magic homemade tile and grout cleaner that really works.
Why Tiles and Grout Get Dirty and Stained
Tiles and grout get dirty over time from soap scum, hard water deposits, mildew, mold, and everyday grime. Grout is especially prone to staining because it is porous and absorbs liquids and dirt easily. Some common causes of tile and grout stains include:
-
Soap scum – Residue from soap, shampoo, and body wash builds up over time. Soap scum sticks to tiles and grout and causes a dull, dirty look.
-
Hard water – Mineral deposits from hard water cling to surfaces and leave behind limescale and calcium staining.
-
Mold and mildew – Mold and mildew growth leaves behind dark spots and stains, especially in grout lines and corners.
-
Dirt and grease – Kitchen tiles and grout absorb everyday cooking messes and spills. Bathroom tiles collect body oils, dirt, and grime.
Homemade Grout and Tile Cleaner Recipe
This homemade tile and grout cleaner can be mixed up with common household ingredients. Here is the simple recipe:
Ingredients:
- 1 cup baking soda
- 1/2 cup hydrogen peroxide
- 1/4 cup vinegar
- 1 gallon warm water
- Spray bottle for application
Instructions:
-
Mix together the baking soda, hydrogen peroxide, and vinegar in a bucket. The mixture will fizz and bubble.
-
Once the fizzing stops, add the warm water and stir to combine.
-
Use a funnel to carefully pour the cleaner into a spray bottle. Be sure to avoid spilling, as the cleaner can stain clothing and surfaces.
-
Lightly spray the mixture onto the tile and grout you wish to clean. Avoid saturating the area.
-
Let the cleaner sit for 5-10 minutes. Reapply if needed.
-
Scrub tiles and grout lines with a stiff brush or cleaning cloth.
-
Rinse thoroughly with clean water.
-
Use a cloth or old towel to soak up excess moisture.
-
Allow the area to fully dry before using again.
Why This Homemade Cleaner Works
This homemade tile and grout cleaner works through the power of science! Here’s how each ingredient contributes:
-
Baking soda – A mild abrasive that scrubs away dirt and stains. Also helps absorb odors.
-
Hydrogen peroxide – An oxidizing agent that helps break down grime and bleach stains.
-
Vinegar – Removes soap scum, hard water deposits, and mildew. Acidic properties cut through mineral deposits.
-
Warm water – Helps dissolve and activate cleaning agents. Makes scrubbing easier.
The combination of these ingredients makes a powerful cleaner that can tackle even the most stubborn tile and grout stains. The solution is also safe for most surfaces.
Cleaning Tips and Tricks
Follow these tips to get the best results from your homemade tile and grout cleaner:
-
Test on a small, inconspicuous area first to check for any discoloration.
-
Apply a protective barrier like petroleum jelly to any surfaces you don’t want to accidentally get cleaner on.
-
Use an old toothbrush to scrub tight grout lines and corners.
-
Rinse thoroughly and soak up all moisture to prevent re-staining.
-
Repeat cleaning process for extremely dirty or moldy areas.
-
Consider re-sealing grout after cleaning to help prevent future stains.
-
Wipe down tiles regularly with a damp microfiber cloth to maintain results.
Conclusion
Don’t put up with dingy, stained tiles and grout anymore! This simple homemade recipe can refresh the look of your bathrooms and kitchens while saving you money on expensive cleaning products. With a little bit of scrubbing elbow grease, you’ll be amazed at the transformation. Just be sure to rinse thoroughly and allow everything to dry fully when you are done cleaning. Your tiles and grout will look like new again!


