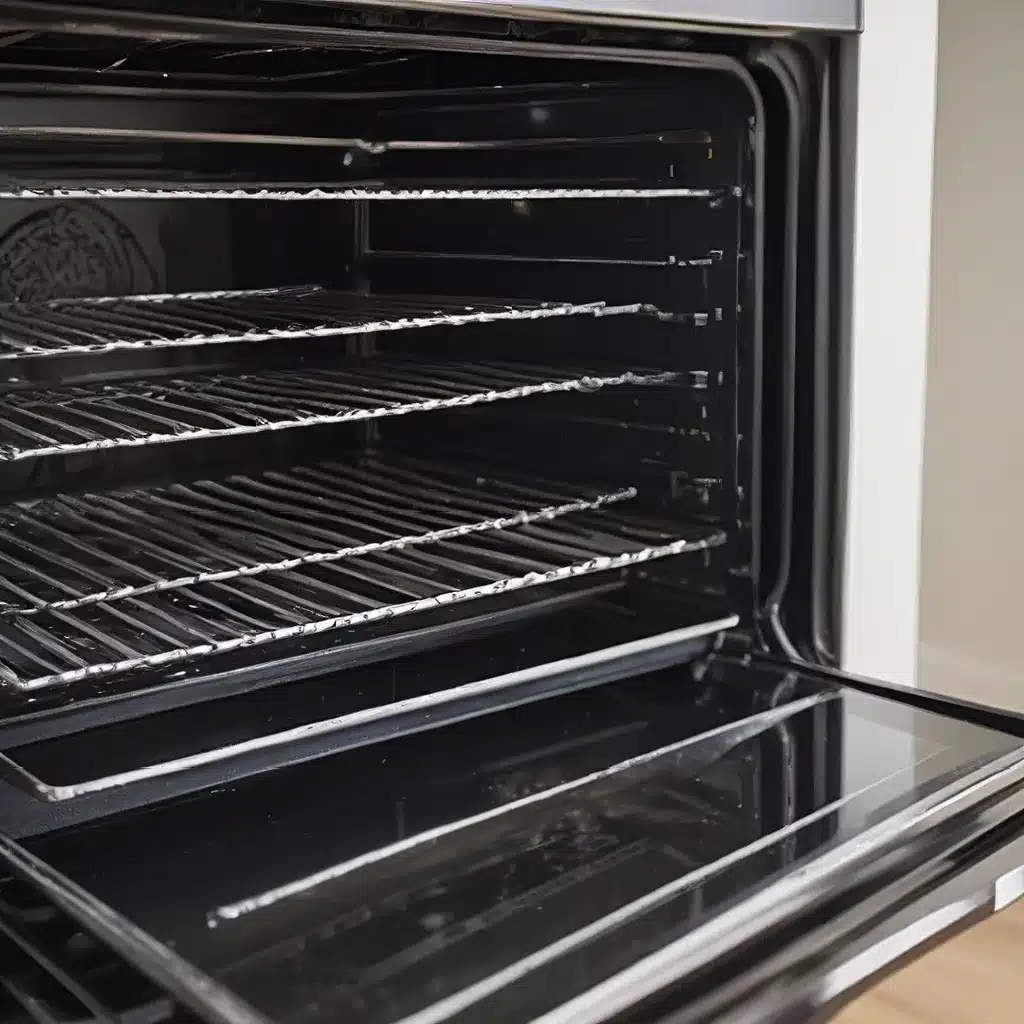
Ahh, the oven – the unsung hero of our kitchens. Day in and day out, it toils away, transforming humble ingredients into culinary masterpieces. But let’s be honest, all that hard work takes its toll, leaving behind a crusty, grease-stained mess that can seem downright intimidating to tackle.
Well, fear not, my fellow cleaning warriors! I’m here to share some professional tips and tricks that will have your oven looking (and smelling) like new in no time. Get ready to say goodbye to that baked-on grime and hello to a shiny, sparkling appliance.
Baking Soda and Vinegar: The Dynamic Duo
Let’s start with a classic – the baking soda and vinegar method. This dynamic duo is a powerhouse when it comes to cutting through tough, stubborn grease and grime. Here’s how to work this cleaning magic:
-
Mix it up: Combine two parts baking soda with one part water to create a spreadable paste. The acidity of the vinegar will help break down the baked-on debris, while the baking soda provides the scrubbing power.
-
Coat and conquer: Spread the paste all over the interior of your oven, making sure to cover every nook and cranny. Then, spritz the surface with white vinegar. You’ll see the mixture start to fizz and bubble – that’s just it working its magic!
-
Patience is a virtue: Let the mixture sit overnight, allowing it to really penetrate and dissolve the grime. In the morning, simply wipe it all away with a damp cloth. Don’t be afraid to give those stubborn spots an extra vinegar spritz if needed.
The great thing about this method is that the baking soda and vinegar combination is not only effective, but it’s also eco-friendly and budget-friendly. No harsh chemicals, just good old-fashioned elbow grease (and a little bit of science).
Hydrogen Peroxide: The Grease Busting Sidekick
Now, if you’ve got some seriously stubborn grime to tackle, you might want to bring in the big guns – hydrogen peroxide. This potent cleaning agent can help tackle the toughest baked-on messes.
Try mixing two parts baking soda, one part hydrogen peroxide, and one part dish soap. Spread this mixture all over the oven interior and let it sit overnight. The soap and hydrogen peroxide work together to break down that pesky grease and grime.
As a final touch, squirt a few tablespoons of lemon juice into the oven before wiping everything clean. The citric acid in the lemon juice helps to cut through any remaining residue.
Now, I know what you’re thinking – “But won’t that hydrogen peroxide bleach everything?” Fear not, my cleaning-savvy friend. As long as you’re rinsing and wiping thoroughly, you shouldn’t have any issues with discoloration or damage to your oven.
Soak and Scrape: Tackling the Tough Stuff
Sometimes, even the mightiest of cleaning solutions can’t quite conquer those stubborn, caked-on chunks of grime. When that’s the case, it’s time to soak and scrape.
Start by removing the oven racks and placing them in a large sink or bathtub. Cover them with one of the cleaning solutions we’ve discussed and let them sit overnight. This will help to soften and dissolve the tough grease and debris.
As for the oven itself, you can use the same soaking method on the interior walls, roof, and floor. Spread your chosen cleaning paste or solution, let it sit, and then come back with a spatula or spoon to gently scrape away any remaining stubborn bits.
Remember, patience is key when dealing with baked-on grime. Don’t be afraid to let those cleaning mixtures work their magic for a little while longer if the first round doesn’t do the trick.
Maintaining a Cleaner Oven
Alright, now that you’ve conquered the oven cleaning battle, let’s talk about prevention. After all, the best way to avoid a grueling cleaning session is to keep on top of the maintenance.
Here are a few tips to help you maintain a cleaner oven:
- Wipe down the interior after each use. This helps prevent buildup and makes future cleanings a breeze.
- Use baking sheets and liners to catch drips and spills, making cleanup a lot easier.
- Avoid opening the oven door unnecessarily, as this can cause temperature fluctuations and lead to faster grease and grime accumulation.
- Schedule regular deep-cleaning sessions, even if the oven doesn’t look too dirty. Preventative maintenance is key!
And if you’re really not keen on tackling the oven cleaning yourself, there’s always the option of calling in a professional cleaning service. They have the expertise and equipment to get your oven looking (and smelling) brand new in no time.
So there you have it, my fellow cleaning enthusiasts – your oven overhaul toolkit. With a little elbow grease and the right cleaning solutions, you’ll be well on your way to a sparkling, grime-free oven that will make all your culinary creations shine.
Now, if you’ll excuse me, I think it’s time to put these tips into action and give my own oven a much-needed deep clean. Wish me luck!
Check out our professional cleaning services to make your oven look and perform its best.


