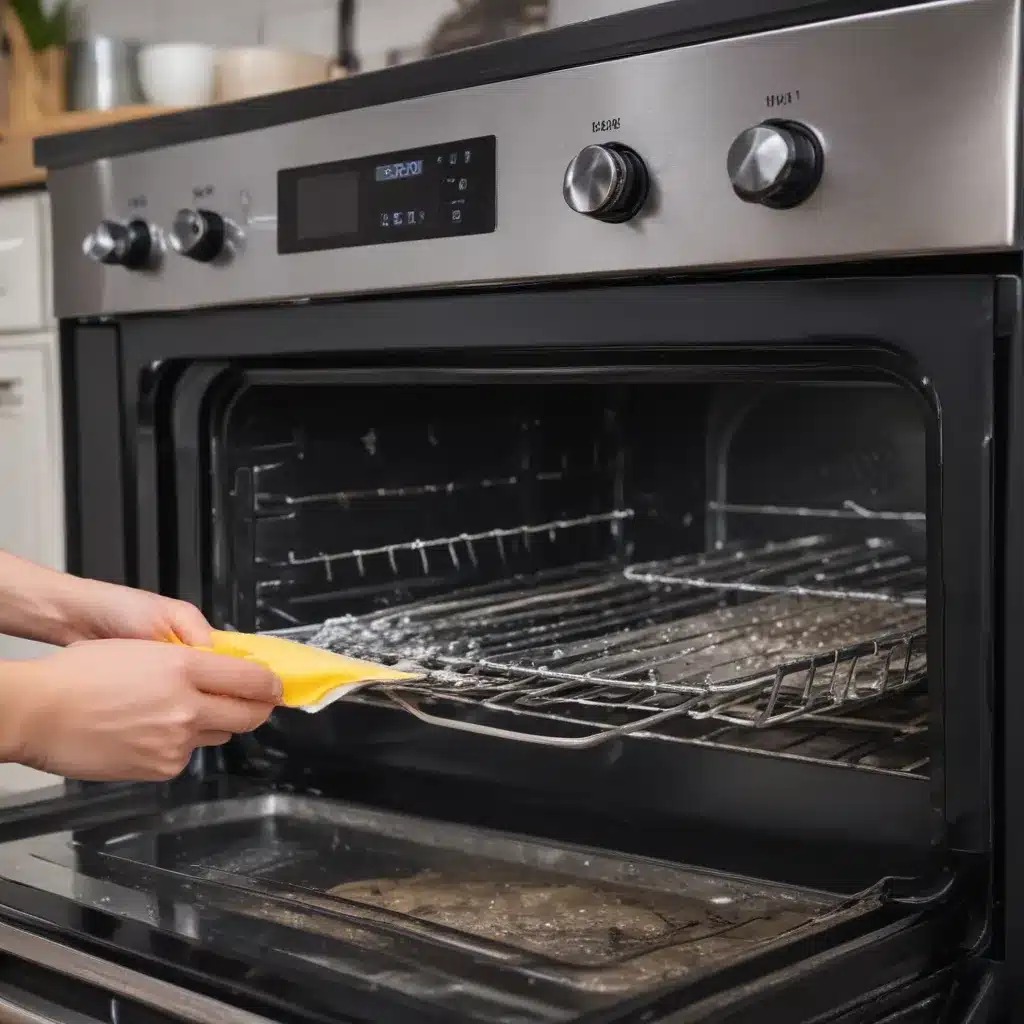
As someone who has always had a love-hate relationship with cleaning, I can confidently say that tackling the dreaded task of oven cleaning has to be one of the most daunting chores on my list. But fear not, my fellow lazy folk – I’m here to share my tried-and-true method for making this seemingly insurmountable task a breeze.
Step 1: Gather Your Supplies
Before we dive in, let’s make sure we have all the necessary tools at our disposal. You’ll need:
- A good quality oven cleaner (I swear by Adam’s Cleaning products)
- A few rags or microfiber cloths
- A scrub brush or sponge
- A bucket of warm water
- Rubber gloves (optional, but highly recommended)
With these items in hand, you’re ready to tackle the task at hand.
Step 2: The Lazy Approach
Now, I know what you’re thinking – “There’s no such thing as a ‘lazy’ approach to oven cleaning.” Well, my friends, I’m here to prove you wrong. The key to success lies in breaking down the task into manageable steps and tackling them one by one, without getting overwhelmed.
First, let’s start by spraying the entire interior of the oven with your oven cleaner of choice. Be sure to cover every nook and cranny, including the racks and door. According to the Lazy Person’s Guide to a Clean House, this step is crucial for loosening up any grime or buildup.
Next, let the cleaner work its magic for the recommended time. While you wait, you can tackle another task on your cleaning list, such as wiping down the kitchen counters or loading the dishwasher. Remember, the key is to work smarter, not harder.
Step 3: The Big Reveal
Once the timer goes off, it’s time to put on those trusty rubber gloves and start scrubbing. Don’t be afraid to put some elbow grease into it – the more you scrub, the cleaner your oven will be. And if you’re feeling particularly ambitious, you can even break out the toothbrush for those hard-to-reach corners.
As you work, be sure to keep a bucket of warm water nearby to rinse your rags or sponge. This will help ensure that you’re not just spreading the grime around, but actually removing it.
Step 4: Finishing Touches
Once you’ve scrubbed every inch of the oven, it’s time to give it a final wipe-down. Use a clean, damp cloth to remove any lingering cleaner or debris, and then buff the interior with a dry microfiber cloth to restore its shine.
And voila! Your oven is now sparkling clean, all thanks to your newfound “lazy” approach. But don’t stop there – why not tackle the stovetop or the microwave while you’re at it? As the Lazy Girl’s Guide to Spring Cleaning suggests, “Something has to give” – so why not make the most of your cleaning session?
Maintenance is Key
Now, I know what you’re thinking – “Great, I’ve cleaned my oven, but how do I keep it that way?” Well, my friends, that’s where the real secret to lazy cleaning lies. According to the Lazy Girl’s Guide to Cleaning, the key is to establish a simple, daily routine.
Every night, after dinner, take a few minutes to wipe down the oven door and any visible spills or splatters. This will help prevent buildup and keep your oven looking fresh in between deep cleans. And who knows, if you stick to this routine, you may even find that your oven stays clean enough to skip the big scrub-down for a little while longer.
Remember, cleaning doesn’t have to be a daunting task. By breaking it down into manageable steps and incorporating a little bit of laziness, you can turn even the toughest chores into a breeze. So, what are you waiting for? Grab your oven cleaner and let’s get to work!


