Introduction
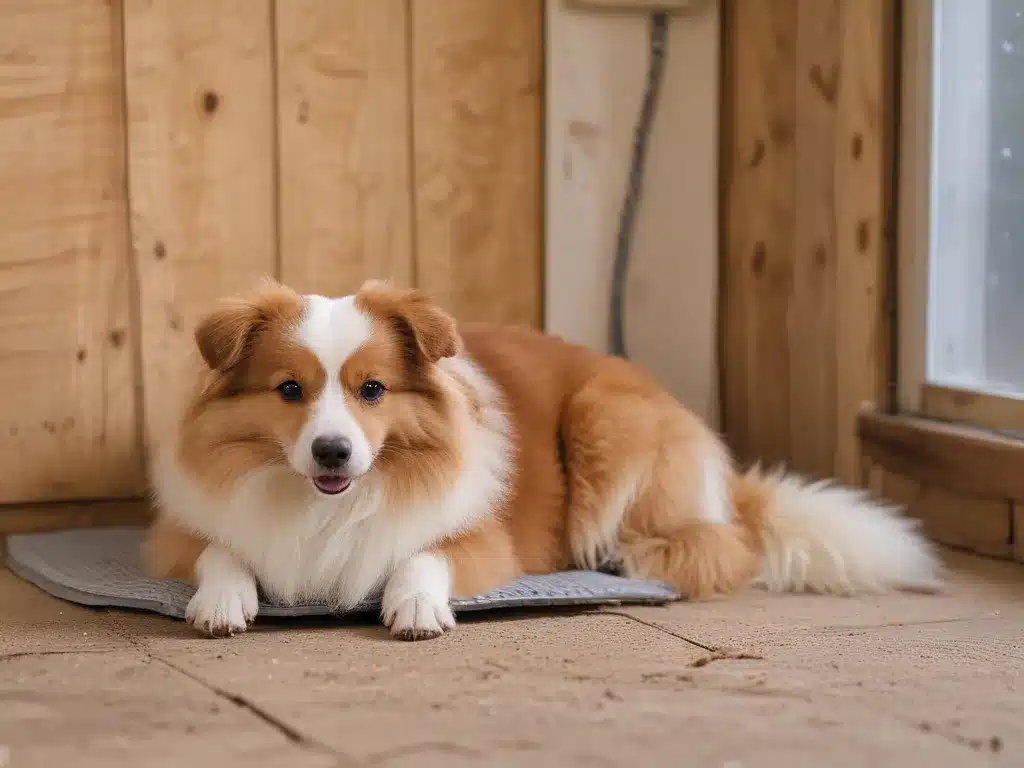
Are you a pet owner struggling to keep your space clean and fur-free? Shedding is a natural process for most animals, and it can quickly turn into a hairy situation if not addressed properly. Vacuuming can be a frustrating task when it comes to pet hair, as it often clogs the vacuum’s filters and hoses, reducing its efficiency. In this comprehensive guide, I will provide you with tips and tricks on how to effectively clean up shed pet fur without clogging your vacuum, ensuring a hassle-free cleaning experience.
Understanding Pet Fur and Its Challenges
To combat shed pet fur effectively, it’s essential to understand its nature and the challenges it presents. Here are some key points:
-
Fur Composition: Pet fur is made up of tightly packed keratin strands that can easily become tangled and matted, making it difficult to remove from surfaces and vacuum filters.
-
Shedding Patterns: Different pets shed at varying levels throughout the year, with some breeds shedding more heavily during specific seasons or life stages.
-
Static Electricity: Pet fur can carry a static charge, causing it to cling stubbornly to fabrics, carpets, and furniture, making it harder to remove.
By understanding these challenges, you can better prepare and develop strategies to tackle shed pet fur effectively.
Preparing Your Cleaning Arsenal
Before diving into the cleaning process, it’s crucial to have the right tools and supplies at your disposal. Here’s what you’ll need:
-
High-Quality Vacuum Cleaner: Invest in a vacuum cleaner designed specifically for pet hair, featuring powerful suction, specialized brushes, and HEPA filters.
-
Lint Rollers: These handy tools are indispensable for removing pet hair from clothing, upholstery, and other fabric surfaces.
-
Rubber Brushes: Rubber brushes or squeegees can be effective in removing pet hair from carpets and furniture before vacuuming.
-
Microfiber Cloths: Microfiber cloths are great for attracting and trapping pet hair, making them ideal for dusting and cleaning hard surfaces.
-
Pet Hair Remover Tools: Consider investing in specialized pet hair remover tools, such as fabric brushes or grooming gloves, designed to capture loose fur effectively.
Having the right tools at your disposal will make the cleaning process more efficient and effective.
Step-by-Step Guide to Cleaning Shed Pet Fur
Now that you have the necessary tools, let’s dive into the step-by-step process of cleaning up shed pet fur without clogging your vacuum:
H3 Step 1: Groom Your Pet Regularly
Regular grooming is the first line of defense against excessive shedding. Brush your pet’s coat regularly to remove loose hair and prevent it from spreading throughout your home. This simple step can significantly reduce the amount of fur you’ll need to clean up later.
H3 Step 2: Prepare the Area for Cleaning
Before you start cleaning, it’s essential to prepare the area to avoid spreading pet hair further. Close doors and windows to prevent air circulation, which can disperse fur. Cover furniture and surfaces you don’t plan to clean to prevent hair from settling on them.
H3 Step 3: Start with Surface Cleaning
Begin by cleaning surfaces where pet hair accumulates, such as floors, furniture, and carpets. Use a rubber brush or squeegee to loosen and collect loose fur before vacuuming. This step will help reduce the amount of hair that could potentially clog your vacuum.
H3 Step 4: Vacuum Strategically
When vacuuming, start with high-traffic areas and work your way towards the exit. Use the appropriate attachments and settings for different surfaces, such as the crevice tool for tight spaces and the upholstery brush for furniture.
To avoid clogging, follow these tips:
- Empty the Vacuum Frequently: Empty the vacuum canister or bag frequently to prevent hair buildup and clogging.
- Clean the Filters: Regularly clean or replace the vacuum’s filters to maintain optimal suction power.
- Use Slow, Overlapping Strokes: Vacuum slowly and make overlapping strokes to ensure you capture as much hair as possible.
- Alternate Between Tools: Alternate between different vacuum attachments to dislodge stubborn hair from various surfaces.
H3 Step 5: Final Touches
After vacuuming, use a lint roller or microfiber cloth to capture any remaining pet hair on upholstery, curtains, and other fabric surfaces. Pay special attention to areas where pet hair tends to accumulate, such as corners, edges, and crevices.
Maintenance and Prevention Tips
To keep your home fur-free and your vacuum functioning optimally, follow these maintenance and prevention tips:
-
Groom Your Pet Regularly: As mentioned earlier, regular grooming is key to minimizing shedding and reducing the amount of fur you need to clean.
-
Vacuum Frequently: Don’t wait for pet hair to accumulate. Vacuum regularly to prevent it from becoming embedded in carpets and upholstery.
-
Clean Vacuum Filters and Brushes: Clean or replace vacuum filters and brushes regularly to ensure optimal performance and prevent clogging.
-
Use Anti-Static Solutions: Consider using anti-static sprays or solutions to reduce static electricity, which can cause pet hair to cling to surfaces.
-
Invest in Air Purifiers: Air purifiers with HEPA filters can help capture pet hair and other allergens, improving indoor air quality.
By following these maintenance and prevention tips, you can minimize the amount of shed pet fur in your home and extend the lifespan of your vacuum cleaner.
Conclusion
Cleaning up shed pet fur can be a daunting task, but with the right tools, techniques, and maintenance strategies, you can tackle it effectively without clogging your vacuum. Remember to groom your pet regularly, prepare the area for cleaning, use surface cleaning tools, vacuum strategically, and follow maintenance and prevention tips. By implementing these steps, you can enjoy a fur-free, clean living space while keeping your vacuum functioning optimally.


