Introduction
As a pet owner, I understand the struggle of dealing with pet fur in our beloved cars. Those furry companions bring us joy, but their shedding can leave our vehicle interiors looking like a furry mess. However, fear not! In this comprehensive guide, I’ll share effective techniques and tips on how to clean pet fur out of car seats and mats, ensuring your ride remains fresh and fur-free.
Understanding the Problem
Before diving into the cleaning process, let’s explore the reasons why pet fur can be such a persistent issue in our cars:
- Shedding Cycles: Different pet breeds and species have varying shedding patterns, ranging from seasonal shedding to year-round molting.
- Fur Type: The texture of pet fur plays a role in how easily it clings to surfaces. Longer, thicker fur tends to be more challenging to remove.
- Static Electricity: The friction between pet fur and car upholstery can create static charges, causing the fur to stick tenaciously to surfaces.
By understanding these factors, we can better prepare ourselves for the cleaning process and choose the most effective methods.
Preparing for the Cleaning Process
Before starting the actual cleaning, it’s essential to take some preparatory steps to ensure optimal results and minimize the spread of fur:
-
Vacuum the Interior: Begin by thoroughly vacuuming the entire car interior, including the seats, mats, and floor. This initial vacuuming will remove loose fur and debris, making the subsequent cleaning more efficient.
-
Remove Detachable Parts: If possible, remove car mats, seat covers, or any detachable components to facilitate better access and cleaning.
-
Gather Supplies: Assemble the necessary cleaning supplies, such as a high-quality vacuum cleaner with attachments, lint rollers, rubber pet grooming brushes, and car-safe cleaning solutions or upholstery cleaners.
-
Prepare a Clean Area: Set up a clean workspace or area outside the car where you can work on detachable components without spreading fur further.
Cleaning Techniques
Now that we’ve prepared the car and gathered the necessary supplies, let’s dive into the various cleaning techniques for removing pet fur from car seats and mats:
Vacuuming
Vacuuming is the most fundamental and essential step in pet fur removal. Here’s how to tackle it effectively:
-
Use the Right Attachments: Equip your vacuum cleaner with the appropriate attachments, such as crevice tools for tight spaces and upholstery brushes for fabric surfaces.
-
Vacuum Thoroughly: Slowly and methodically vacuum the car seats, mats, and floor, paying extra attention to seams, crevices, and hard-to-reach areas where fur tends to accumulate.
-
Empty the Vacuum Frequently: To maintain optimal suction power, empty the vacuum’s dust container or bag regularly during the cleaning process.
Lint Rollers and Sticky Tapes
Lint rollers and sticky tapes are handy tools for removing stubborn fur from car upholstery and mats:
-
Use High-Quality Lint Rollers: Invest in high-quality lint rollers with strong adhesive sheets that can effectively capture pet fur.
-
Roll in Multiple Directions: Roll the lint roller in different directions across the surface to capture fur from various angles.
-
Sticky Tapes for Hard-to-Reach Areas: For crevices and tight spaces, use sticky tapes or masking tapes to grab onto fur that vacuuming and lint rollers might miss.
Rubber Pet Grooming Brushes
Rubber pet grooming brushes are a secret weapon for lifting and removing embedded pet fur from car seats and mats:
-
Choose a Firm, Rubber Brush: Look for a rubber brush with firm bristles specifically designed for pet grooming or upholstery cleaning.
-
Apply Gentle Pressure: Gently press the brush against the fabric surface, allowing the bristles to grip and lift the fur.
-
Brush in Multiple Directions: Brush in different directions to loosen and remove fur from various angles.
Car-Safe Cleaning Solutions
In some cases, you may need to use car-safe cleaning solutions or upholstery cleaners to tackle stubborn fur and stains:
-
Read Labels Carefully: Always read the labels on cleaning products to ensure they are safe for use on car interiors and upholstery.
-
Test on a Small Area: Before applying any cleaning solution, test it on a small, inconspicuous area to check for potential discoloration or damage.
-
Follow Instructions: Carefully follow the instructions provided by the manufacturer for proper application and usage of the cleaning solution.
Maintaining a Fur-Free Interior
Keeping your car’s interior fur-free is an ongoing process, but with a few simple habits, you can minimize the accumulation of pet fur:
-
Regular Vacuuming: Make it a habit to vacuum your car’s interior regularly, at least once a week or more frequently if needed.
-
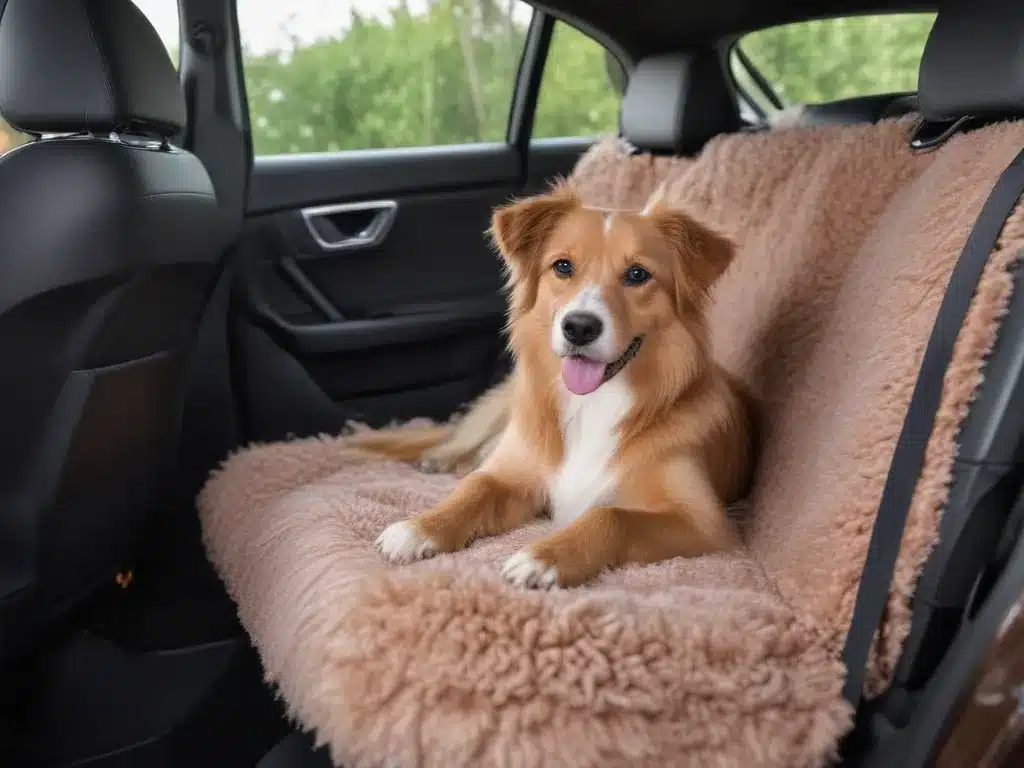
Use Car Seat Covers: Invest in high-quality, machine-washable car seat covers that can be easily removed and cleaned to prevent fur buildup on the actual seats.
-
Groom Your Pets Regularly: Brushing and grooming your pets regularly can help reduce excessive shedding and minimize the amount of fur that ends up in your car.
-
Consider Car Air Filters: Some car air filters are designed to trap pet hair and dander, helping to keep your car’s interior fresher and cleaner.
Conclusion
Cleaning pet fur out of car seats and mats can be a daunting task, but with the right techniques and tools, it’s entirely possible to maintain a clean and fur-free interior. By following the steps outlined in this guide, you can effectively remove pet fur and keep your car looking and smelling fresh. Remember, patience and persistence are key, and regular maintenance will go a long way in keeping your ride fur-free and enjoyable for you and your furry companions.


