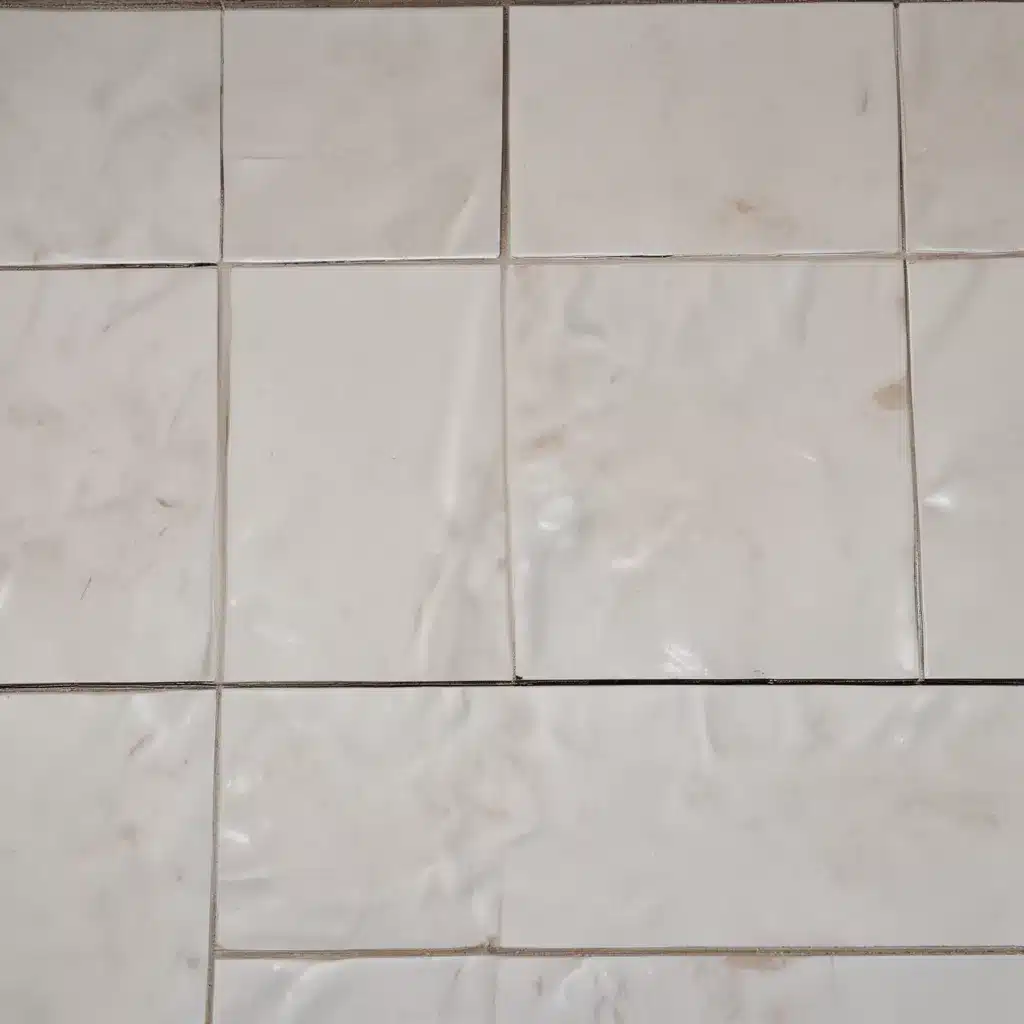
Tackling the Tile Terror with a Pinch of Culinary Wizardry
Ah, the woes of grout grime – that stubborn, unsightly stain that seems to creep into every nook and cranny of our tiled surfaces. As a proud homeowner in Nottingham, UK, I’ve faced this battle more times than I can count. But fear not, my fellow tile enthusiasts, for I have uncovered a secret weapon that will have your grout gleaming brighter than the crown jewels: baking soda.
The Porous Predicament
You see, the reason grout becomes such a cleaning conundrum is its inherently porous nature. This spongy filler between our tiles acts like a magnet, attracting all manner of dirt, grime, and even mold. It’s no wonder our once pristine bathrooms and kitchens can start to resemble a scene straight out of a Victorian-era crime novel.
Baking Soda to the Rescue
But fear not, for I’ve discovered a simple and effective solution that’s as close as your kitchen cupboard. Baking soda, that humble household staple, is the key to banishing grout grime for good. By combining this magical powder with a few other common ingredients, you can create a cleaning powerhouse that will have your tiles sparkling in no time.
The Baking Soda Bonanza
First, let’s talk about the all-star of our homemade grout cleaner: baking soda. This versatile compound isn’t just for baking; it’s a cleaning superhero in its own right. Thanks to its gentle abrasive properties, baking soda can scrub away stubborn stains and discoloration without scratching or damaging your precious tiles. And the best part? It’s completely natural and environmentally friendly, so you can clean with a clear conscience.
The Vinegar Volley
Now, to amp up the cleaning power of our baking soda, we’re going to add a little vinegar to the mix. Vinegar is a natural degreaser and disinfectant, making it the perfect sidekick to our baking soda superhero. When combined, the two create a fizzing, bubbling reaction that helps to loosen and lift even the toughest grout grime.
The Scrubbing Showdown
With our baking soda and vinegar solution at the ready, it’s time to get to work. Grab a stiff-bristled grout brush and get ready to put in some elbow grease. Gently scrub the solution into the grout lines, letting the fizzing and bubbling do its magic. Be patient and persistent, and you’ll soon see those once-dingy grout lines start to shine like new.
The Rinse and Reveal
Once you’ve scrubbed to your heart’s content, it’s time to rinse away the solution and admire your handiwork. A few splashes of clean water will do the trick, leaving your tiles and grout sparkling clean and fresh. It’s like revealing a hidden gem – the transformation is truly remarkable.
Maintaining the Masterpiece
Of course, the true test is keeping your grout looking its best. COIT recommends regularly sweeping, mopping, and even spraying your tiles with a vinegar-water solution to prevent future grout grime. By staying on top of maintenance, you can keep your Adam Cleaning masterpiece looking its absolute best.
The Baking Soda Breakthrough
So there you have it, my fellow Nottingham tile enthusiasts – the secret to saying goodbye to grout grime for good. With a little elbow grease and a whole lot of baking soda, you can transform your tired, dingy tiles into a showstopping display of cleanliness. And the best part? It’s a cost-effective, eco-friendly solution that you can whip up in your own kitchen. So what are you waiting for? Grab that baking soda and get to work – your grout will thank you!


