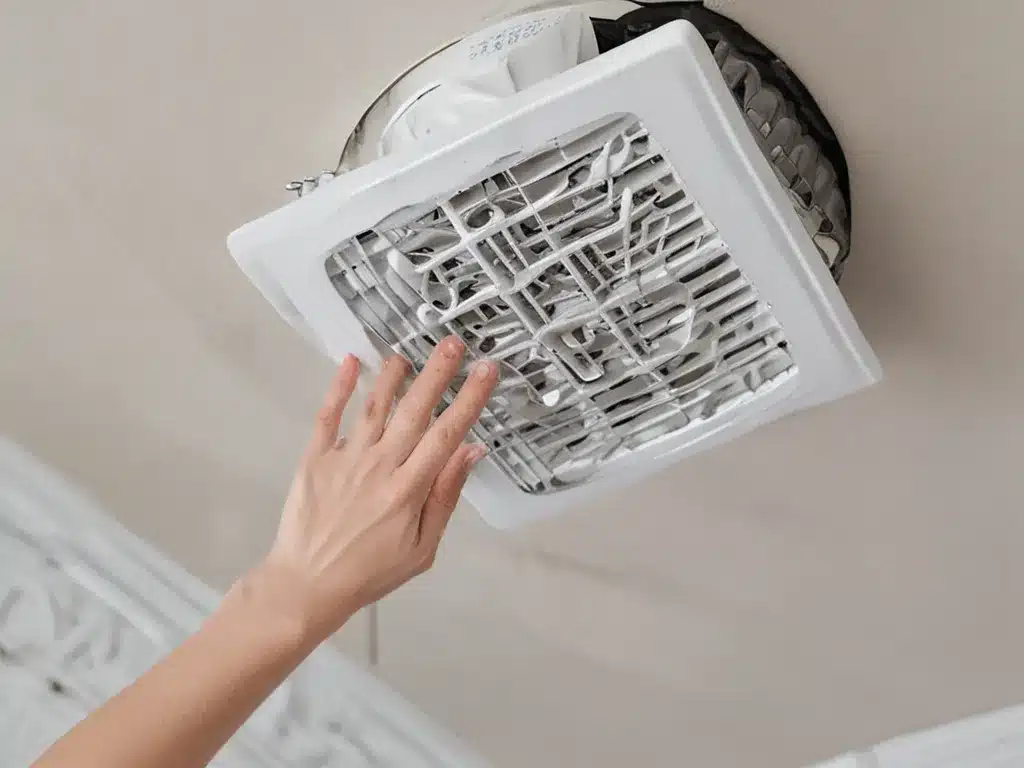
Why Clean Fans and Vents
Fans and vents easily accumulate dust, pet hair, and other debris over time. This can lead to a few issues that are easily resolved by giving them a deep clean. Here are some key reasons why cleaning fans and vents is important:
- Improved airflow and circulation. Dust buildup in vents and on fan blades restricts airflow. This can make your HVAC system work harder to push air through the ducts. Deep cleaning improves airflow and circulation.
- Reduced allergens. Dust contains allergy triggers like pollen, pet dander, mold spores, and more. Regular cleaning keeps these allergy triggers from recombining into the air you breathe.
- Fire prevention. Excess debris in fans can cause motors to overheat and possibly start an electrical fire. Cleaning fans helps remove flammable debris.
- Lower energy bills. Restricted airflow makes your HVAC system run less efficiently. Deep cleaning improves efficiency, allowing your system to maintain desired temperatures while using less energy.
Supplies Needed
Gather the following supplies before cleaning fans and vents:
- Vacuum cleaner. Use a vacuum with a hose and crevice tool to reach tight spaces.
- Dusting brush. A soft brush helps loosen and sweep away dust and debris.
- Compressed air. Canned air blows away dust in hard to reach crevices.
- Degreaser. For greasy buildup on vents, an all-purpose cleaner or degreaser helps dissolve gunk.
- Lint-free cloths and towels. Have some rags on hand for wiping down dirty surfaces.
- Gloves. Wear gloves to protect your hands from dirt, grime, and debris.
- Screwdriver. Use a screwdriver to open vents and access fan housing, if needed.
- Replacement filters. Swap out dirty filters for clean ones after cleaning vents.
Cleaning Fans
Follow these steps to thoroughly clean dusty fans:
Turn The Power Off
Before cleaning the fan, turn off power to the fan at the breaker box. This prevents accidental injury from the fan blades starting unexpectedly.
Wipe Down The Exterior
Wipe down the entire outside of the fan enclosure using a lint-free cloth and mild cleaner. This removes superficial dust and dirt buildup from the fan housing.
Remove The Grill
Unscrew and remove the fan’s grill to access the blades. This grill catches a lot of airborne debris, so vacuuming it is key.
Vacuum The Blades
Use a vacuum crevice tool to vacuum both sides of the fan blades and motor. This lifts off all loose particles stuck to the blades.
Dust The Blades
For stubborn dust stuck to the blades, use a clean dusting brush. Gently brush each blade from base to tip to dislodge clinging debris. Avoid bending or damaging the blades while brushing.
Deep Clean Oily Gunk
For thick, greasy buildup on blades, apply a small amount of degreaser to a lint-free cloth. Gently wipe the cloth over soiled spots on the blades. The degreaser will dissolve stuck-on grime.
Reinstall The Grill
Once all blades are dust-free, carefully replace the fan’s front grill. Screw it back into place before restoring power.
Cleaning Vents
Here is a thorough process for cleaning dusty, dirty vents:
Remove Vent Covers
Start by removing all vent covers throughout the home. This allows access to the inner vent areas in need of cleaning.
Vacuum Vents
Use a vacuum hose or crevice tool to vacuum inside each vent. Vacuum in all directions to lift dust from all sides of vent walls and duct surfaces.
Wipe Down Vents
If vacuum suction is not enough, wipe vents down. Dampen a lint-free cloth with water or a mild all-purpose cleaner. Scrub cloth over vent walls to collect embedded debris.
Vacuum Duct Openings
Also use the vacuum to clean a couple feet down into any accessible duct openings. This catches lingering dust inside the ducting.
Degrease As Needed
For greasy buildup, apply a small amount of degreaser to a cloth. Wipe down grimy vent walls, being careful not to saturate ducts.
Rinse Residue
If needed, use a second clean, damp cloth to wipe away any cleaner residue left behind in vents.
Replace Filters
Insert new, clean filters into all vents before replacing the vent covers. Discard used, dirty filters that were removed.
Cleaning fans and vents takes time and elbow grease. But improving your indoor air quality and HVAC efficiency is worth the effort. Just be sure to take appropriate safety precautions before diving into each cleaning task. With routine, thorough cleanings, you can keep air flowing properly through your ventilation system.


