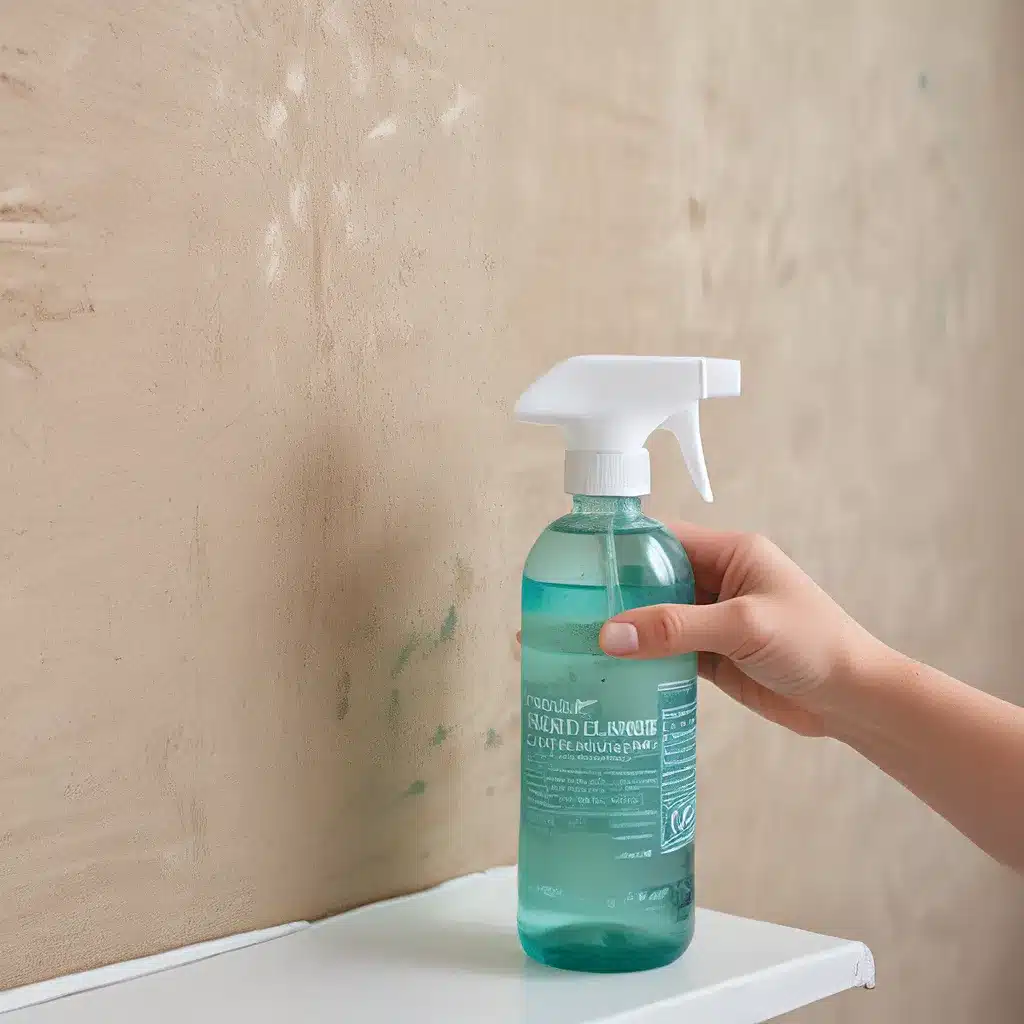
The Dirty Truth About Our Walls
I’ll admit it – until recently, cleaning my walls was not even on my radar. Like many busy homeowners, I’d focus on vacuuming, mopping, and scrubbing the more obvious surfaces, but those poor walls? Forgotten and neglected.
That is, until I decided to repaint our living room a lovely, light gray color. The fresh coat of paint revealed something I hadn’t noticed before – our walls were really dirty. Scuff marks, fingerprints, dust, and grime had all accumulated, and the once-bright paint job now looked dull and dingy.
I started surveying my friends, and turns out, I wasn’t alone. None of them had a regular wall-cleaning routine. We all dutifully cleaned our floors, countertops, and windows, but the walls? Out of sight, out of mind.
Well, that ends today. I’m here to share my easy, DIY wall cleaning solution that will have your walls sparkling clean in no time. No more settling for dirty, grimy walls – let’s get to work!
Gather Your Supplies
Before we dive in, let’s make sure you have the right tools for the job. Here’s what you’ll need:
-
Squeegee Microfiber Mop: This is the secret weapon for getting your walls truly clean. A regular mop just won’t cut it – you need the squeegee action to remove all that built-up dirt and grime.
-
Warm Water: Hot water helps dissolve grease and grime, making it easier to wipe away.
-
Dish Soap: A small amount of gentle dish soap adds some extra cleaning power.
-
White Vinegar: This natural wonder-cleaner helps cut through tough stains and odors.
That’s it! With just these three simple ingredients, you can make a highly effective wall cleaning solution that won’t damage your paint or leave streaks behind.
The Magic Wall Cleaning Formula
Okay, are you ready for the easiest DIY wall cleaner ever? Here’s what you do:
- In a large bucket or bowl, mix together:
- 2 cups of warm water
- 1 teaspoon of dish soap
-
1 teaspoon of white vinegar
-
Submerge your squeegee microfiber mop in the solution, making sure it’s fully saturated.
-
Starting in the corner of the wall, gently wipe the mop across the surface, moving in long, even strokes. Don’t just spot clean – make sure to cover the entire wall.
-
As you go, use the squeegee side of the mop to remove the dirty water and grime from the wall. Have a towel handy to catch any drips.
-
Rinse the squeegee frequently with clean water to prevent streaking.
That’s it! The vinegar helps cut through grease and grime, the dish soap provides extra cleaning power, and the squeegee microfiber mop does all the heavy lifting. Your walls will be sparkling clean in no time.
The Squeegee Secret
You might be tempted to just use a regular old mop for this job, but trust me – the squeegee mop is a game-changer. Here’s why:
When I first tackled my walls, I thought the microfiber mop was doing a great job. The walls looked nice and clean, or so I thought. But then I went over them with the squeegee side, and WOW – it removed a whole extra layer of dirt and grime that I couldn’t even see!
The squeegee action really gets into all those nooks and crannies, picking up the small, stubborn particles that a regular mop just can’t reach. It leaves your walls looking pristinely clean, with no streaks or drips in sight.
Plus, the squeegee is especially helpful for hard-to-reach areas, like the tops of walls or along baseboards. I even used mine to tackle the ceiling above my stove, which was in desperate need of a good cleaning.
So do yourself a favor and invest in a quality squeegee mop. It’ll make wall-washing a breeze, and you’ll be amazed at the difference it makes.
Tackle Those Tough Spots
Okay, so your walls are mostly clean, but you’re still seeing some stubborn stains or scuffs. No problem – we’ve got your back.
For tougher marks like crayon, pen, or marker, try using a damp magic eraser. Just dip it in the wall cleaning solution, gently scrub the problem area, and watch that grime disappear.
And don’t forget about your baseboards! Use the same cleaning solution and a microfiber cloth to wipe them down. Those often-overlooked areas can really make a difference in how fresh and clean your space feels.
Finally, for ceilings, just use the same method as the walls. Take extra care to wring out the mop thoroughly before applying it overhead to avoid drips. Squeegee the ceiling as well to ensure a streak-free finish.
Maintain That Sparkling Shine
Now that you’ve got your walls looking their absolute best, how do you keep them that way? I recommend a deep cleaning session every 6-8 weeks if you have lighter-colored paint, or every 4-6 months for deeper shades.
With this simple DIY wall cleaner, you can whip up a fresh batch anytime you need it. Just store the ingredients in your cleaning caddy, and you’ll be ready to tackle those walls at a moment’s notice.
And don’t forget – regular dusting can go a long way in preventing that built-up grime. Run a microfiber cloth or duster over the walls every week or so to keep them looking their best between deep cleanings.
So there you have it – your new secret weapon for sparkling, streak-free walls. No more settling for dull, dirty surfaces. Get out there and start cleaning! Your home will thank you.
Oh, and one last tip: Be careful on those ladders. Maybe skip the kitchen island acrobatics and enlist a spotter, unlike yours truly. Safety first, my friends!
Check out our professional cleaning services if you don’t have the time or energy to tackle those walls yourself. We’d be happy to lend a hand and get your home looking its absolute best.


