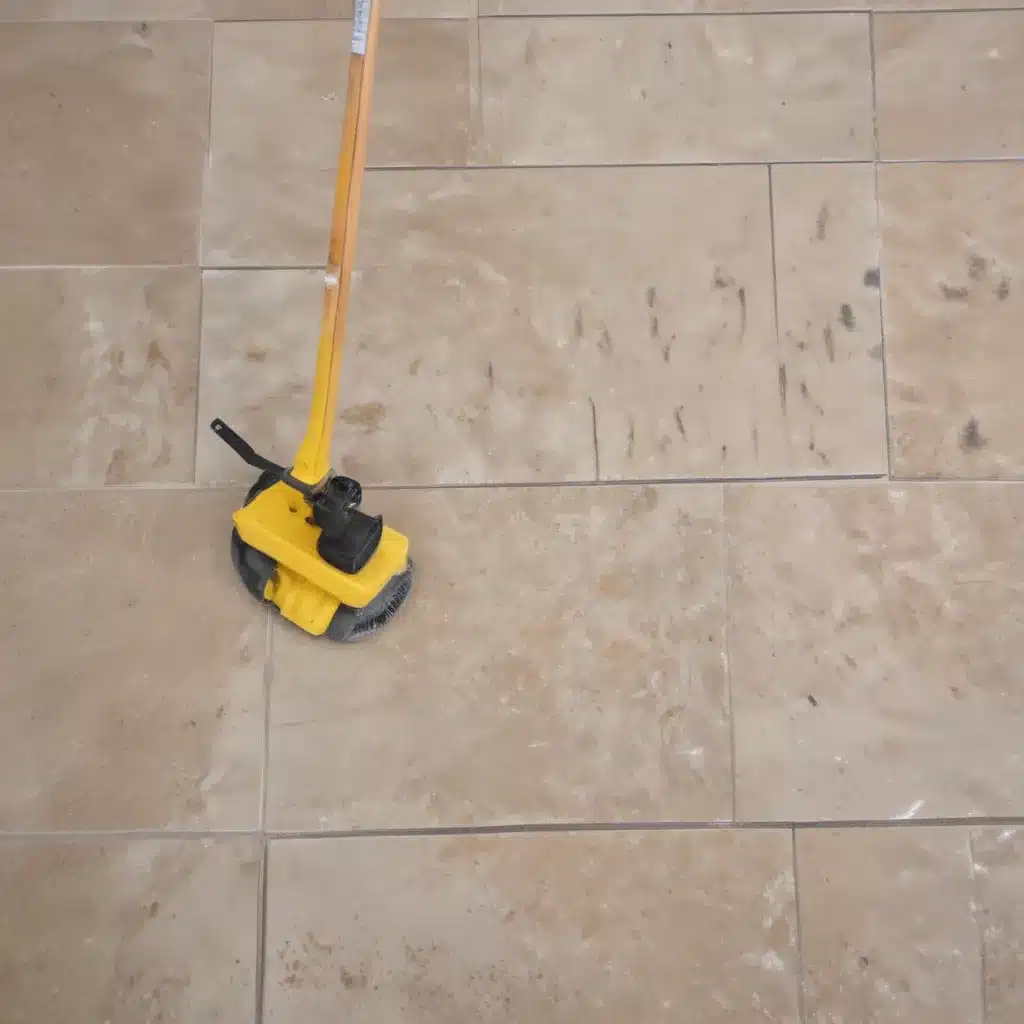
The Grout Grime Struggle
I don’t know about you, but grout has always been my nemesis. That pristine, bright white grout that shines so beautifully when you first install it? Yeah, it doesn’t take long for it to transform into a dingy, discolored mess in high-traffic areas of the home. And let me tell you, I’ve tried every commercial grout cleaner under the sun, only to be left disappointed time and time again.
That is, until I stumbled upon the magical combination of baking soda, hydrogen peroxide, and dish soap. This homemade grout cleaner has quite literally changed the game for me, and I’m excited to share my experience with you. Prepare to say goodbye to those pesky grout stains and hello to sparkling clean tile floors!
The Dirty Truth
When we moved into our current home about 2.5 years ago, the kitchen and mudroom floors were adorned with beautiful white grout. Or at least, they were supposed to be white. Fast forward to present day, and that grout had morphed into a dismal, almost black hue. I’m talking worse than I could have ever imagined. As the lovely Jayden from Back Road Bloom put it, the grout was “bothering me for a while but I didn’t know how bad it was until after I cleaned it.”
You see, in all those 2.5 years, I had never intentionally cleaned the grout. I would scrub the tile floors and wipe down the grout as I went, but a proper, deep clean? Nope, that had never happened. And boy, did it show. That’s when I knew I had to take matters into my own hands and find a solution.
The Homemade Miracle
After scouring the internet for the best DIY grout cleaning methods, I landed on a combination that quite frankly, blew me away. Jayden from Back Road Bloom had the right idea – a simple mix of baking soda, hydrogen peroxide, and dish soap was the key to reviving my dingy grout.
Now, I’ll admit, I was a bit skeptical at first. How could such a basic concoction possibly make that much of a difference? But let me tell you, the proof was in the pudding (or rather, the before and after photos). After letting the solution sit for 5-10 minutes and then scrubbing with a handy grout brush, the transformation was nothing short of remarkable.
Suddenly, that dull, almost black grout was bright, shiny, and gasp white again. I couldn’t believe my eyes! As Courtenay from The Creek Line House said, “You’ll be amazed at all the dirt that you see bubble up and out of your grout!” It was like a whole new floor had been installed.
The Cleaning Process
Okay, I’ll admit, this DIY grout cleaning process isn’t exactly a quick and easy task. But let me tell you, the results are so worth it. Here’s a breakdown of the steps I followed:
- Mix together the homemade grout cleaner solution: 2 parts hydrogen peroxide, 1 part baking soda, and a couple teaspoons of dish soap.
- Apply the solution to a small section of grout at a time, letting it sit for 5-10 minutes.
- Grab a sturdy grout brush and start scrubbing. You’ll be amazed at how much grime comes up with just a few strokes.
- Sweep up the excess cleaner and then mop the area thoroughly with hot water and a touch of dish soap.
It’s a bit time-consuming, but trust me, it’s a game-changer. As Jayden mentioned, she spent about an hour each day working on her kitchen, and it was well worth the effort. And the best part? This homemade grout cleaner is completely natural and non-toxic, so you can feel good about using it in your home.
The Sparkling Results
After putting in the elbow grease and following this DIY grout cleaning method, I was absolutely blown away by the results. My once dull and discolored grout was now bright, white, and shining like new. As demonstrated in this helpful tutorial, the difference is night and day.
But the transformation went beyond just aesthetic appeal. Courtenay from The Creek Line House pointed out that this homemade cleaner is “safe to use on almost any type of grout” and can even be used on other porous surfaces like concrete or stone. It’s a true multi-purpose wonder!
I’m now a firm believer in the power of this DIY grout cleaner, and I can’t wait to tackle the bathrooms next. As demonstrated in this video, it works just as effectively in tub and shower areas. Goodbye, stubborn soap scum and mildew – hello, sparkling clean tile!
The Cleaning Takeaway
If you’re like me and have been struggling with dingy, discolored grout, I urge you to give this homemade cleaning solution a try. Not only is it amazingly effective, but it’s also safe, natural, and budget-friendly.
Sure, it may take a bit of time and elbow grease, but the results are truly transformative. And if you’re just not up for the DIY route, the team at Adam Cleaning in Nottingham would be more than happy to lend a hand and get your tile and grout looking brand new again.
So what are you waiting for? Grab those baking soda, hydrogen peroxide, and dish soap, and get to work! Your grout will thank you.


