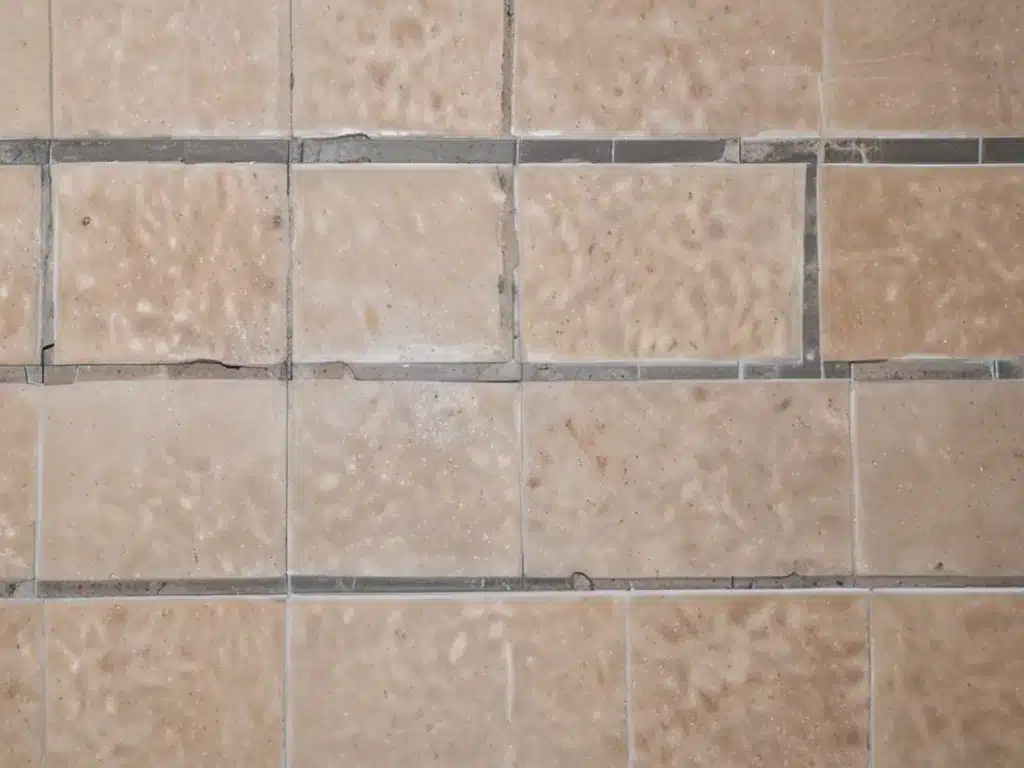
Why Grout Gets Dirty
Grout is the material that fills the spaces between tiles on floors, walls, countertops, and backsplashes. It is typically made from cement, epoxy, or silicone. Over time, grout can become dirty for a few reasons:
-
Dirt and grease from normal use can build up in the porous surface of grout. Food spills and splatters in the kitchen contribute to this grime buildup.
-
Mold and mildew grow easily in the damp, humid environment of bathrooms. Mold spores landing on grout can take hold and spread.
-
Discoloration can occur over years of use as sealers wear off and staining substances come into contact with the grout. This is common around sinks and showers.
-
Cracked or damaged grout is more susceptible to collecting dirt in the crevices. Grout can crack from movement or improper installation.
Why Deep Clean Grout
Grout that looks dirty and grimy can make the whole room appear unclean, even if the tiles themselves are sparkling. Here are reasons why a deep clean is recommended:
-
Improve appearance – Returning grout to like-new condition has an aesthetically pleasing effect and makes the room look clean.
-
Remove allergens – Deep cleaning removes the mold, mildew, and bacteria that can aggravate allergies and cause illness.
-
Protect surfaces – Built-up dirt and spills can stain, discolor, and damage grout over time. Deep cleaning prevents permanent damage.
-
Extend life – Regular deep cleaning protects the integrity of grout and prevents the need for repairs and regrouting.
-
Improve air quality – Eliminating mold and bacteria growth improves indoor air quality and keeps the room fresher.
Supplies Needed
Deep cleaning grout requires some specialized tools and cleaners not found in a basic cleaning kit. Here are the must-have supplies:
-
Grout brush – A brush with stiff bristles designed to scrub inside grout lines.
-
Power drill with scrubbing attachment – For large grout areas, a power drill with a scrub pad is more efficient.
-
Grout sealer – Sealing grout after deep cleaning prevents future stains and damage. Choose water or solvent-based.
-
Masking tape – Protect walls and tiles from damage during scrubbing by taping around edges.
-
Appropriate cleaners – Use grout-specific cleaners or make a cleaning paste of baking soda and hydrogen peroxide. Avoid bleach.
-
Protective gear – Wear gloves and goggles when working with chemicals. A mask prevents inhaling debris.
Step-by-Step Process
Follow these key steps to deeply clean grout:
1. Prepare the Area
Clear all removable items from the area. Tape around edges to protect surfaces. Vacuum up any loose debris in grout lines.
2. Apply Cleaner
Spray or pour cleaning solution directly onto grout lines. Allow it to sit for 5-10 minutes. This gives time to penetrate and loosen dirt.
3. Scrub Grout
Use grout brush, old toothbrush, or power drill attachment to scrub grout lines. Apply pressure and use a back-and-forth motion. Rinse periodically to see progress.
4. Rinse Clean
Rinse area thoroughly with clean water to remove all cleaning solution and dirt residue from grout lines. A wet/dry vac simplifies rinse and drying.
5. Apply Grout Sealer (Optional)
Use a paintbrush to apply a thin, even coat of grout sealer once grout is clean and dry. Allow sealer to soak in and cure completely per manufacturer directions.
6. Final Clean
Wipe down tiles, inspect for missed areas, and do final rinse of any product residue. Allow area to dry completely before using again.
Grout Cleaning Tips
- Test cleaner on inconspicuous area first to check for discoloration.
- Change rinse water frequently to prevent redepositing dirt.
- Let new grout cure 1-2 weeks before deep cleaning.
- For heavy mold, use bleach – but test first and never mix with other cleaners.
- Wear knee pads to protect knees during extended scrubbing.
- Work in small sections for most effective deep cleaning results.
When to Regrout Instead
If grout is cracked, crumbling, missing, or unsalvageable through deep cleaning, a regrouting is needed:
- Chip out old grout with grout saw or Dremel tool.
- Clean tiles and grout lines thoroughly.
- Apply new grout per manufacturer instructions.
- Seal regrouted areas to match rest of tile.
Conclusion
While labor intensive, deep cleaning grout and resealing it pays off with great results. The restored appearance can make the kitchen or bathroom look brand new. With the right supplies and techniques, this is a DIY project any homeowner can tackle. Be sure to maintain the renewed grout by quick-cleaning after spills and regular resealing.


