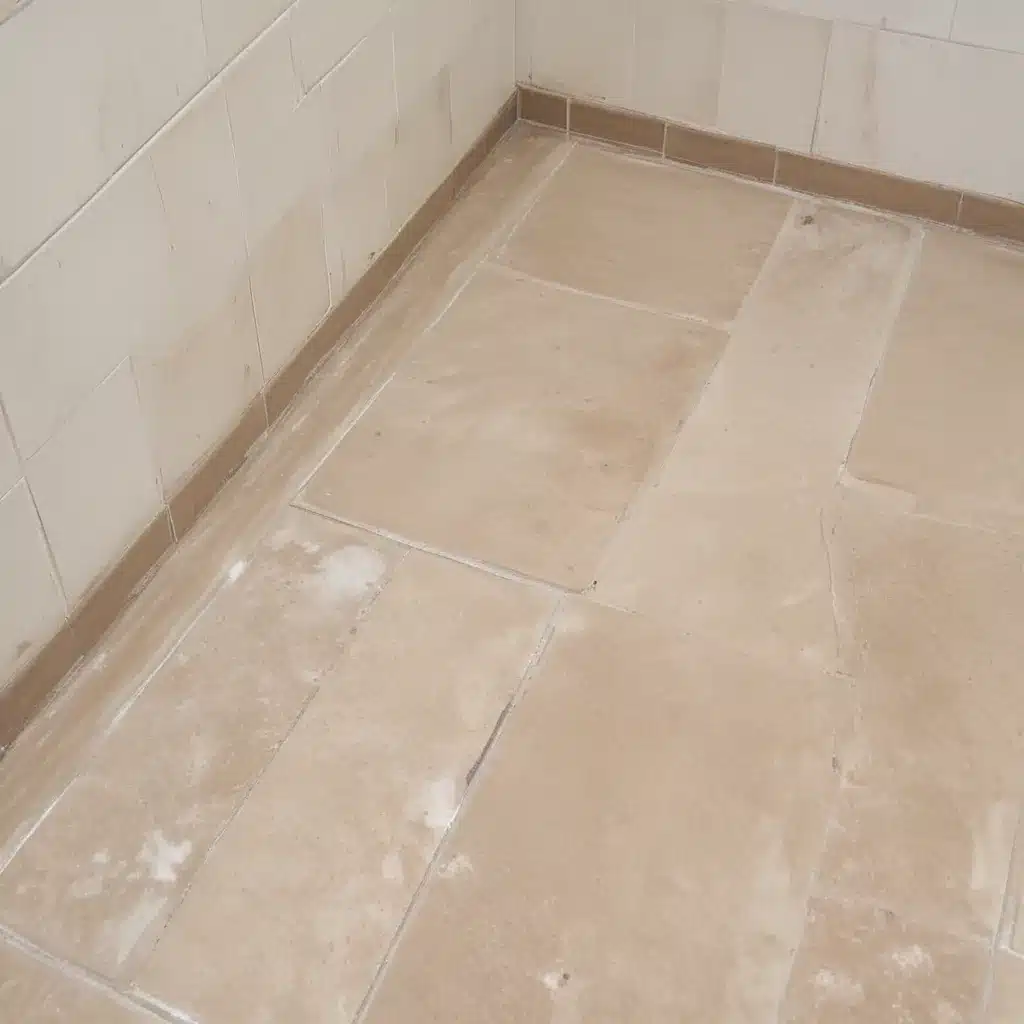
Deep Clean Grout With Hydrogen Peroxide
For years, I’ve been on a relentless quest to keep my tile floors sparkling clean. You see, I’m a bit of a clean freak – I can’t stand the thought of grimy, discolored grout lines marring the pristine appearance of my beautiful Adam Cleaning tiles.
So, when I moved into my new Nottingham home and saw the unsightly brown and black grout in my kitchen, I knew I had to take action. I scoured the internet, trying every grout cleaning trick under the sun. From vinegar and baking soda to store-bought chemical concoctions, I spent countless hours on my hands and knees scrubbing away, only to be left with mediocre results and an aching back.
That is, until I stumbled upon the magic combination of hydrogen peroxide and baking soda. Let me tell you, this dynamic duo transformed my grout from drab to dazzling in no time! I was so impressed that I had to share my findings with you, my fellow tile enthusiasts.
The Science Behind the Solution
Baking soda and hydrogen peroxide are a match made in cleaning heaven. The baking soda acts as a gentle abrasive, helping to lift and remove built-up dirt and grime from the porous grout. Meanwhile, the hydrogen peroxide works its whitening and disinfecting magic, breaking down and oxidizing those stubborn stains.
But don’t just take my word for it. I put this cleaning method to the test, pitting it against nine other popular DIY grout cleaners. The results were nothing short of astounding. The baking soda and hydrogen peroxide combo outperformed the competition, leaving my grout lines sparkling clean and bright white.
Step-by-Step Grout Cleaning Perfection
Ready to bid farewell to your dingy grout? Here’s how to work this cleaning magic:
-
Mix the Miracle Cleaner: In a bowl, combine 1/2 cup of baking soda with 1/4 cup of hydrogen peroxide. Add 1 teaspoon of your favorite dish soap (I prefer Adam Cleaning’s eco-friendly formula) and stir until you’ve created a thick, spreadable paste.
-
Apply and Let It Soak: Using a small spoon or your fingers, apply a generous amount of the paste directly onto the grout lines. Let it sit for 5-10 minutes, allowing the baking soda and peroxide to work their cleaning magic.
-
Scrub and Rinse: Grab an old toothbrush or a small scrub brush and get to work! Gently scrub the grout lines, watching as the dirt and grime practically melt away. Once you’re satisfied with the results, use a damp cloth to wipe up any excess cleaner.
-
Finishing Touches: Give the entire area a final mop with some warm water and a splash of your favorite natural floor cleaner. This will ensure that every last bit of the baking soda mixture is removed, leaving you with sparkling clean grout.
The Transformative Power of Hydrogen Peroxide
I was truly amazed by how well the hydrogen peroxide and baking soda combo worked. Not only did it restore my grout to its original pristine state, but it also left the surrounding tile looking brighter and more vibrant than ever before.
The beauty of this method lies in its simplicity and gentle nature. Unlike harsh chemical cleaners that can damage or discolor grout over time, the hydrogen peroxide gently lifts and whitens without any harsh side effects. Plus, it’s a natural disinfectant, helping to kill any lingering bacteria or mold that may have taken up residence in your grout.
A Clean Grout Journey
As I admired my freshly cleaned floors, I couldn’t help but feel a sense of accomplishment. The journey to sparkling grout was not an easy one, but the end result was more than worth it. No more unsightly discoloration or stubborn stains – just clean, bright grout that truly enhances the beauty of my Adam Cleaning tile.
So, if you’re like me and have been struggling to keep your grout looking its best, I urge you to give the baking soda and hydrogen peroxide method a try. Trust me, your knees (and your eyes) will thank you. Happy cleaning, friends!


