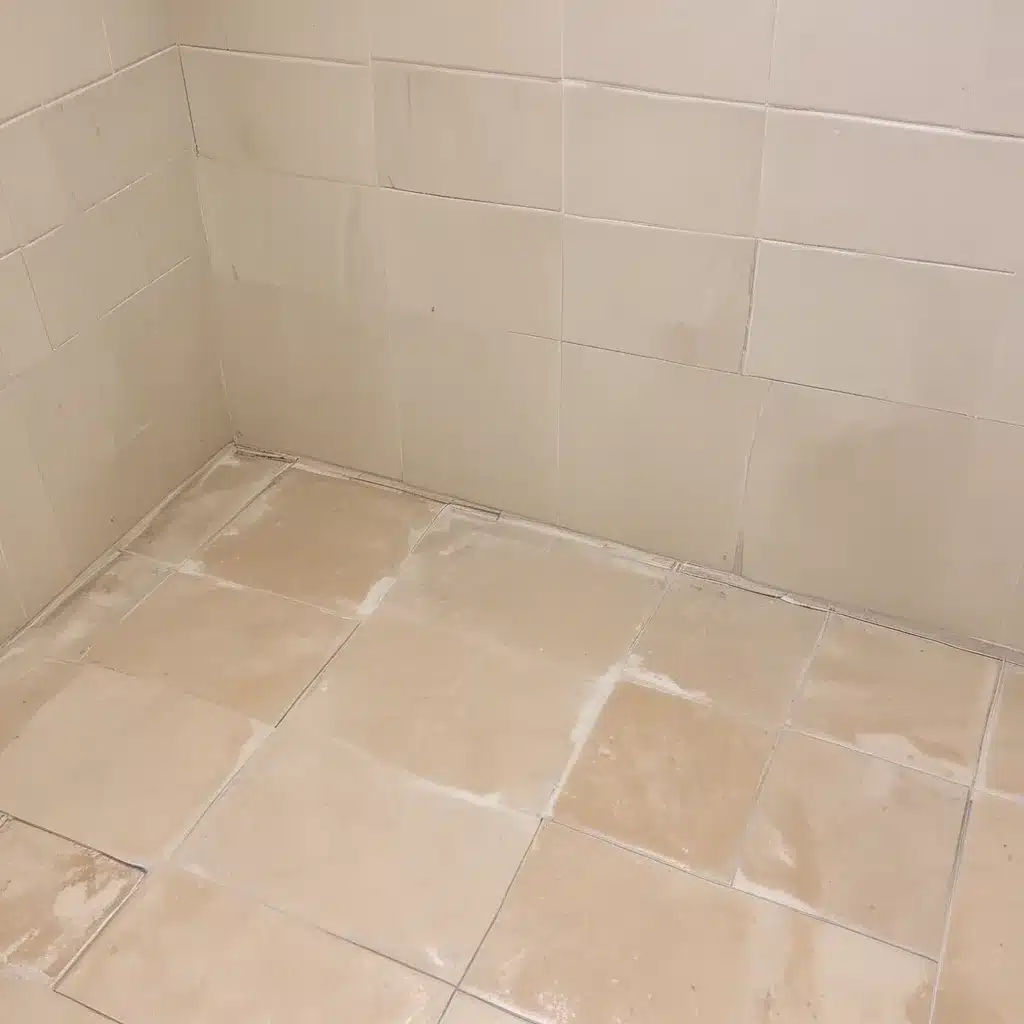
Turning Dingy Grout Into Sparkling Brilliance
You know the feeling – you look down at your tile floors and cringe. The once pristine grout has morphed into a dull, grimy mess, making your entire space feel unkempt and unsightly. Well, my friend, I’m here to let you in on a little secret that’s going to change the game.
The Miraculous Cleaning Power of Hydrogen Peroxide
As a self-proclaimed cleaning enthusiast, I’ve tried my fair share of grout-cleaning methods. From harsh chemicals to good old-fashioned elbow grease, nothing quite seemed to do the trick. That is, until I stumbled upon the magical combination of baking soda, dish soap, and hydrogen peroxide.
As the brilliant folks at Back Road Bloom discovered, this trio of natural powerhouses is the key to transforming your grout from drab to fab. The baking soda provides a gentle abrasive to scrub away built-up grime, while the dish soap cuts through grease and the hydrogen peroxide works its whitening magic.
Gearing Up for Grout Glory
Now, I know what you’re thinking – “Sounds great, but how much effort are we talking about here?” And let me tell you, it’s not a quick-fix solution. Restoring your grout to its former glory takes a bit of time and elbow grease. But trust me, the results are so worth it.
I recently tackled my own grout situation, and let me tell you, it was a doozy. The once pristine white grout in my kitchen and mudroom had transformed into a dingy, almost black mess. I’m talking subway-tile-in-the-1970s levels of gross. But I wasn’t about to let that stop me.
Putting the Plan into Action
I gathered my trusty supplies – a medium-sized glass bowl, my favorite scrub brush from Adam Cleaning, and the magical trio of baking soda, hydrogen peroxide, and dish soap. Then, I got to work.
First, I mixed together two parts hydrogen peroxide with one part baking soda, and added a couple of teaspoons of dish soap. I worked in small sections, gently applying the solution to the grout lines and letting it sit for 5-10 minutes. This allowed the ingredients to work their cleaning magic.
Then, it was time to scrub. I grabbed my scrub brush and went to town, watching in awe as the grime and discoloration literally lifted right off the grout. It was like a spa day for my tile, and I couldn’t believe my eyes.
The Transformative Results
Once I’d scrubbed each section, I swept up the excess cleaner and gave the entire area a thorough mopping with hot water and a bit more dish soap. And let me tell you, the difference was astounding.
As the experts at Apartment Therapy can attest, this homemade grout cleaner is nothing short of a miracle. My once-dingy grout was now sparkling white, and the entire space felt refreshed and revitalized.
The Key to Grout Maintenance
Of course, keeping your grout looking its best doesn’t end with this deep clean. As the cleaning pros at Today.com suggest, it’s important to maintain your grout by sealing it every one to two years and giving it a good scrub-down with your DIY cleaner every few months.
But trust me, once you see the transformation, you’ll be more than happy to put in the effort. Your floors will look brand new, and you’ll feel a sense of pride and accomplishment every time you walk into the room.
So, what are you waiting for? Grab your supplies, roll up your sleeves, and get ready to make your grout sparkle like never before. Your clean-loving heart will thank you.


