Introduction
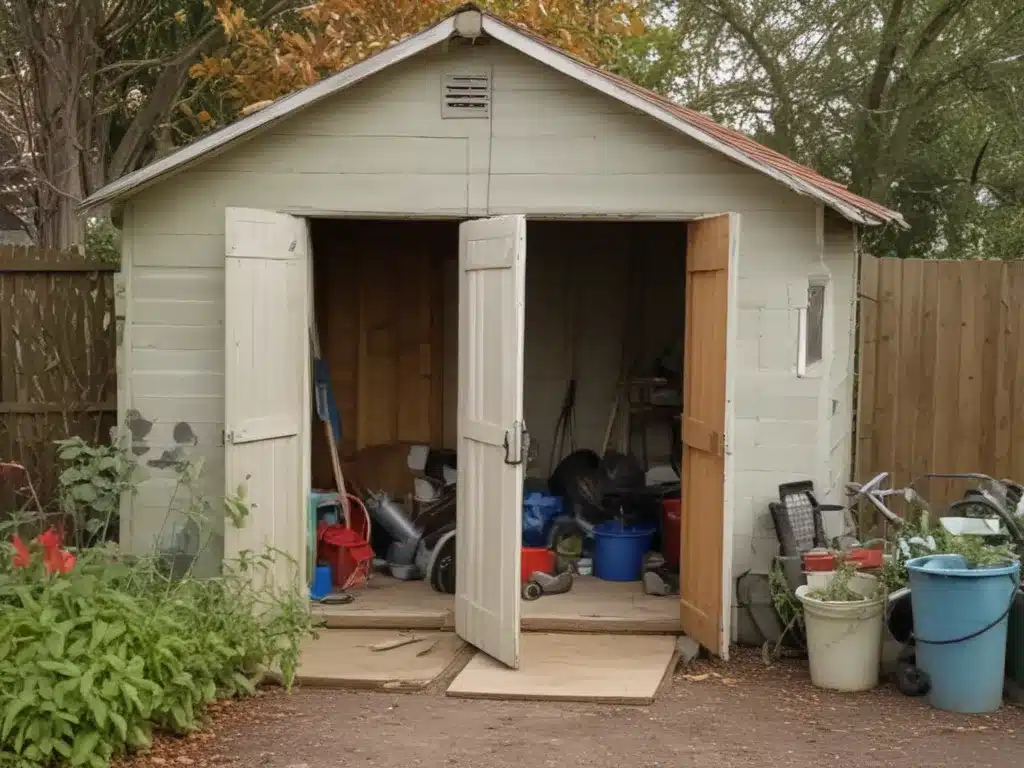
As a homeowner, have you ever found yourself overwhelmed by a cluttered shed? Sheds can quickly become a catch-all for all sorts of items, making it challenging to find what you need and creating an unsightly mess. Fear not, because in this comprehensive guide, I will take you through the entire process of cleaning and organizing your cluttered shed.
Why Clean Your Cluttered Shed?
Before we dive into the nitty-gritty of shed cleaning, let’s explore the benefits of tackling this daunting task:
-
Safety: A cluttered shed can pose various safety hazards, such as tripping over objects, sharp tools lying around, or even the risk of items falling on you. Clearing the clutter will create a safer environment for you and your family.
-
Organization: A well-organized shed makes it easier to find what you need when you need it, saving you time and frustration.
-
Space Optimization: By decluttering and organizing your shed, you’ll be able to make better use of the available space, potentially freeing up room for new items or projects.
-
Pest Control: Cluttered areas can attract pests like rodents, insects, and even snakes. Clearing out the clutter removes potential nesting spots and food sources for these unwanted visitors.
Step-by-Step Guide to Cleaning Your Cluttered Shed
Now that you understand the importance of tackling this task, let’s roll up our sleeves and get started:
1. Gather the Necessary Supplies
Before you begin, make sure you have the following supplies on hand:
- Heavy-duty trash bags or bins for disposal
- Boxes or bins for sorting items
- Labels or markers for organizing
- Cleaning supplies (broom, dustpan, rags, cleaning solution)
- Protective gear (gloves, masks, eye protection)
2. Create a Staging Area
Designate a clean, open area outside the shed where you can sort and organize items as you remove them. This staging area will help you keep track of what you plan to keep, donate, or discard.
3. Start with a Clean Sweep
Begin by removing everything from the shed and placing it in your staging area. This initial sweep will give you a clean slate to work with and allow you to assess the condition of the shed itself.
4. Categorize and Sort
As you work through the items in your staging area, sort them into categories such as:
- Keep: Items you still need or want to keep
- Donate: Gently used items that can be donated to charity
- Discard: Broken, worn-out, or unusable items that need to be thrown away
Use boxes or bins to keep each category separate and label them clearly.
5. Deep Clean the Shed
With the shed empty, it’s time to give it a thorough cleaning. Sweep or vacuum the floor, wipe down shelves and walls, and clean any windows or vents. Consider applying a fresh coat of paint or sealant to protect the shed and make it look refreshed.
6. Organize and Optimize
Now it’s time to put everything back in an organized and efficient manner. Here are some tips:
- Install shelving units or pegboards to maximize vertical space
- Use clear bins or containers for easy identification of contents
- Label everything clearly with a description and date
- Group similar items together for easy access
- Place frequently used items at eye level or within easy reach
- Consider adding a workbench or tool storage area if needed
7. Maintain and Enjoy Your Organized Shed
Congratulations! You’ve successfully transformed your cluttered shed into an organized and functional space. To keep it that way, make a habit of regularly decluttering and returning items to their designated spots after use.
Additional Tips and Considerations
-
Hazardous Materials: If you come across any hazardous materials, such as old paint cans, chemicals, or propane tanks, handle them with care and dispose of them properly according to local regulations.
-
Sentimental Items: You may come across items with sentimental value. Take the time to evaluate whether you truly need to keep them or if they can be let go.
-
Seasonal Rotations: Consider organizing your shed based on seasonal needs, with separate areas or containers for summer, winter, and gardening items.
-
Biohazard Cleaning: In case you encounter any biohazardous materials, such as animal droppings or nesting areas, it’s best to seek the assistance of professional biohazard cleaning services like AdamCleaning.uk. Their expertise in handling and disposing of biohazardous substances will ensure a safe and thorough cleaning process.
Conclusion
Cleaning a cluttered shed may seem like a daunting task, but by following this step-by-step guide, you can transform your shed into an organized and functional space. Remember, a clean and organized shed not only looks better but also promotes safety, efficiency, and peace of mind. Take pride in your hard work and enjoy the satisfaction of having a clutter-free shed.


