Introduction
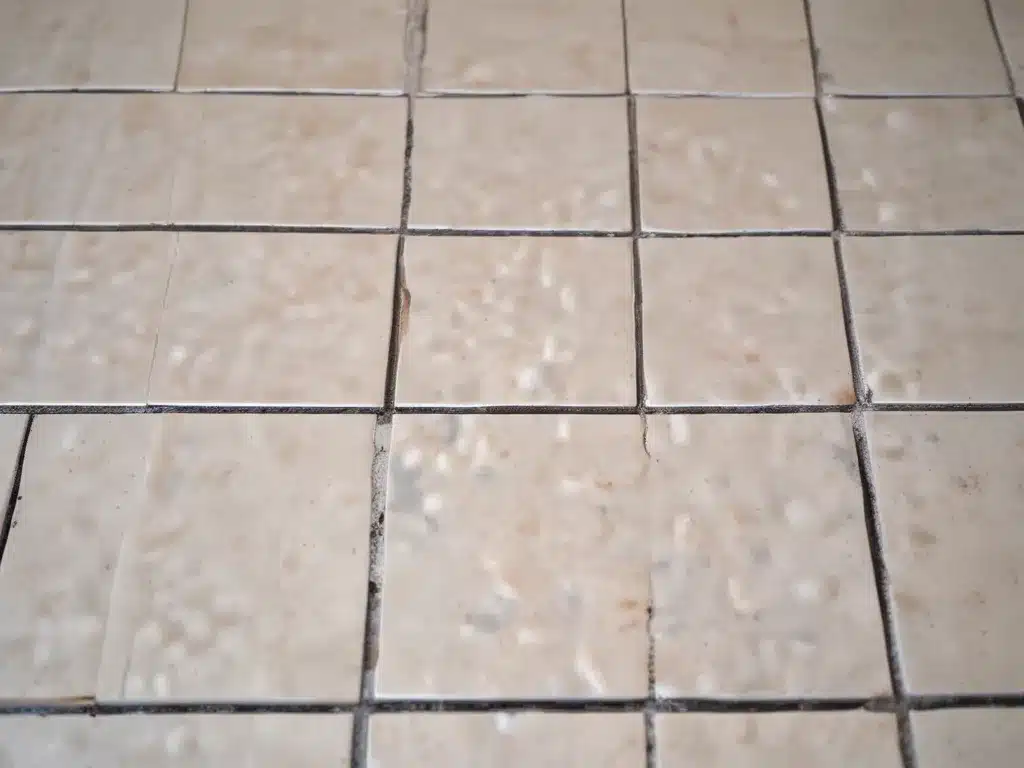
Tile floors are a popular choice for many homeowners due to their durability, easy maintenance, and stylish appearance. However, over time, the grout lines between the tiles can become discolored, stained, and unsightly. Grout is a porous material that can absorb dirt, grime, and moisture, causing it to become discolored and unsanitary. Cleaning grout can be a challenging task, but with the right homemade grout cleaner, you can achieve professional-level results without breaking the bank.
What is Grout, and Why Does it Get Dirty?
Grout is a cementitious material used to fill the spaces between tiles. It serves two primary purposes: (1) to create a smooth and uniform surface, and (2) to provide a protective barrier against moisture and other elements. However, grout is a porous material, which means it can absorb liquids, oils, and other substances. Over time, this absorption can lead to discoloration, staining, and the growth of mold and mildew.
Benefits of Using a Homemade Grout Cleaner
While there are many commercial grout cleaners available on the market, they can be expensive and contain harsh chemicals that can be harmful to your health and the environment. A homemade grout cleaner, on the other hand, is a cost-effective and eco-friendly alternative that can be just as effective as commercial cleaners. Here are some of the benefits of using a homemade grout cleaner:
- Cost-effective: The ingredients for a homemade grout cleaner are inexpensive and readily available in most households.
- Eco-friendly: Homemade grout cleaners are made from natural ingredients that are biodegradable and non-toxic.
- Customizable: You can adjust the recipe to suit your specific needs and preferences.
- Safe for use: Homemade grout cleaners are generally safe to use around children and pets, as they do not contain harsh chemicals.
The Homemade Grout Cleaner Recipe
Here is a simple and effective recipe for a homemade grout cleaner:
Ingredients
- 1 cup of baking soda
- 1/4 cup of hydrogen peroxide
- 1/4 cup of warm water
- A few drops of dish soap (optional)
- A spray bottle
Instructions
- Mix the baking soda, hydrogen peroxide, and warm water in a bowl until a thick paste forms.
- If desired, add a few drops of dish soap to help cut through tough grease and grime.
- Transfer the mixture to a spray bottle.
How to Use the Homemade Grout Cleaner
Follow these steps to clean your tile grout like a pro:
- Sweep or vacuum the floor: Remove any loose dirt or debris from the tile surface before cleaning.
- Spray the grout lines: Generously spray the homemade grout cleaner onto the grout lines, ensuring that the mixture penetrates deeply into the porous grout.
- Let it sit: Allow the grout cleaner to sit on the grout for 5-10 minutes. This will give the baking soda and hydrogen peroxide time to work their magic and break down stubborn stains and grime.
- Scrub the grout lines: Using a stiff-bristled brush or an old toothbrush, scrub the grout lines in a circular motion. Apply firm pressure to remove any deeply embedded dirt or discoloration.
- Rinse and wipe: Rinse the area with clean water and wipe away any excess moisture with a clean cloth or mop.
Tips and Tricks for Effective Grout Cleaning
-
Tackle tough stains: For particularly stubborn stains or discoloration, you can make a thicker paste by using less water in the homemade grout cleaner recipe. Let the paste sit on the affected area for a longer period before scrubbing.
-
Use a small brush: For hard-to-reach areas or tight grout lines, use a small brush or an old toothbrush to get into those nooks and crannies.
-
Seal the grout: After cleaning, consider sealing the grout to prevent future staining and discoloration. Grout sealers create a protective barrier that makes it easier to clean and maintain the grout.
-
Maintain regularly: Regular cleaning and maintenance are key to keeping your tile grout looking its best. Establish a cleaning routine and stick to it to prevent the buildup of dirt and grime.
Comparison: Homemade vs. Commercial Grout Cleaners
While both homemade and commercial grout cleaners can effectively clean tile grout, there are some key differences to consider:
| Characteristic | Homemade Grout Cleaner | Commercial Grout Cleaner |
|---|---|---|
| Cost | Inexpensive | More expensive |
| Ingredients | Natural, non-toxic | Potentially harsh chemicals |
| Environmental Impact | Eco-friendly | Potentially harmful to the environment |
| Customizability | Easily adjustable | Limited options |
| Safety | Generally safe for use around children and pets | May contain hazardous substances |
Real-Life Example: A Satisfied Customer’s Experience
“I had tried numerous commercial grout cleaners, but nothing seemed to work on the stubborn stains in my bathroom. A friend recommended trying a homemade grout cleaner, and I’m so glad I did! The baking soda and hydrogen peroxide mixture worked like a charm, and my grout looks brand new. Not only did it save me money, but I also felt good about using a natural, eco-friendly solution.” – Sarah, Toronto
Conclusion
Cleaning tile grout can be a challenging task, but with the right homemade grout cleaner, you can achieve professional-level results without breaking the bank. The combination of baking soda, hydrogen peroxide, and water is a powerful yet gentle solution that can effectively remove stubborn stains, discoloration, and grime from your grout lines. By following the instructions and tips outlined in this article, you’ll be able to maintain a clean and refreshed tile floor that looks as good as new.


