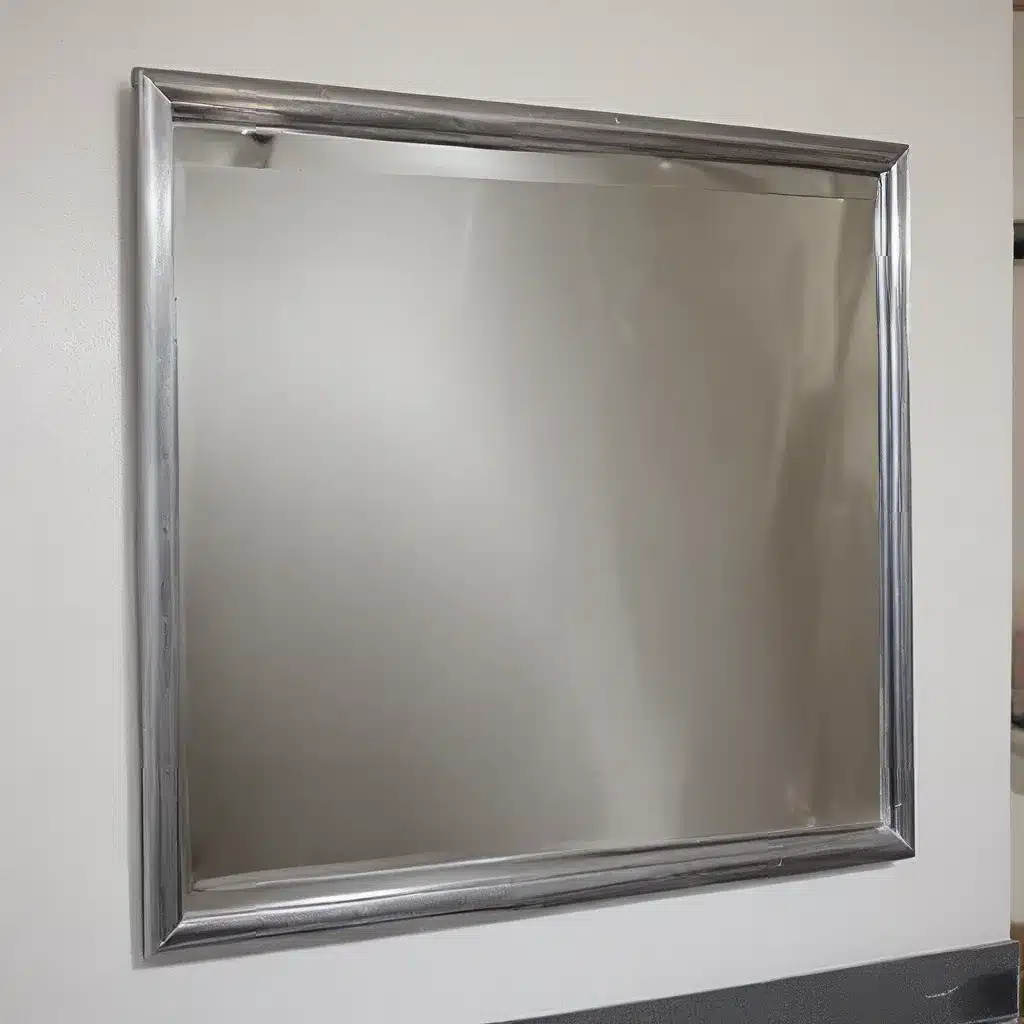
Ah, the eternal pursuit of a mirror-like finish on our beloved stainless steel appliances, fixtures, and accents. It’s a battle I’ve been waging for years, and let me tell you, I’ve learned a thing or two along the way.
You see, when it comes to stainless steel, it’s not as simple as just grabbing a bottle of window cleaner and going to town. No, no, my friends – that’s a recipe for streaks, smears, and disappointment. Instead, you need to approach it with the right tools, the right techniques, and a healthy dose of patience and elbow grease.
Preparation is Key
Before you even think about busting out the polishing cloths, it’s crucial to properly prepare the surface. Start by giving your stainless steel a good, thorough cleaning. Use a mild, non-abrasive cleaner to remove any built-up grime, fingerprints, or other debris. I’ve had great success with Adam’s Stainless Steel Cleaner – it gets the job done without leaving behind any nasty residue.
Once your surface is clean, it’s time to start sanding. Now, I know what you’re thinking: “Sanding? On my precious stainless steel? Are you mad?” But hear me out. The key is to use a very fine grit sandpaper, like 3000 or 5000 grit, to help smooth out any existing scratches or lines. This will provide a smooth, even canvas for the polishing process.
The Polishing Process
Now that your surface is prepped and ready, it’s time to bring on the shine. I like to start with a medium-grit polishing compound, like the one from this video. This will help to fill in and smooth out any remaining sanding lines before you move on to the finer stuff.
Once you’ve got that initial layer of polish down, it’s time to step it up a notch. Break out your ultra-fine polishing compound (I’m a big fan of the 3M Perfect-It Extra Fine Machine Polish) and a high-quality foam pad. The key here is to take your time and work in small, overlapping sections, applying gentle pressure and letting the polish do the work.
As you’re polishing, keep an eye out for any stubborn scratches or imperfections. If you spot any, you may need to go back and do a bit more sanding before reapplying the polish. It’s all about trial and error and finding the right balance.
Maintaining the Shine
Whew, you made it! Your stainless steel is shining like the top of the Chrysler Building. But the journey doesn’t end there, my friend. To keep that mirror-like finish, you’ll need to maintain it with regular cleaning and polishing.
I like to set a monthly reminder to give my stainless steel a once-over, just to make sure it’s looking its best. And you know what they say – an ounce of prevention is worth a pound of cure. By staying on top of the cleaning and polishing, you can prevent those pesky scratches and smudges from ever taking hold in the first place.
The Verdict
So, there you have it – my tried-and-true tips for cleaning stainless steel to a mirror shine. It may take a bit of elbow grease and patience, but trust me, the end result is worth it. Your appliances, fixtures, and accents will be gleaming like never before.
And who knows, maybe you’ll even impress your friends and family with your stainless steel prowess. Just don’t forget to share your secrets – after all, a little friendly competition never hurt anyone, right?
Happy polishing, my friends! May your stainless steel sparkle and your reflection be flawless.


