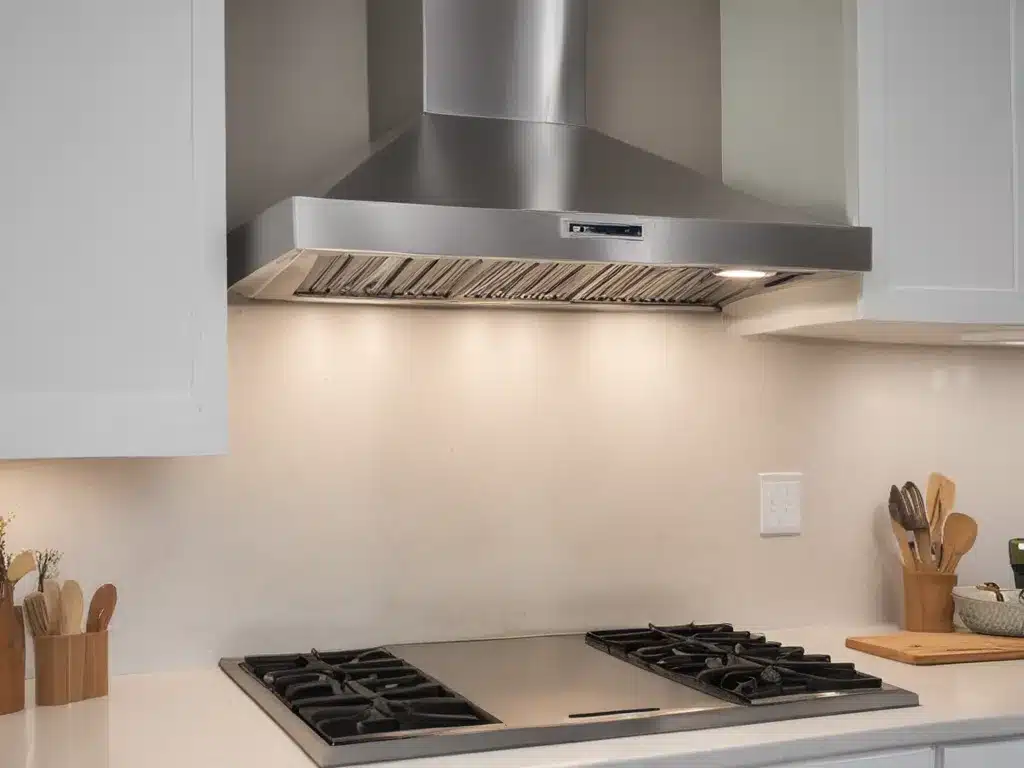
Why Clean the Range Hood?
Keeping my range hood clean is important for a few reasons:
-
Grease buildup is a fire hazard. If grease accumulates on the fan blades and interior surfaces, it can ignite from the heat while cooking. Regular cleaning helps prevent dangerous grease fires.
-
Grease residues can spread onto my countertops and cabinets if the range hood isn’t cleaned. This leaves behind sticky messes and attracts dirt. Cleaning the hood helps keep my whole kitchen cleaner.
-
A dirty range hood is ineffective. Grease buildup prevents the fan from venting cooking fumes properly. Cleaning keeps the air flow unobstructed so odors, smoke, and moisture escape.
-
Dust and grime also accumulate on range hoods from everyday use. Cleaning keeps my kitchen appliances looking their best.
Supplies Needed
Cleaning the range hood requires just a few common household products:
-
Degreaser: Look for a degreasing cleanser formulated for kitchen use. Spray-on degreasers help break down tough cooked-on grease.
-
Baking soda: Works as a gentle abrasive on the fan blades and inner surfaces. Also helps absorb odors.
-
Dish soap: An all-purpose cleaner good for the exterior surfaces. Avoid abrasive soaps that could scratch.
-
Sponges: Use a sturdy sponge for scrubbing. Occasionally replace sponges that have absorbed grease.
-
Microfiber cloths: Help capture grease and leave surfaces shiny after rinsing.
-
Rubber gloves: Protect your hands from harsh degreasers.
Optional items include small brushes for crevices, razor blades for stuck-on grime, and old toothbrushes for tight spaces. Avoid metal scrubbies that can scratch.
Cleaning Process
Follow these steps for a thorough range hood cleaning:
1. Remove the Filters
Most range hoods have metal mesh grease filters. Remove these filters first and clean them separately in the sink or dishwasher. This opens up the interior for cleaning.
2. Remove Large Debris
Use a spatula or paper towels to scrape off any large grease drips, food particles, or other debris that you can reach. This prep work makes cleaning easier.
3. Apply Degreaser
Spray degreasing cleaner over all interior surfaces of the range hood. Avoid getting it on external surfaces. Let it soak for 5-10 minutes.
4. Scrub With a Sponge or Brush
Use a sturdy sponge or brush to scrub stubborn grease deposits. Apply some elbow grease to remove built-up grime. Concentrate on the underside of the hood interior.
5. Rinse Well
Use a clean sponge and hot water to rinse away all traces of the degreaser. Make sure to rinse any surfaces where the degreaser pooled.
6. Dry Everything
Wipe interior and exterior surfaces dry with microfiber cloths. Let any wet areas air dry completely before reattaching filters.
7. Clean the Fan Blades
Use a small brush dampened with dish soap and water to gently clean accumulated dust from the fan blades. Rinse and let them dry completely.
8. Reattach Filters
Once fully dry, put the clean metal filters back into place. Make sure they fit snugly.
9. Clean Exterior Surfaces
Use dish soap and water with microfiber cloths to wash and shine the external surfaces of the range hood. Buff dry with a clean cloth.
10. Remove Lingering Odors
Place a bowl of baking soda in the range hood to help absorb any remaining odors overnight. Replace used sponges and cloths.
Frequency of Cleaning
For light kitchen use, clean the range hood filters monthly and the full unit every 3-6 months. If you cook frequently, clean filters bimonthly and the hood every 1-2 months. Watch for visible grease buildup and clean when needed.
Conclusion
Cleaning the range hood takes a bit of effort but keeps my kitchen safe and looking great. By using the right tools and technique, I can degrease my range hood this spring and enjoy clean, fresh indoor air.


