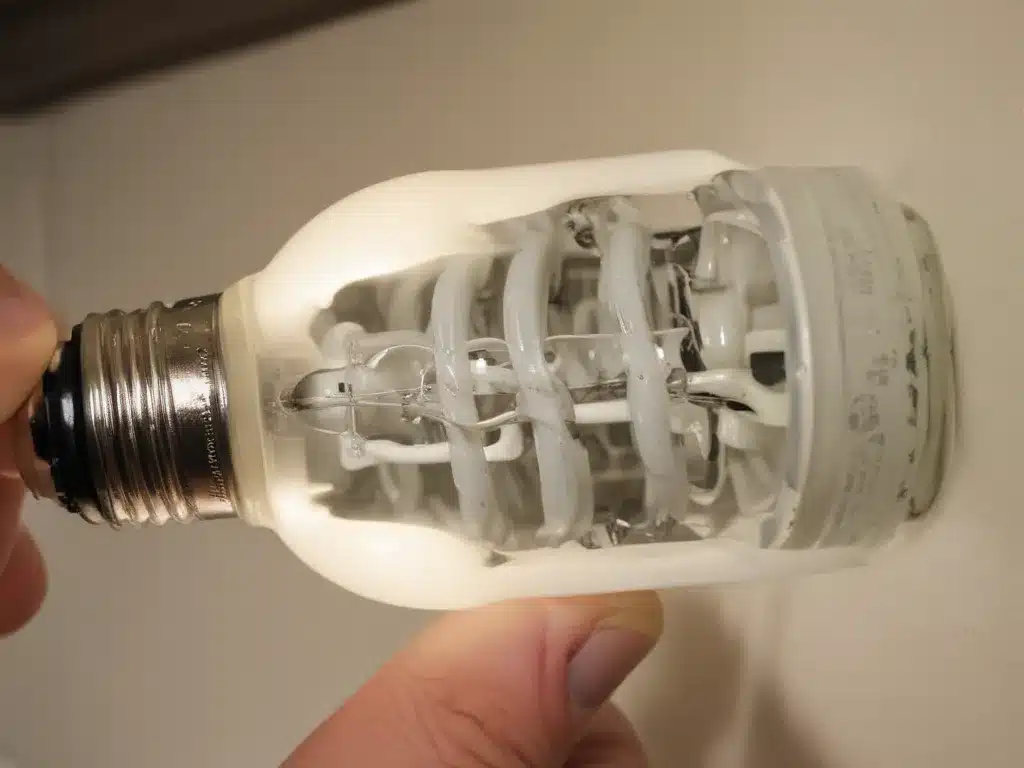
What is a CFL Bulb?
A CFL bulb (compact fluorescent lamp) – is a type of energy-efficient lighting – that contains a small amount of mercury. When a CFL bulb breaks, the mercury vapor – is released into the air. This mercury vapor – can be harmful to human health – if inhaled or ingested.
CFL bulbs – are designed – to be more energy-efficient than traditional incandescent bulbs. They consume less electricity – and have a longer lifespan. However, CFL bulbs – require proper disposal – due to their mercury content.
Why is Proper CFL Bulb Cleanup Important?
Proper CFL bulb cleanup – is crucial – for maintaining a safe and healthy environment. Mercury vapor – can cause various health issues – including respiratory problems, neurological damage, and developmental disorders in children and fetuses.
If a CFL bulb breaks – in your home or workplace, it is essential to take immediate action – to minimize the potential risks. Proper cleanup procedures – must be followed – to prevent the spread of mercury vapor and contamination.
Step-by-Step CFL Bulb Cleanup Guide
Here is a comprehensive step-by-step guide – for properly cleaning up – a broken CFL bulb:
Step 1: Evacuate the Area and Ventilate
The first step – after a CFL bulb breaks – is to evacuate the area immediately. All people and pets – should leave the room – to avoid exposure to mercury vapor.
Once the area is evacuated, open windows and doors – to allow for proper ventilation. This will help disperse the mercury vapor – and reduce the concentration levels.
Step 2: Gather Necessary Materials
Before starting the cleanup process, you will need to gather the following materials:
- Stiff paper or cardboard
- Sticky tape (e.g., duct tape or masking tape)
- Damp paper towels or disposable wipes
- A sealable plastic bag
- A glass jar with a metal lid or a sealable plastic container
These materials – will help you safely collect the broken glass and any mercury beads – without spreading the contamination further.
Step 3: Remove Larger Debris
Using the stiff paper or cardboard, carefully scoop up the larger pieces of broken glass and any visible mercury beads. Be sure not to vacuum the area, as this can spread the mercury vapor and contaminate the vacuum cleaner.
Place the collected debris – into the sealable plastic bag or container – and seal it tightly.
Step 4: Clean the Surrounding Area
After removing the larger debris, use the sticky tape to pick up any remaining small glass fragments and mercury beads. Press the tape firmly onto the contaminated surface and slowly lift it up, repeating this process until the area is clear.
Next, use the damp paper towels or disposable wipes to clean the surrounding area thoroughly. Discard any used materials – into the sealable plastic bag or container.
Step 5: Dispose of Contaminated Materials Properly
Once the cleanup is complete, seal the plastic bag or container tightly and place it in a secure location outdoors or in a well-ventilated area. Contact your local waste management authority or the manufacturer for proper disposal instructions, as CFL bulbs and contaminated materials require special handling.
Step 6: Continue Ventilation and Monitor the Area
After the cleanup, continue ventilating the area for several hours. Open windows and use fans to circulate the air and disperse any remaining mercury vapor.
Monitor the area for any lingering odors or signs of contamination. If concerns persist, consider consulting a professional cleanup service like Adam Cleaning for a thorough evaluation and remediation process.
Additional Precautions and Considerations
- Wear protective gear, such as gloves and a mask, during the cleanup process to minimize exposure.
- Avoid touching or consuming any food, drinks, or cigarettes in the contaminated area until the cleanup is complete.
- If the broken CFL bulb is on a carpeted area, consider seeking professional assistance, as mercury can seep into the fibers and be more challenging to remove.
- Keep the contaminated area well-ventilated for several days to ensure the complete dissipation of any remaining mercury vapor.
- Consider replacing any HVAC filters or vacuuming the area with a specialized mercury vacuum after the initial cleanup is complete.
Conclusion
Proper CFL bulb cleanup – is crucial – for maintaining a safe and healthy environment. By following the step-by-step guide and taking the necessary precautions, you can minimize the risks associated with mercury exposure and ensure a thorough cleanup process.
Remember, if you have any concerns or doubts about the cleanup process, it is always better to seek professional assistance from experienced biohazard cleanup companies like Adam Cleaning. Their expertise and specialized equipment can ensure a comprehensive and safe remediation process, protecting you and your loved ones from potential health hazards.


