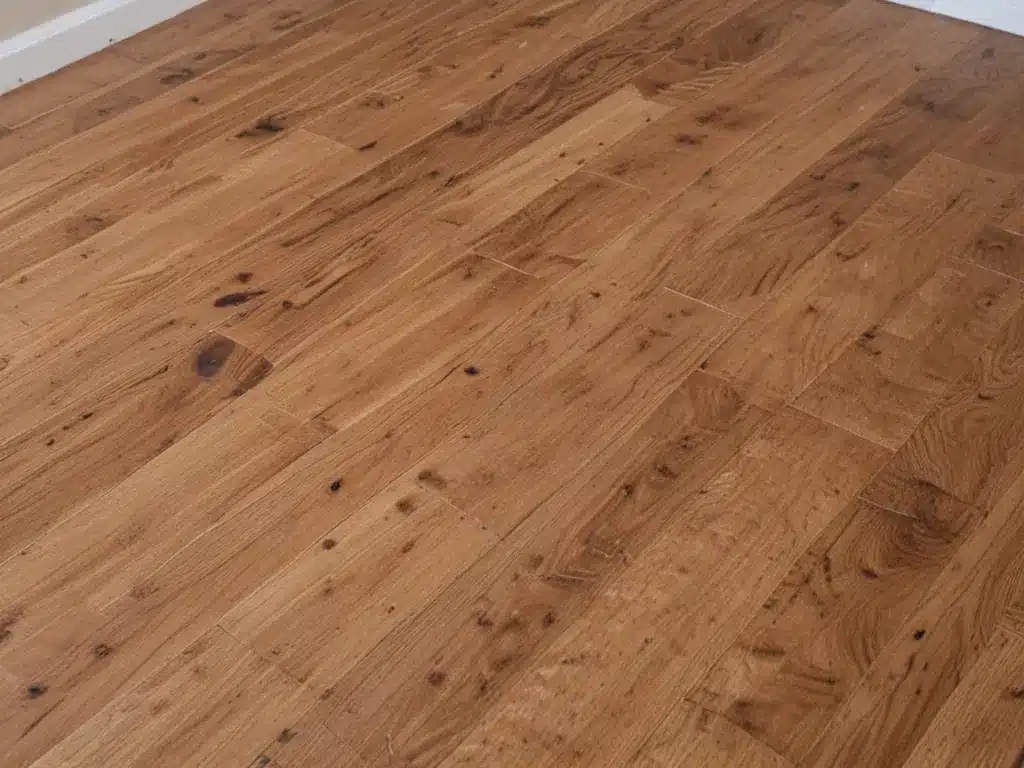
I absolutely love the look and feel of hardwood floors. There’s just something so classic and timeless about them. However, over time hardwood floors can start to look dull, scratched up, or just generally worn down. Often, people think the only solution is to completely replace the floors – but refinishing hardwood floors can actually bring them back to life! Here’s my guide on how to make tired hardwood floors look brand new again.
Assess the Current Condition of Your Hardwood Floors
Before deciding on how to refinish your floors, you need to take a close look at their current condition. Here are some things to assess:
-
Level of wear and tear – Are there just minor scratches and scuffs, deeper gouges, or areas that are worn down to the bare wood? The more extensive the damage, the more intense the refinishing process may need to be.
-
Former finishes – Do you know if the floors have been refinished before and what types of finishes were used? This can impact how to best prep them for a new finish.
-
Type of wood – Is the wood a durable hardwood like oak, or a softer variety like pine? The wood type affects its ability to withstand refinishing.
-
Color/staining – Are you hoping to simply refinish the existing color or apply a stain to change the color? The current color will determine if and how the wood needs to be re-stained.
Thoroughly inspecting all your hardwood floors will provide crucial information on what needs to be done to restore them.
Clean the Floors Prior to Refinishing
Before doing any sanding or refinishing, it’s imperative to deep clean the hardwood floors. Any dirt, debris, wax or residue left on the floors can interfere with adhesion of new finishes. Here are some cleaning tips:
-
Sweep and/or vacuum – Remove all surface-level grit, dirt and debris. Get into corners and crevices.
-
Wash floors – Use a hardwood floor cleaner or a solution of mild soap and water. Wring mop out well to prevent excess water.
-
Tackle stains – Spot treat any remaining stains or discoloration with an oxalic acid-based wooden floor cleaner. Multiple applications may be needed.
-
Rinse thoroughly – It’s critical to remove any cleaning solution residue. Rinse several times with just water to ensure the floors are squeaky clean.
Allow floors to fully dry overnight before moving onto sanding and refinishing. Properly prepping the floors leads to better refinishing results.
Sand the Hardwood Floors
Sanding does the heavy lifting when it comes to removing old finishes and refinishing hardwood floors. Here’s a breakdown of the sanding process:
-
Use an edger first – Edgers allow you to sand along baseboards and edges. Sand edges before main field.
-
Start with coarse grit paper – The initial sanding grit should match the condition of floors. 40-60 grit for significant finish removal or 80-100 for lighter refinishing.
-
Progressively increase grit – Move to 120-150 grit for smoothing things out, then 180-220 grit for final pass.
-
Maintain 90° sanding angle – Hold sanding machines at proper angle to avoid uneven sanding.
-
Vacuum between passes – This keeps dust contained and grit off the floors between sanding steps.
While labor intensive, properly sanding hardwood opens the wood pores and provides the smooth, bare surface needed for refinishing. Be patient and do a thorough job sanding.
Apply the New Finish
Now that you have bare wood floors, it’s time to protect them and make them shine by applying a new protective finish:
-
Stain first if desired – For color change, apply stain per manufacturer instructions before finishing. Allow full drying time.
-
Apply polyurethane – Typically 2-3 coats. Lightly sand with fine 220 grit between coats. Allow proper drying time between coats.
-
Consider water-based urethane – Water-based options have less odor and shorter dry times. Great for DIYers.
-
Work methodically – Maintain “wet edge” and overlap turns to prevent lap marks as you apply finish coats.
-
Allow full curing – Don’t walk on floors for first 24 hours. Wait 72 hours for replacing furniture and rugs.
Applying a fresh finish brings out the natural beauty of the wood. And it provides protection and durability for years to come.
Maintain Your Refinished Hardwood Floors
Now that your hardwood floors look amazing again, you’ll want to keep them that way! Here are my top tips for maintaining refinished hardwood floors:
-
Use felt pads under all furniture legs to prevent scratches.
-
Sweep and vacuum regularly to keep grit and debris off floors.
-
Only use cleaners made specifically for hardwood floors.
-
Wipe up spills immediately to prevent stains and water damage.
-
Re-apply polyurethane or other protective finishes as needed over time.
With proper care and maintenance, your newly refinished floors can look incredible for decades! Let me know if you have any other hardwood floor care tips.


