The Scourge of Tarnish
Being a cleaning enthusiast (some might say obsessive), I’ve tried just about every silver-cleaning product under the sun. From overpriced boutique polishes to the old standby Tarnex, I’ve done it all. But you know what they say – the best cleaning secrets are often hiding in plain sight. And let me tell you, I recently uncovered a revelation that’s going to change the way you look at your tarnished treasures forever.
The Baking Soda Breakthrough
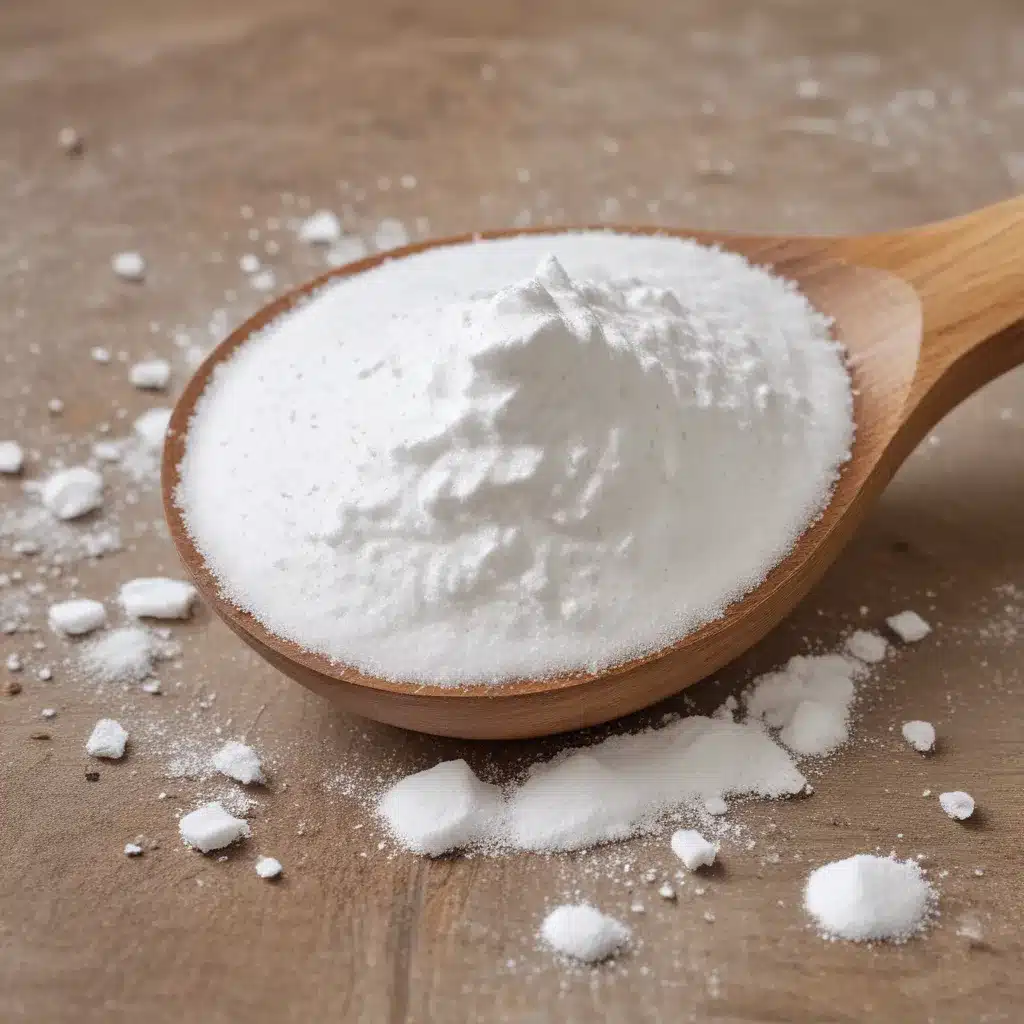
It all started when I was casually browsing the cleaning tips on Savory Sweet Life. I stumbled upon a little tidbit about using baking soda as a secret weapon for cleaning silver. “Psh, yeah right,” I thought to myself. “As if a simple pantry staple could outshine all the fancy commercial cleaners out there.”
Well, color me shocked because that little nugget of wisdom ended up being a total game-changer. I decided to give it a shot on my most tarnished pieces, and the results were nothing short of miraculous. In mere minutes, my dull, discolored jewelry and silverware were sparkling like new – with zero elbow grease required. Needless to say, I was hooked.
The Baking Soda Breakdown
So, how does this magical baking soda trick work, you ask? It all comes down to a simple chemical reaction. You see, when silver tarnishes, it’s because the metal is reacting with sulfur compounds in the air, forming silver sulfide. By introducing baking soda (sodium bicarbonate) and aluminum foil into the equation, you create an electrochemical process that causes the tarnish to transfer from the silver onto the foil.
The foil acts as a conductor, drawing the tarnish away from your precious metals and leaving them sparkling clean. And the baking soda? Well, it just helps accelerate the whole process, making it faster and more effective. It’s like having your own personal cleaning genie, there to do the dirty work for you.
Tarnish-Busting Tips and Tricks
Now, I know what you’re thinking – “This sounds too good to be true!” But trust me, it works. I’ve used this method on everything from my Tiffany necklace to my grandma’s vintage silverware, and the results have been nothing short of phenomenal.
Here are a few additional tips to make the most of your baking soda cleaning adventures:
-
Ditch the Vinegar: While the original recipe calls for a splash of white vinegar, I’ve found that it’s not entirely necessary. The baking soda and foil combo does the heavy lifting on its own, so you can skip the vinegar if you’d prefer a less pungent experience.
-
Embrace the Fizz: When you first add the baking soda to the hot water, you’ll notice a satisfying fizzing reaction. Don’t be alarmed – that’s just the chemical magic at work! Let it bubble and bubble to your heart’s content.
-
Buff to a Shine: Once your silver has soaked up all that tarnish-fighting goodness, give it a quick buff with a soft cloth or microfiber to really make it sparkle. This extra step helps reveal the full glory of your freshly cleaned pieces.
Keeping Tarnish at Bay
Of course, the true test of any cleaning method is how long the results last. And I’m happy to report that the baking soda trick doesn’t just work like a charm – it also helps keep your silver looking its best for longer.
The key is to store your cleaned pieces in an airtight container or pouch when not in use. This helps minimize their exposure to the air, which is the primary culprit when it comes to tarnish. You can also try slipping in a few anti-tarnish strips or sachets to further protect your silver from oxidation.
The Baking Soda Cleaning Journey
So there you have it, folks – the secret weapon that’s going to revolutionize the way you clean your silver. No more harsh chemicals, no more elbow grease, and no more disappointed sighs when your treasured items start to lose their luster. Just good old-fashioned baking soda, a little aluminum foil, and a whole lot of cleaning magic.
Now, if you’ll excuse me, I’ve got a mountain of tarnished trinkets to revive. Happy cleaning, my fellow baking soda enthusiasts!


