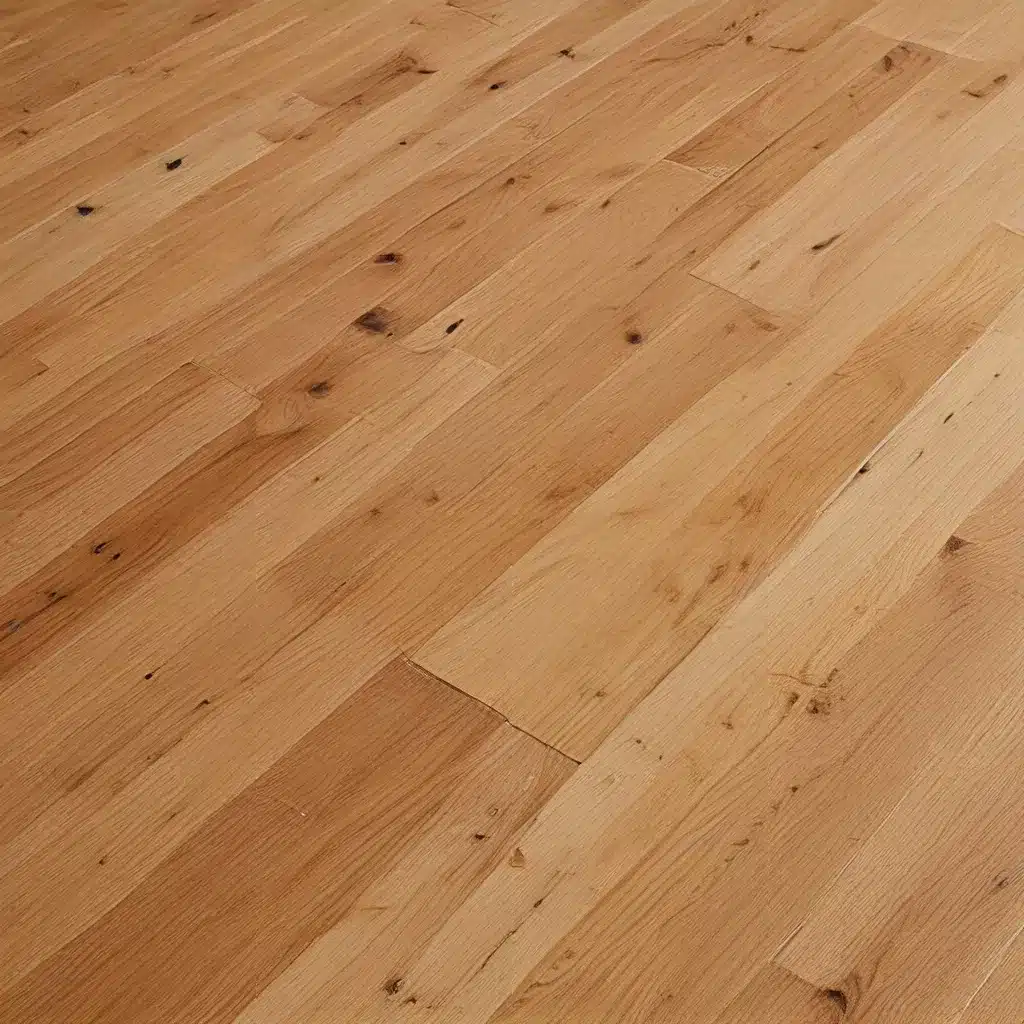
Uncovering the Beauty in the Floorboards
I have to admit, when my husband Oli first suggested we tackle restoring our old Victorian floorboards, I was a bit hesitant. As a self-proclaimed DIY enthusiast, my initial instinct was to roll up my sleeves and dive in headfirst. But Oli, bless his heart, just couldn’t stomach the idea of weeks spent sanding, staining, and lacquering our floors. And you know what? I’m so glad we decided to bring in the professionals this time.
You see, our floors weren’t in bad shape by any means. The previous owners had installed solid wood floors over the original boards, which were in relatively decent condition. But I just couldn’t shake my love for those beautiful, imperfect, character-filled Victorian floorboards. The knots, the scratches, the uneven grain – that’s the charm that drew me in. And let’s not forget the extra couple of inches in ceiling height we’d gain by removing the top layer. Sold!
Assessing the Risks and Rewards
Now, before you go ripping up your floors, there are a few important factors to consider. First and foremost, you need to assess the condition of those underlying boards. Are they worth restoring, or are they too far gone – rotted, infested, or beyond repair? Trust me, you don’t want to find out the hard way.
Oli and I were incredibly lucky. When we peeked under the existing flooring in a few inconspicuous areas, we were thrilled to discover that our boards were in near-perfect condition. But I know that’s not always the case. Some homeowners have found their floors were concreted over or had been replaced entirely, leaving them with no original boards to work with.
And then there’s the whole issue of safety. Sanding old floors can be a real minefield, what with the potential for lead paint or asbestos. I cannot stress this enough – do not put yourself at risk to save a few bucks. If you have any concerns, it’s best to leave it to the professionals who have the right gear and know-how to handle these hazards properly.
Embracing the Imperfections
Once we’d given the thumbs up to our floors, the real work began. It took a full five days for the pros to sand, stain, and seal our living room, dining room, and hallway. And let me tell you, it was not an easy job. Pushing those industrial-grade sanders around is no joke – it’s hot, tiring work, especially in the summer.
But the results? Absolutely stunning. Those old pine boards, with their beautiful knots and uneven grain, now gleam with a deep, rich stain. We opted for a dramatic dark oak tone, which creates such a luxurious, high-end look against our light decor. And the matte lacquer finish gives it a modern, sophisticated feel without being too shiny.
The Charms of an Older Home
Now, I know what you’re thinking – what about the downsides of exposed floorboards? The cold drafts, the creaky noises, the lack of insulation? Well, I’m here to tell you, it’s really not as bad as some people make it out to be. Sure, we get the occasional pitter-patter of our cat’s paws, but it’s a comforting sound that reminds me of the character of our old house.
And as for the cold? Oli and I have a stellar collection of cozy woolly jumpers to keep us toasty. Plus, there are easy solutions like DraughtEx strips to seal up any gaps. So don’t let those concerns scare you off – embrace the charm of an older home! After all, a little character goes a long way.
The Cost Conundrum: DIY vs. Professional
Now, I know what you’re thinking – why didn’t you just DIY the whole thing and save a bundle? Well, let me break it down for you. When you factor in the cost of renting all the necessary equipment – the belt sanders, edge sanders, orbital sanders, and even a buffing machine – not to mention the endless sanding discs, the stains, primers, and lacquers, the DIY route quickly becomes a lot more expensive than you might think.
By the time we added it all up, we realized that paying the professionals was actually the more cost-effective option. Sure, it cost us just over £2,000 in the end, but that included all the materials and labor. If we’d gone the DIY route, we’re talking close to £500 in equipment rentals alone, plus the cost of all those supplies. And let’s not forget the time commitment – a full week off work or endless evenings spent sanding and finishing. No, thank you!
A Lesson in Trusting the Experts
In the end, as much as I love a good DIY project, I’m so glad we decided to let the professionals handle this one. The precision and attention to detail they brought to the job was incredible. Cutting those replacement boards to size, applying the stain evenly, and filling in the gaps – it all looked like a breeze in their hands. And the final result? Perfection.
So if you’re considering restoring your own hardwood floors, I’d urge you to at least explore the professional option. You might be surprised at how reasonable the cost can be, especially when you factor in the time and effort you’ll save. And let’s be honest, there’s nothing quite like the satisfaction of seeing those beautiful, character-filled boards shine in all their glory.
Now, if you’ll excuse me, I’m going to go admire our floors again. Excuse me, Oli, I think I hear the cat coming – time for a bit of that comforting pitter-patter!
Adam Cleaning – Your trusted partner for all your floor restoration needs.


