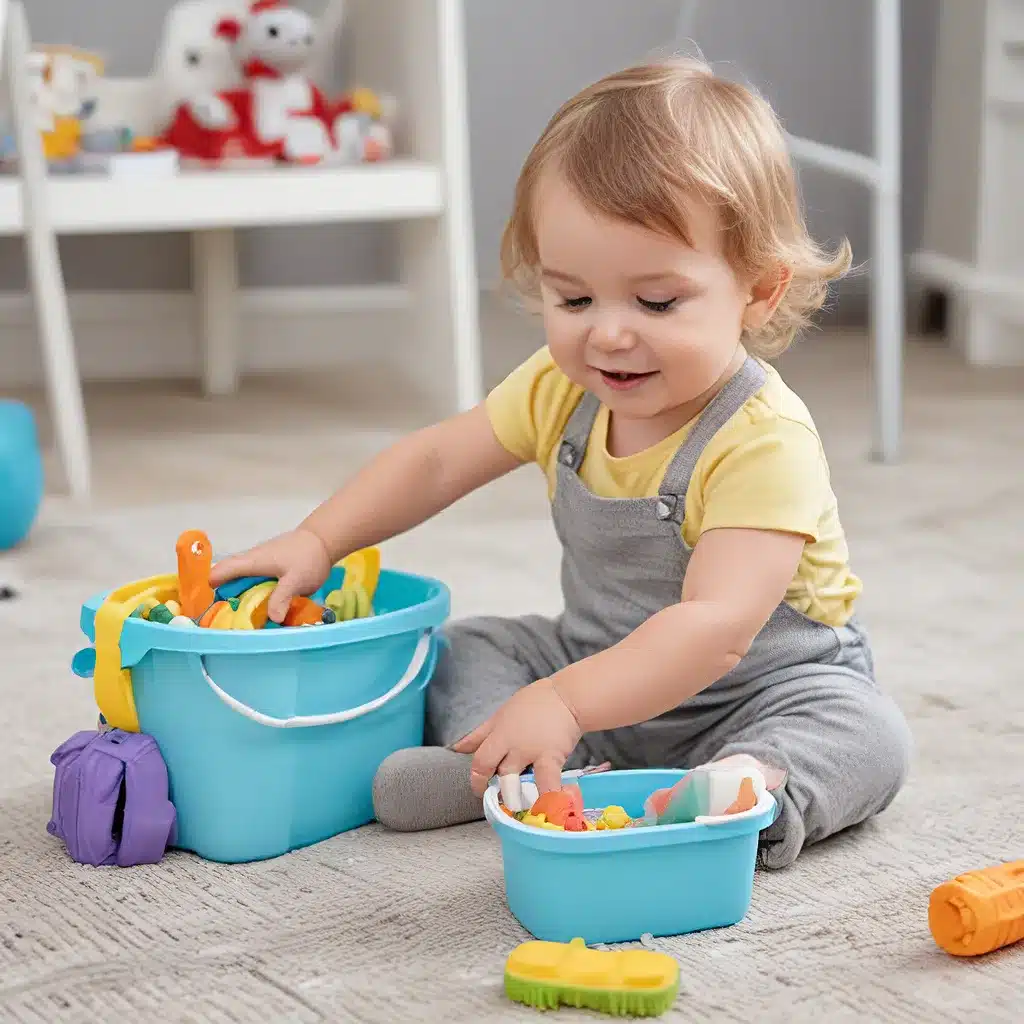
As a busy parent, I know how challenging it can be to keep up with the constant cleaning and sanitization required when you have little ones running around. Those tiny hands are like magnets, attracting every speck of dirt, grime, and, let’s face it, occasional bodily fluid from their nose or mouth. But fear not, my fellow parents! I’m here to share my tried-and-true methods for keeping our kids’ toys and play areas squeaky clean and germ-free.
Dividing and Conquering the Toy Chaos
The first step in this sanitization mission is to gather all the toys from every nook and cranny of your home. Yup, that means combing through the toy chest, diaper bag, bedroom, car, and any other secret stash spots your little ones have hidden their beloved possessions. Bring them all into one central location, like the kitchen or another spacious area.
Now, it’s time to sort and categorize. Divide the toys into four distinct groups:
- Battery-Operated Toys: Any toy that requires batteries, no matter the material, goes in this category.
- Soft Toys: Plush animals, stuffed dolls, and other cuddly items with a few hard pieces fall under this group.
- Wooden Toys: Blocks, puzzles, trains, and any other wooden wonders.
- Hard Plastic Toys: Everything else that’s primarily made of hard, non-porous plastic.
This organizational step may seem tedious, but trust me, it’ll make the cleaning process much more efficient. Plus, you can even get the kids involved and make it a fun sorting activity!
Washing the Soft and Fluffy
Let’s start with the soft toys. These can go straight into the washing machine, either with your regular laundry or in a dedicated load. I like to use my homemade, kid-friendly laundry soap for this task, but a gentle detergent like Dreft works just as well.
For the best results, run the soft toys through a full wash cycle and let them air dry completely before returning them to the playroom. This ensures any germs or bacteria are thoroughly eliminated, leaving your little ones’ cuddly companions fresh and clean.
Soapy Scrub-a-Dub for Hard Plastic Toys
Next up, the hard plastic toys. Grab a sink full of warm, soapy water and let those toys take a dip. I like to use a small amount of my DIY laundry soap or a squirt of gentle dish soap for this step. Swish the toys around, paying extra attention to any grooves or crevices where grime can hide.
After a good five-minute soak, drain the sink and give the toys a thorough rinse under warm water. Set them out to air dry on a clean towel, making sure to squeeze any bath toys to release any trapped water. Once they’re completely dry, they’re ready to rejoin the playtime rotation.
Disinfecting the Wooden Wonders
For the wooden toys, I have a special trick up my sleeve. Grab a towel and lay it out on the floor, then spread out all your wooden treasures. Time to break out the DIY Disinfectant Spray!
This magical potion is a simple mix of equal parts water and white vinegar. You can even add a few drops of essential oils, like orange or lemon, to help mask the vinegar scent. Spray the wooden toys liberally, making sure to get every nook and cranny. After letting them sit for about 3 minutes, flip them over and repeat the process on the other side.
Once they’ve had a chance to fully air dry, your wooden toys are ready to rejoin the play rotation. For larger wooden items, like a toy chest, simply spray the disinfectant onto a clean rag and wipe down the surfaces.
Sanitizing the Battery-Operated Bots
Last but not least, the battery-operated toys. These little electronic marvels can’t go for a dip in the sink, but they’re still easy to clean. Grab a disinfectant-dampened rag and give them a good wipe-down, paying close attention to any nooks and crannies.
Tip: To save time on cleaning days, consider rotating the battery-operated toys that your little ones have access to. Keep a few in the playroom while the rest take a break in storage, then switch them out. This not only simplifies the sanitization process but also adds an element of novelty to playtime.
Staying on Top of the Germ Game
Now that you’ve got the cleaning routine down, it’s important to maintain a regular sanitization schedule. I typically clean my kids’ toys every other week, unless they’ve been hit with a nasty bug. And don’t forget to vacuum or sweep the play areas weekly, being sure to keep shoes off the floor to minimize tracked-in dirt and germs.
Remember, it’s all about finding that delicate balance between keeping things clean and allowing our little ones to explore and build their immune systems. A little bit of dirt never hurt anyone, but we also don’t want our kids swimming in a sea of bacteria. With these kid-safe sanitization methods, you can keep your home a happy, healthy, and germ-free haven.
So, take a deep breath, roll up your sleeves, and let’s get to work keeping our families happy and healthy, one freshly cleaned toy at a time! And don’t forget to let me know if you have any other tried-and-true cleaning tricks up your sleeve. We parents have to stick together, am I right?


