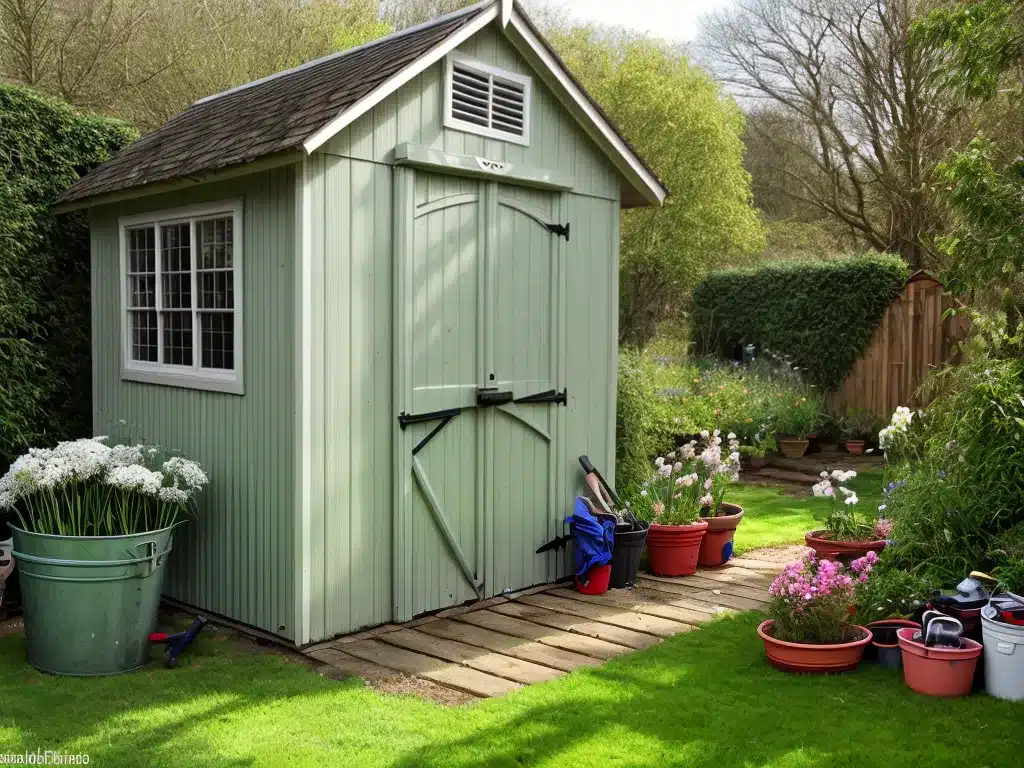
Spring is here and it’s time to get organized! As the weather warms up, I like to tackle spring cleaning projects around the house and yard. My garden shed is always a top priority, since it gets quite dusty and cluttered over the winter months. Here are my tips for giving your garden shed a thorough spring cleaning from top to bottom.
Clear Out the Clutter
The first step is clearing out everything from the shed so you have open space to work in.
Sort Through Tools and Supplies
Go through all the tools, gloves, pots, fertilizers – everything. Get rid of anything that’s broken, expired, or you just don’t need anymore. Tools that are still in good condition can be cleaned up and organized on shelves or a pegboard later. Supplies like soil, fertilizer, and pesticides may need to be consolidated and repackaged if opened. Anything you want to keep should be freshly organized.
Sweep Away Dirt and Debris
Use a broom to sweep dirt, leaves, cobwebs and other debris off the shelves, floor, and tools. Dirt and debris can be swept out the door as you work. If needed, use adustpan to scoop up piles of dirt and debris to throw away.
Wipe Down Surfaces
Use all-purpose cleaner and rags to wipe down the shelves, pegboard, windows, and walls. This removes layered grime and any cobwebs missed when sweeping.
Clear Out Cobwebs
Use a duster or broom to remove cobwebs from the ceilings, corners, and rafters of the shed. Pay close attention to remove all traces of cobwebs since spiders love to return to these spots.
Deep Clean the Interior
Now the empty shed can be deep cleaned from top to bottom.
Scrub the Walls and Ceiling
Use a mop and multi-surface cleaner to scrub down the walls, ceiling, doors, and any other painted interior surfaces. This removes years of dust, dirt, and grime that sweeping alone won’t get.
Clean the Windows
Spray glass cleaner onto the interior and exterior of the shed windows. Wipe clean with a paper towel or soft cloth. Clean windows let more natural light in.
Sweep and Mop the Floors
Sweep the floor again to remove any remaining debris. Use a mop and multi-surface floor cleaner to mop the floor thoroughly. Let it dry completely before moving anything back in.
Treat Any Mold or Mildew
Check for areas of mold or mildew growth. Spot treat these areas with a mold and mildew remover. This prevents further spread around your shed.
Dust Light Fixtures
Use a duster or soft cloth to wipe down the lenses of any light fixtures. This makes them brighter.
Organize and Restock Supplies
Now your shed is clean and it’s time to organize.
Install Storage Solutions
Consider installing wall-mounted shelves, cabinets, or a pegboard to help keep the interior organized. These provide places to neatly store and display tools.
Organize Tools by Use
Group together tools that are used for similar purposes, like gardening hand tools, digging tools, pruning tools, etc. Outline their silhouettes on a pegboard or shelf so you know exactly where they belong.
Label Storage Bins
Use clear plastic bins to store gardening supplies like fertilizer, soil, peat moss, and mulch. Label the fronts so you know exactly what’s inside without opening them.
Sweep Out Dirt and Debris Regularly
To maintain your clean shed, sweep out dirt, leaves, and other debris on a regular basis. Not allowing it to build up makes future deep cleans much easier.
A tidy garden shed makes yardwork so much more pleasant. I hope these tips help you declutter and thoroughly clean your shed this spring. Enjoy the satisfaction of a job well done and an organized space ready for gardening season!


