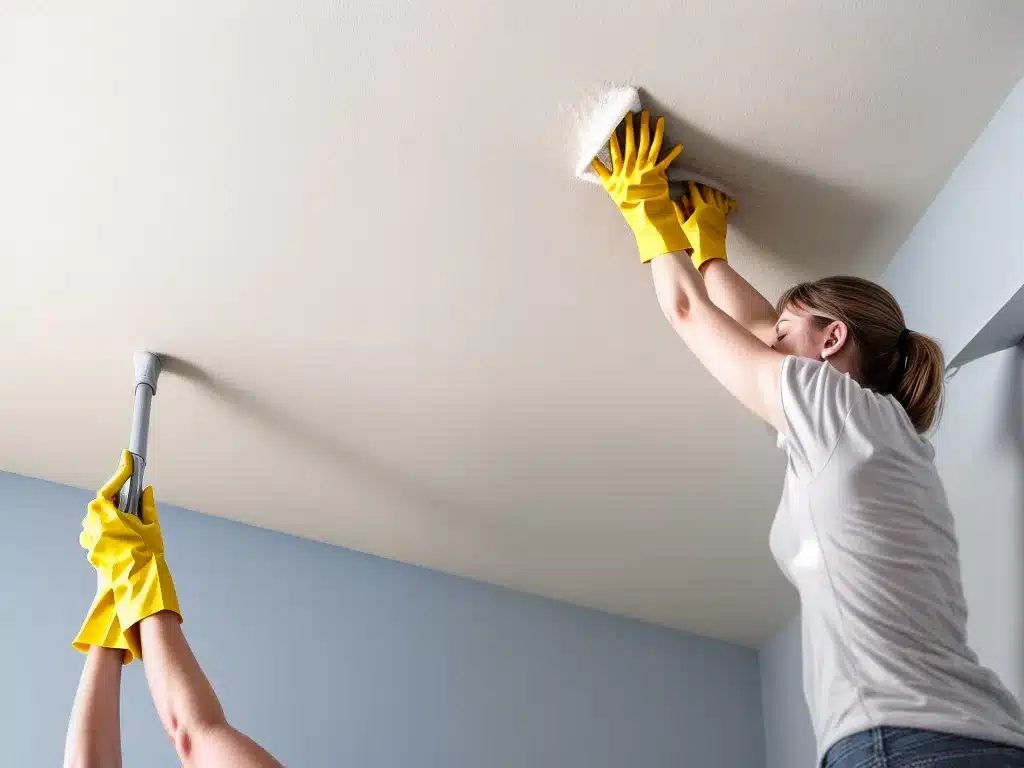
I know how frustrating it can be to have ceilings and walls that are just out of reach. Over time, dust and grime can build up, leaving them looking dirty and dingy. But with some clever tools and techniques, you can get those hard-to-reach surfaces sparkling clean again. Here’s how I tackle cleaning ceilings and walls that I can’t reach:
Assessing the Situation
The first thing I do is take stock of the ceiling or wall I want to clean.
-
What is the surface made of? Plaster, painted drywall, wallpaper, and acoustic tiles all require slightly different cleaning methods.
-
How high or out of reach is it? This will determine what kind of tool I need to use to extend my reach.
-
What kind of dirt or stains are present? Dust and cobwebs need a different approach compared to grease stains or mildew.
-
When was the last time it was cleaned? More frequent cleanings mean less built-up grime. Infrequent cleaning may require more aggressive scrubbing.
-
Are there any decorative elements or light fixtures? Special care is needed around these to not cause any damage.
Gathering the Right Cleaning Tools
Armed with an understanding of the surface I want to clean, I gather the appropriate tools:
-
Duster with extendable handle – Great for removing loose dust and cobwebs from ceilings and crown molding. I use microfiber dusters which are washable and reusable.
-
Vacuum with hose attachments – Allows me to vacuum ceilings, corners, and walls without using a ladder. Look for varied suction levels.
-
Spray bottles with cleaning solutions – Fill them with the appropriate cleaner for the surface. Distilled white vinegar or washing soda work well for many areas.
-
Scrub brushes with extendable handles – Help agitate and loosen stuck-on grime. Use soft bristles for delicate surfaces.
-
Ladder or step stool – Sometimes I need a boost to reach awkward spots for precision cleaning. Make sure to use them safely!
-
Eye protection, mask, gloves – Important for safe cleaning around overhead areas. Protect myself from cleaning chemicals and dislodged debris.
Dry Cleaning Methods
For lightly soiled areas, a good dry cleaning is often all that’s needed:
-
Use the duster to remove surface dust and cobwebs from ceilings and crown molding. Work in overlapping strokes.
-
Use vacuum attachments to suck up dust and debris in corners, along edges, and over acoustic tile ceilings. Change pads when they get dirty.
-
Wrap a microfiber cloth around a swiffer or duster handle to trap dust from walls and ceiling perimeters. Start from the top and work down.
-
Use a lint roller on a handle for ceilings and walls with delicate surfaces like wallpaper. Roll gently to avoid peeling or tearing.
-
For stubborn areas, lightly spritz distilled white vinegar and let sit 5 minutes before wiping. It helps dissolve built-up dirt.
Wet Cleaning Methods
When dry cleaning isn’t enough, it’s time to bring out the sprays:
-
Mix a solution of warm water and mild dish soap. Use it sparingly on walls and ceilings, wipe gently with a sponge mop handle.
-
For tough grease stains, use baking soda paste. Let it sit 5-10 minutes before scrubbing and wiping away. Rinse well.
-
Vinegar- or ammonia-based glass cleaner works well on shiny paint and tile. Spray and wipe clean with newspaper or microfiber.
-
To sanitize walls and ceilings, use a non-bleach disinfectant or a dilute bleach solution (1/2 cup bleach per gallon of water). Rinse surfaces thoroughly afterwards.
-
For wallpaper, mix 2 cups warm water, 1 tsp dish soap, and 2 tbsp white vinegar. Use a sponge mop and gentle pressure to avoid tearing.
Conclusion
With the right approach and tools, even ceilings and walls that are hard to reach don’t have to stay dirty. Just assess the surface, use gentler dry cleaning methods first, then break out the sprays if needed. The ceiling looks so much better now that I’ve given it a good deep cleaning! Next I’ll tackle the top of the bookshelves.


