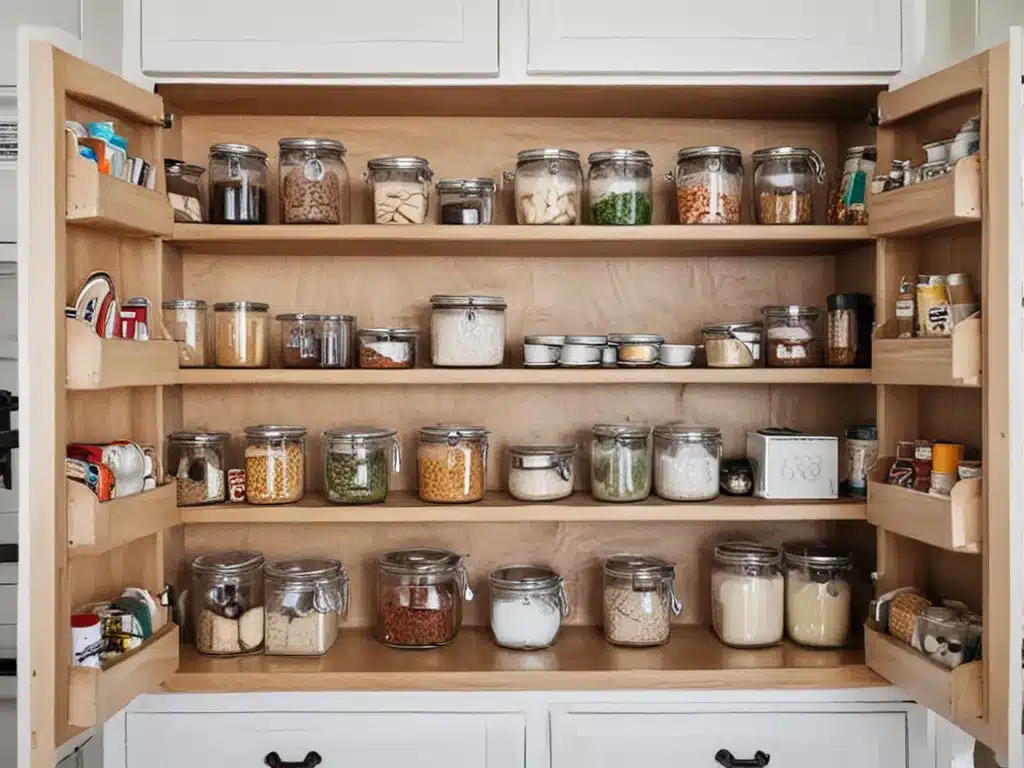
Why You Should Declutter Your Kitchen
A cluttered kitchen can make cooking, baking, and meal prep feel overwhelming. By taking the time to declutter your kitchen cabinets and pantry, you can create a more organized and efficient cooking space. Here are some of the biggest benefits of decluttering your kitchen:
-
Find things faster – When your shelves and cabinets are organized, you’ll know exactly where to find ingredients and tools when you need them. No more digging around to locate a spatula or spice jar.
-
Reduce waste – Cluttered cabinets hide forgotten ingredients that may expire before you remember they’re there. Decluttering helps you take stock of what you already have so less food goes to waste.
-
Make better use of space – Getting rid of excess or unused items frees up room for things you actually use regularly. Strategic organization utilizes all the available storage space.
-
Simplify cooking and cleanup – Cooking and cleaning are quicker and easier when you only have the essential gear and foods within reach. Decluttering cuts down on time spent hunting for things.
-
Feel less stressed – Walking into a tidy kitchen helps you feel calm and focused. Decluttering eliminates visual clutter and makes your cooking space feel soothing.
Declutter Pantry Shelves and Food Storage Areas
The first decluttering priority is your pantry shelves and any other food storage areas. Here’s how to tackle this space:
Step 1: Take Everything Out
-
Remove all food items from shelves, including shelf-stable ingredients, snacks, and appliances (if stored in pantry).
-
Take everything out of storage containers.
-
Empty all baskets, bins, lazy susans etc.
Leaving the shelves bare gives you a blank slate to work with.
Step 2: Check Expiration Dates and Toss Expired Foods
-
Go through all items and inspect expiration dates.
-
Toss anything that’s expired. This removes items you’d just have to throw out later.
-
For items without dates, use your judgement on if they seem spoiled. Toss anything that’s clearly gone bad.
Step 3: Wipe Down Shelves
-
With all food items removed, wipe pantry shelves to clear out crumbs and dust.
-
Consider using all-purpose cleaner if shelves are greasy or grimy.
-
Tackle insides of cabinets too. Getting rid of buildup makes space seem cleaner.
Step 4: Group Similar Food Items Together
-
As you put items back, group together foods of the same type – pastas, canned goods, baking supplies etc.
-
This makes it easier to do a quick visual inventory of what you already have when meal planning.
-
Alphabetize spices so the one you need is easy to locate.
Step 5: Use Bins and Baskets to Corral Items
-
Use baskets or bins to hold packaged foods like granola bars, snack chips, and candy.
-
Clear containers make it easy to see what’s inside. Labeling helps too.
-
Lazy susans or tiered shelves also efficiently hold these foods.
Step 6: Add Inventory Lists if Helpful
-
For some pantries, having a running grocery list posted inside the door is handy. Jot needs on it as you run out.
-
Inventory lists detailing what’s on each shelf can help you utilize space. Update these when adding new items.
-
Place lists at eye level for easy access. Use laminated sheets and dry erase markers to customize.
Declutter Kitchen Cabinets and Drawers
Once your pantry is organized, move on to cabinets and drawers. Follow these steps:
Step 1: Empty All Cabinets and Drawers
-
As with the pantry, remove everything – dishes, cookware, tools, food items etc.
-
Dump out drawers entirely. Don’t leave anything behind.
Step 2: Clean Surfaces
-
Wipe down shelves and drawer interiors to remove grease and dust bunnies.
-
For stubborn grease, spray with degreaser and let sit before wiping clean.
Step 3: Discard Unused Items
-
Be ruthless. If you don’t use it, toss it.
-
Fair game for discarding:
- Chipped or cracked dishes
- Odd spare parts from appliances
- Random ugly mugs or glasses
- Plasticware when you use reusable
-
Expired spices and condiments
-
Don’t feel obliged to keep gifts that don’t suit your needs. Out with them!
Step 4: Assign a “Home” for Each Item
-
As you put items back, give them a designated spot suited to how/when you use them.
-
Keep things you use daily within easy reach – mugs near coffee machine, pans by the stove.
Step 5: Use Dividers and Organizers
-
Trays, turntables and vertical dividers make good use of cabinet space.
-
Utensil organizers, spice racks, knife blocks etc neatly store these items.
-
Baskets or bins hold bulk foods, lids, baking pans and other loose items.
Step 6: Label Cabinets and Drawers
-
Use labels to designate what belongs where. This prevents “junk drawer” syndrome over time.
-
Label on the outside for infrequently used spaces: “gift wrap,” “tablecloths,” etc.
-
For daily-use drawers/cabinets, put labels inside to avoid visual clutter.
Maintenance Tips for Staying Clutter-Free
Decluttering is useless if clutter creeps back in. Here are some habits to practice:
-
Do a 5-minute daily tidy – Quickly put things back where they belong before mess accumulates.
-
Remove food packaging – Don’t store boxes and cans on shelves. Use clear canisters and jars.
-
Store less on countertops – Limit to frequently-used appliances. Declutter onto shelves.
-
Clean as you go when cooking – Put ingredients away as you finish with them.
-
Purge before restocking – If a shelf is full, remove unneeded items before adding more.
-
Assign “homes” to new purchases – Decide where new items will be stored before leaving them out.
In Conclusion
By thoroughly decluttering your kitchen cabinets, pantry, and drawers, you can transform your cooking space into an organized, inspirational place. Maintaining the clutter-free state simply takes developing a few helpful habits. With renewed order and cleanliness, you can enjoy maximum efficiency and ease when using your kitchen.


