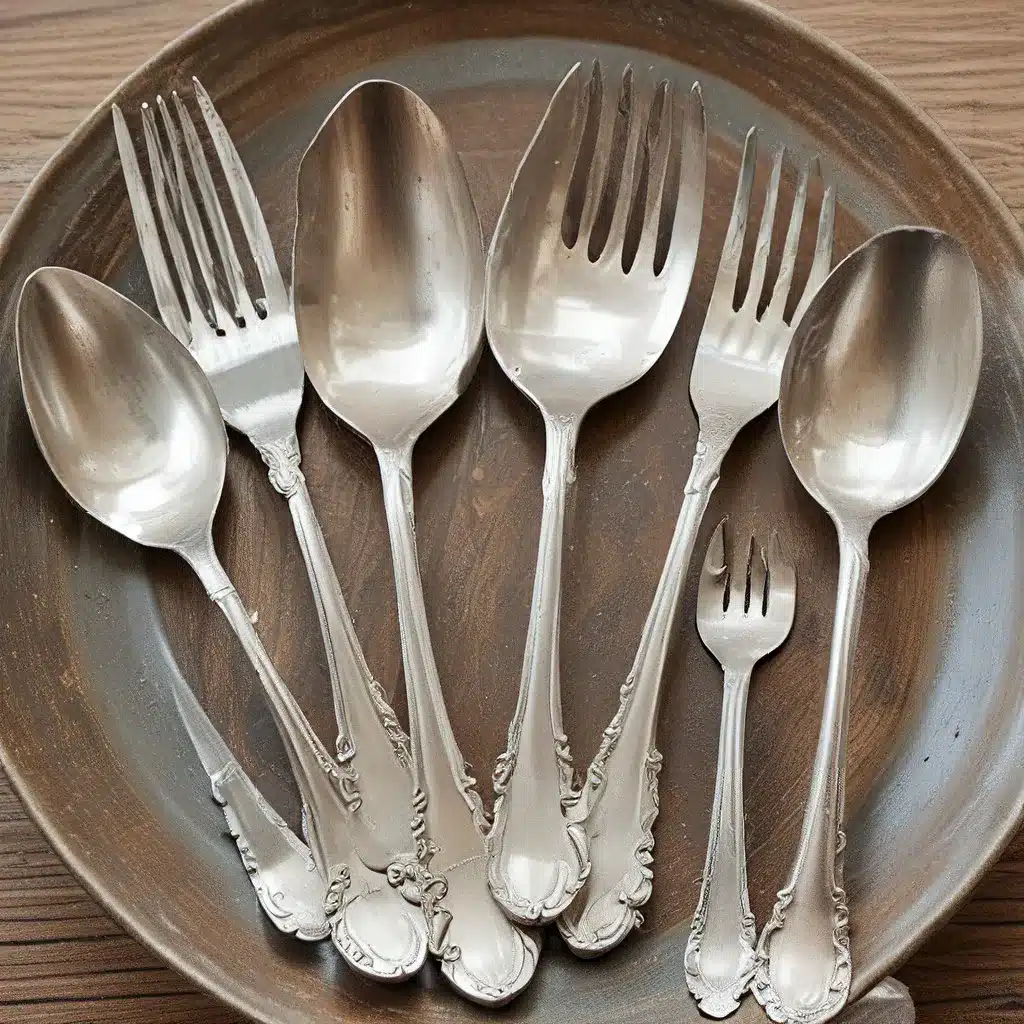
Who doesn’t love the gleam and shine of pristine silver? Whether it’s a cherished family heirloom, a special-occasion serving set, or that stunning charm bracelet you wear everywhere, there’s just something about sparkling silver that makes my heart flutter. But let’s be real – tarnish is the bane of any silver lover’s existence. That dull, discolored film can quickly turn your prized possessions into sad, neglected relics.
Now, I know what you’re thinking – don’t I have to resort to chemical-laden silver polishing products or pay an arm and a leg to have a professional do it? Nope! I’ve discovered the best-kept secret for cleaning silver at home, and it’s as easy as raiding your kitchen cabinet. That’s right, with just a few simple household ingredients, you can bring that brilliant luster back to all your silver goodies. Let me show you how.
The Magical Silver Cleaning Elixir
I recently stumbled upon a game-changing silver cleaning trick, and let me tell you, it works like a charm (pun intended). All you need is:
- 1 cup of boiling water
- 1 tablespoon of baking soda
- 1 tablespoon of white salt
- 1/2 cup of white vinegar
- 1 sheet of aluminum foil (shiny side up)
- A polishing cloth (microfiber works great)
The process is super simple:
- Boil the water.
- Line a bowl with the aluminum foil, shiny side up.
- Add the baking soda and salt to the bottom of the bowl, then slowly pour in the vinegar. Expect some fizzing!
- Pour the boiling water over the mixture and give it a gentle stir to dissolve everything.
- Carefully drop your tarnished silver items into the bowl, making sure they touch the foil.
- Let them soak for 5-10 minutes, flipping them over halfway through if needed.
- Remove the items, rinse them with cool water, and buff them dry with the polishing cloth.
Just like magic, your silver should emerge looking brand new! The chemical reaction between the aluminum, baking soda, salt, and vinegar works to lift away all that unsightly tarnish, leaving your pieces sparkling like the day you got them.
The Science Behind the Shine
So, what’s really going on here? Well, it all comes down to a nifty little process called electrochemical reduction. When the tarnished silver comes into contact with the aluminum foil, it creates a mini-electrochemical cell. The aluminum acts as the more reactive metal, “sacrificing” itself to remove the tarnish (which is silver sulfide) from the surface of your jewelry or silverware.
The baking soda and salt help to further facilitate this reaction by providing an electrolyte solution, while the vinegar adds just the right amount of acidity to optimize the whole process. It’s a veritable chemistry experiment in your kitchen, and the results are nothing short of remarkable!
Preventing Future Tarnish
Okay, so you’ve got your silver gleaming and good as new – now what? Well, the key to keeping it that way is prevention. Tarnish forms when silver reacts with sulfur-containing compounds in the air, so the name of the game is keeping your pieces sealed off from exposure.
One trick my mom used to use was to store her sterling silverware in a special chest lined with anti-tarnish felt. This creates a barrier that helps slow down the tarnishing process. You can also try wrapping your silver in acid-free tissue paper or sealing it in plastic bags when not in use.
Another great option is to use tarnish-resistant silver polish every so often. This helps build up a protective layer on the surface of the metal, making it more resistant to discoloration. Just be sure to follow the product instructions carefully and avoid over-polishing, as that can actually wear down the silver over time.
Safety First
While this homemade silver cleaning solution is an absolute lifesaver, it’s important to keep a few safety precautions in mind. First and foremost, never use this method on pearls, opals, or other soft, porous stones. The acidic nature of the vinegar can damage or discolor these delicate gems.
Additionally, the chemical reaction involved in this process releases hydrogen sulfide gas, which has a distinct rotten egg smell. Make sure you’re working in a well-ventilated area, and avoid inhaling the fumes directly. Wear gloves to protect your hands, and rinse the silver thoroughly when you’re done to remove any residual solution.
A Shiny New Lease on Life
Alright, now that you’re armed with all the silver cleaning knowledge, it’s time to put it into practice! Gather up those tarnished treasures and get to work. Just remember – a little bit of this magical solution goes a long, long way.
Before you know it, your silver will be sparkling and radiant, ready to take on the world. And the best part? You can do it all from the comfort of your own home, without breaking the bank or resorting to harsh chemicals. It’s a win-win in my book!
So, what are you waiting for? Grab those kitchen staples and get to cleaning! Your silver deserves a new lease on life, and this homemade trick is just the way to give it. Happy polishing, my friends!


