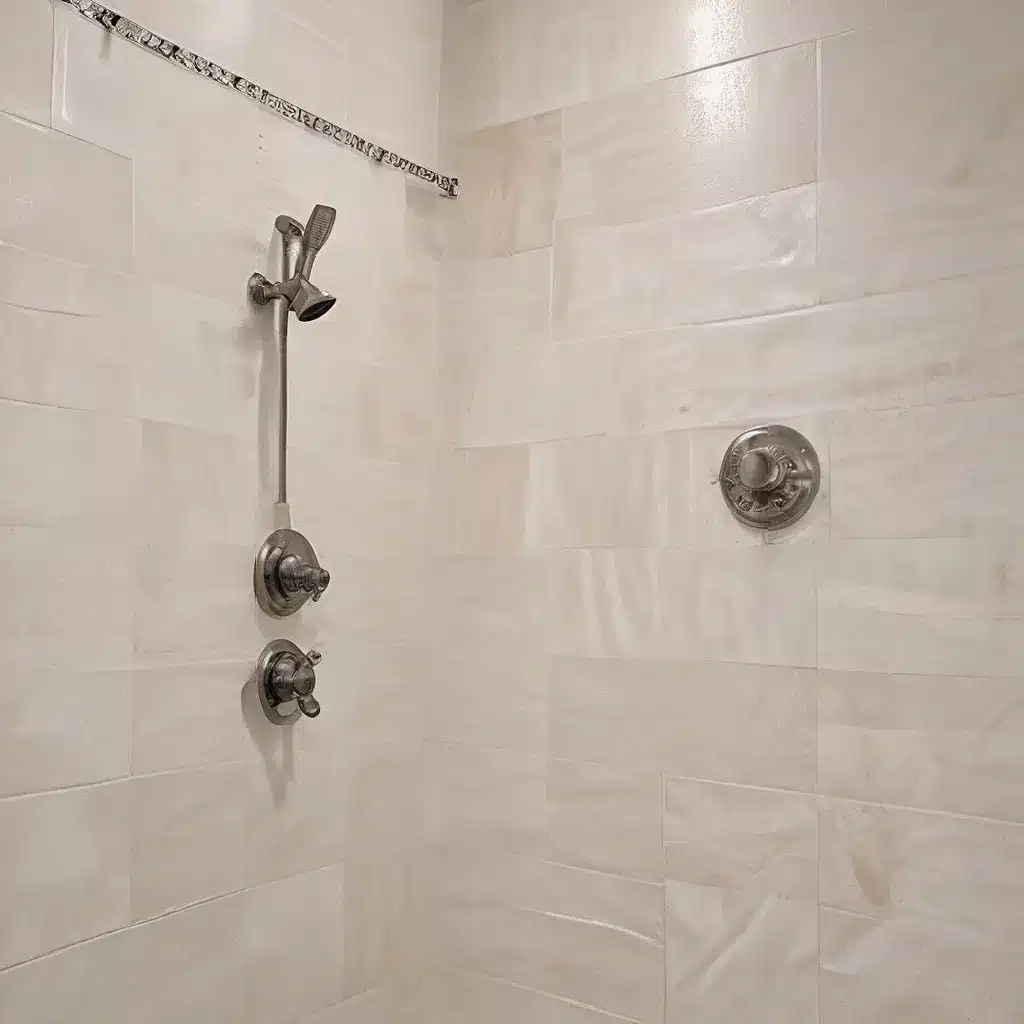
Oh, the joys of cleaning a shower. You know, the kind where you have to get on your hands and knees, scrub until your arms are sore, and still end up with that dingy, discolored grout that makes you want to cry? Yup, been there, done that – more times than I care to admit. But let me tell you, I’ve discovered a game-changing solution that will transform your tired, outdated shower tiles into a sparkling, clean oasis without all the elbow grease.
The Tile Painting Experiment
It all started when I was staring at the uninspiring blue-gray tiles in our master bathroom, wondering if there was any way to give them a facelift without spending a ridiculous amount of money on a full-blown renovation. I mean, the tiles themselves weren’t terrible, but they just didn’t spark any joy, you know? That’s when I stumbled across some information about painting tile, and let’s just say my inner DIY-loving, budget-conscious self got very excited.
At first, I was a little skeptical – painting tiles? Really? Wouldn’t that just peel and chip after the first few showers? But the more I read, the more intrigued I became. Apparently, there’s a special epoxy-based tile paint that’s designed to withstand the moisture and wear and tear of a bathroom. Hmm, interesting…
Diving In (and Holding My Breath)
So, I decided to take the plunge and give it a try. I mean, what did I have to lose, right? The tiles were already kind of an eyesore, so if it ended up being a disaster, at least I’d be no worse off than before. I gathered up all the supplies – a deep cleaning kit, painter’s tape, rollers, brushes, and of course, the magical tile paint. And let me tell you, the prep work was no joke.
First, I had to remove all the old caulk from the corners and edges, which was a tedious task in itself. Then came the real test of my cleaning prowess – scrubbing those tiles until they were squeaky clean. I’m talking elbow grease, vinegar, and a whole lot of determination. But you know what they say, “no pain, no gain,” and in this case, the gain was a bathroom that looked brand new.
The Painting Process (Hold Your Nose!)
Alright, so the cleaning wasn’t the most fun part, but the actual painting? Let’s just say it was an experience. The tile paint is a two-part epoxy that you have to mix together, and the fumes were insane. I’m talking my eyes watering, nose stinging, and a sudden urge to don a full-on hazmat suit. But I persevered, rolling on that paint as quickly and efficiently as I could, trying not to pass out in the process.
And you know what? It was worth it. After a few coats and a bit of patience for the paint to dry, the transformation was nothing short of amazing. Those drab, dated tiles were now a crisp, clean, bright white – a complete 180 from where we started. I have to admit, I stood back and admired my handiwork, practically giddy with excitement.
The Moment of Truth: How’s it Holding Up?
Now, the real test was how well the paint would hold up to the daily use and moisture of our shower. I’ll be honest, I was a little nervous. I mean, this was a DIY project, after all, and I’ve had my fair share of disasters in the past. But to my delight (and relief), the paint has been going strong for over two years now.
Sure, the shine has dulled a bit with all the scrubbing, but the tiles still look fresh and clean, with no signs of chipping or peeling. And the best part? That once-dreaded grout cleaning has become a breeze – the painted grout wipes down just as easily as the tiles. It’s a total game-changer, let me tell you.
A Word of Caution (and a Tip!)
Now, I do have to mention one potential downside to this tile-painting adventure: the smell. Whew, that tile paint is no joke. The fumes are so strong that I’d highly recommend wearing a respirator mask and keeping the area well-ventilated. And if you have any furry or feathered friends, you might want to consider boarding them out for a day or two.
Oh, and one more tip: ditch the foam rollers. I made the mistake of using them, and ended up with a million tiny hairs stuck in the paint. Not a good look. Stick to a good quality small nap roller, and you’ll be golden.
The Final Verdict: A Budget-Friendly Bathroom Refresh
All in all, I’m thrilled with how this tile-painting project turned out. It’s been an absolute game-changer for our bathroom, and the best part? It cost a fraction of what a full-blown tile replacement would have. I’m talking about $100 for the whole thing, compared to the thousands it would have taken to re-tile the entire space.
So, if you’re stuck staring at some less-than-lovely tiles, don’t despair. Grab some tile paint, a few supplies, and get ready to transform your bathroom into a sparkling, clean oasis – no scrubbing required. Trust me, your future self will thank you.
And hey, if you need a little extra motivation, just remember: Adam Cleaning is always here to lend a hand (or a mop) if you need it. Happy tiling, my friends!


