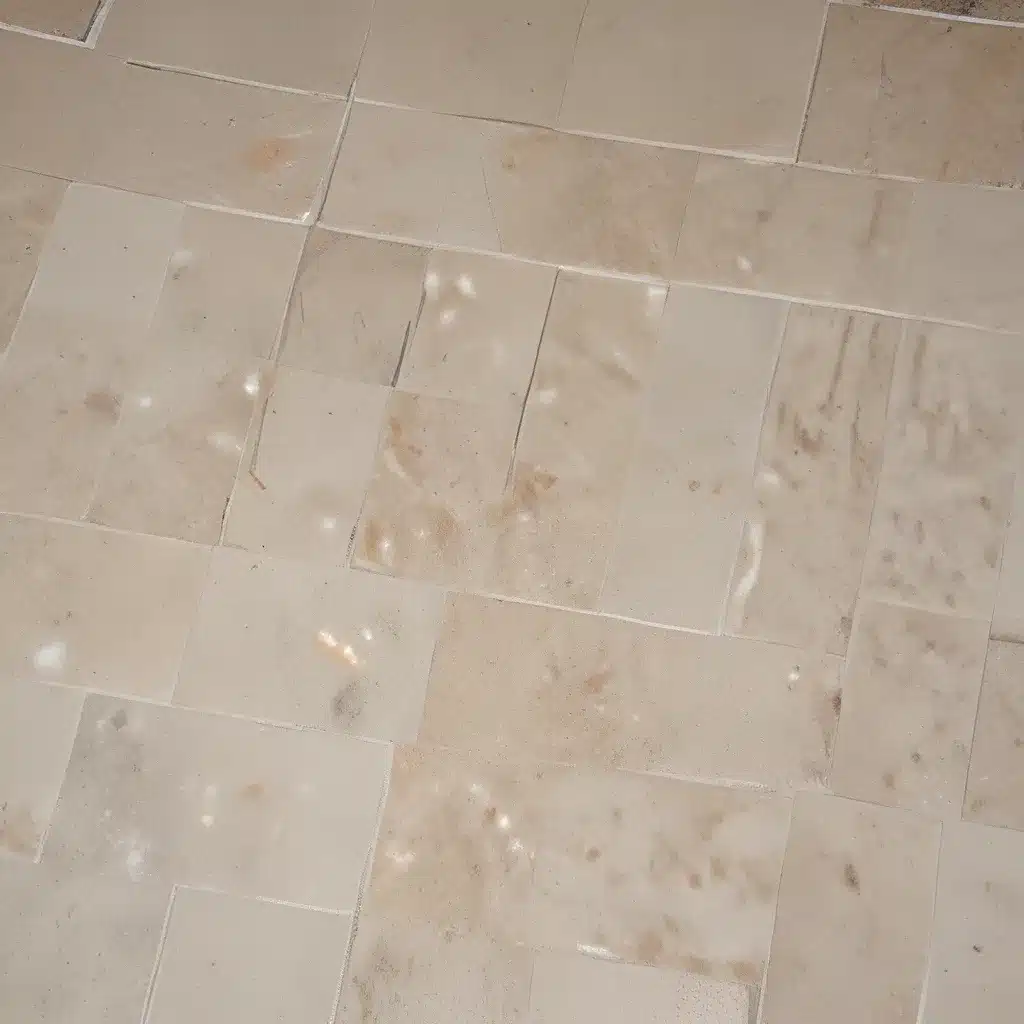
You know the feeling – you look down at your kitchen or bathroom tiles, and your heart sinks. What was once a sparkling, pristine surface is now marred by dingy, discolored grout. It’s a bummer, but fear not, my friends! I’ve got the secret to restoring your tile’s former glory, and it’s as easy as mixing up a few simple ingredients.
The Grout Grime Nightmare
Let me tell you, I’ve been there. Our home is no stranger to high-traffic areas, and over the years, the grout in our kitchen and mudroom has taken quite a beating. I’m talking black, grimy, and cringe-worthy. It was so bad that I almost resorted to replacing the entire floor just to get rid of the eyesore.
But then I stumbled upon a game-changing DIY grout cleaner recipe, and let me tell you, it was a total game-changer. I’m talking bright white grout lines that look brand new, all without having to resort to harsh chemicals or back-breaking scrubbing.
The Miracle Grout Cleaning Concoction
The secret to this miraculous grout cleaning power lies in a simple combination of baking soda, hydrogen peroxide, and dish soap. Yes, that’s right – three common household items that, when mixed together, become a tile-transforming powerhouse.
Here’s how it works:
Baking soda is the MVP of this team, thanks to its gentle abrasive properties. It helps to lift and remove all that built-up dirt, grime, and discoloration without being too harsh on your precious tile.
Next up, we have hydrogen peroxide, the natural whitening agent that can work wonders on dingy grout. It’s like a gentle, non-toxic alternative to bleach, helping to brighten and disinfect those grout lines.
And finally, a little dish soap adds an extra boost of degreasing power, ensuring that even the toughest stains and residues don’t stand a chance.
Putting the Cleaner to the Test
When I first tried this DIY grout cleaner, I won’t lie – I was a bit skeptical. Our kitchen and mudroom floors were in dire need of some serious attention, and I wasn’t sure if a homemade solution could really tackle the job.
But boy, was I in for a surprise. After mixing up the baking soda, hydrogen peroxide, and dish soap, I got to work, applying the solution to the grout lines and letting it sit for 5-10 minutes. Then, with a sturdy scrub brush, I went to town, and the transformation was nothing short of remarkable.
I could literally see the grout brightening and whitening right before my eyes, shedding years of built-up grime and neglect. It was like having a brand new floor, and I couldn’t believe how easy and effective the process was.
The Step-by-Step Grout Cleaning Routine
Okay, so you’re sold on the magic of this DIY grout cleaner, but how do you actually use it? Fear not, I’ve got you covered with a step-by-step guide:
-
Mix together your homemade cleaning solution: Combine 2 parts hydrogen peroxide with 1 part baking soda, and add 2 tsp of dish soap. Stir it all up until you have a nice, thick paste.
-
Work in small sections: Apply the cleaner directly to the grout lines, being careful not to get too much on the actual tile. Let it sit for 5-10 minutes to work its magic.
-
Scrub, scrub, scrub: Grab a sturdy scrub brush (I love the one from Adam Cleaning) and get to work, scrubbing each grout line with a few firm strokes. You’ll start to see the transformation happen right before your eyes.
-
Sweep and mop: Once you’ve tackled all the grout lines, sweep up any excess cleaner, then follow up with a good old-fashioned mopping to ensure a spotless finish.
The entire process may take some time, depending on the size of your space, but trust me, it’s well worth it. And the best part? You can use this same natural, effective cleaner on your bathroom tiles, shower walls, and even your kitchen backsplash.
Grout Cleaning – The Gift That Keeps on Giving
As I mentioned, our kitchen and mudroom floors were in dire need of some serious attention. But after using this homemade grout cleaner, not only do they look brand new, but they’ve also stayed that way for much longer than I expected.
In fact, my 5-year-old son even commented on how white the floors were – a true testament to the power of this miraculous cleaning solution.
And the best part? I only have to tackle this project a couple of times a year, thanks to the long-lasting effects of the cleaner. It’s like having a professional-grade tile and grout cleaning, but without the hefty price tag or the harsh chemicals.
The Bottom Line: A Brighter, Cleaner Future
So, there you have it, folks – the secret to transforming your tile from drab to dazzling, all with a few simple ingredients and a little elbow grease. Trust me, once you see the remarkable results, you’ll never go back to those store-bought, chemical-laden grout cleaners.
Embrace your inner cleaning warrior, whip up a batch of this DIY grout cleaner, and get ready to wow your family and friends with your sparkling, like-new floors. It’s a game-changer, I tell you, and it’s just waiting to happen in your very own home.
So, what are you waiting for? Go forth, conquer that grout, and bask in the glory of your freshly-restored tile surfaces. Your future bright and shiny self will thank you!


