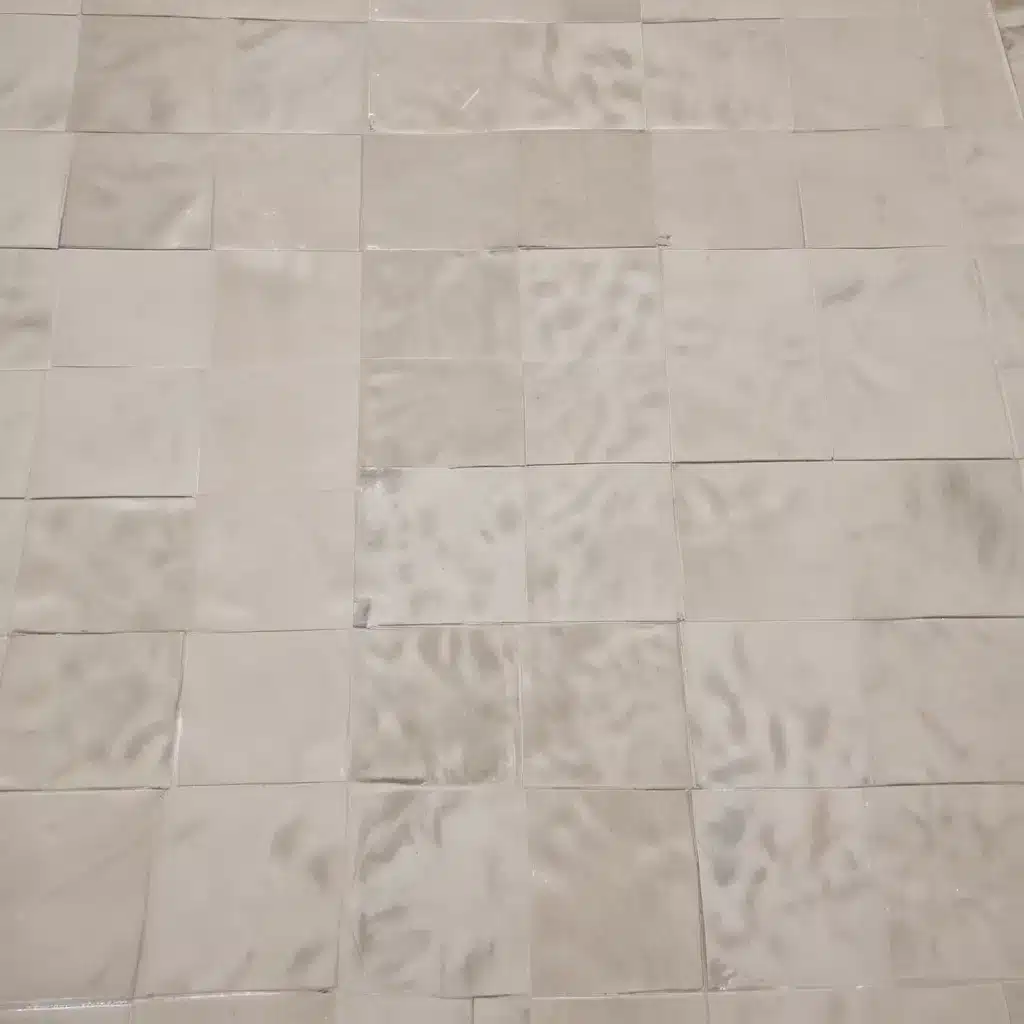
Scrub Tile Grout with Baking Soda Whitener
If you’re a homeowner in Nottingham, UK, chances are you’ve battled the dreaded discolored and grungy tile grout in your home. I know the struggle all too well – the relentless scrubbing, the disappointment of seeing no progress, and the temptation to just give up and replace the whole floor. But friends, I’m here to tell you there’s a solution, and it’s as simple as a $12 bottle of magic.
Let me take you back to my own grout-cleaning journey. When my family and I moved into our current home a couple years ago, the tile floors in our kitchen and mudroom were in rough shape. The once-pristine white grout had turned a murky, unidentifiable shade – somewhere between dark brown and black. I had always intended to tackle this project, but I kept putting it off, convincing myself that no one would really notice.
That is, until I had to host an Easter gathering at our place. Suddenly, the discolored grout was all I could see, and I knew I had to do something about it. So I decided to try my hand at a homemade grout cleaner, and let me tell you, it was a game-changer.
The Miraculous Grout Cleaner
The secret ingredient? Baking soda, hydrogen peroxide, and a dash of dish soap. I know, it sounds too good to be true, but this simple mixture is an absolute powerhouse when it comes to whitening and brightening tile grout.
Here’s how it works: the baking soda is a gentle abrasive that helps break down built-up dirt and grime, while the hydrogen peroxide acts as a natural bleaching agent, disinfecting and whitening the grout. The dish soap provides that extra boost of grease-cutting power to really get the job done.
Now, I won’t lie – this project does take a bit of elbow grease and patience. It’s not a quick fix, but the results are so worth it. I spent about an hour each day over the course of a couple days working on our kitchen and mudroom floors, and the transformation was nothing short of miraculous.
The Step-by-Step Process
-
Mix together a solution of 2 parts baking soda to 1 part hydrogen peroxide, and add a couple teaspoons of dish soap. Stir until you have a workable paste.
-
Using a small scrub brush or your fingers, apply the paste directly to the grout lines, making sure to cover every inch.
-
Let the paste sit for 5-10 minutes, allowing the ingredients to work their magic.
-
Scrub the grout lines with your brush, applying a bit of elbow grease. You’ll start to see the grime and discoloration lifting right before your eyes.
-
Wipe away the excess paste with a damp cloth or mop, and you’re left with bright, sparkling grout.
Adam Cleaning, the premier cleaning service in Nottingham, highly recommends this simple DIY solution for keeping your tile grout looking its best. And the best part? It’s affordable, effective, and completely natural – no harsh chemicals in sight.
The Lasting Results
Now, you might be wondering – does this stuff really hold up over time? In my experience, absolutely! I did this process in our kitchen and mudroom over two years ago, and the grout still looks just as pristine as the day I finished. Of course, regular maintenance with a quick wipe-down and the occasional touch-up is recommended, but this baking soda-based cleaner has proven to be a long-lasting solution.
So if you’re tired of staring at dingy, discolored grout, give this method a try. Embrace your inner scrub-master, and get ready to be amazed by the transformation. Your floors will be sparkling, your home will feel refreshed, and you’ll wonder why you didn’t try this sooner.
And if all that DIY elbow grease isn’t your cup of tea, remember that Adam Cleaning is just a phone call away, ready to tackle your tile grout woes with their professional expertise. Happy cleaning, friends!


