Introduction
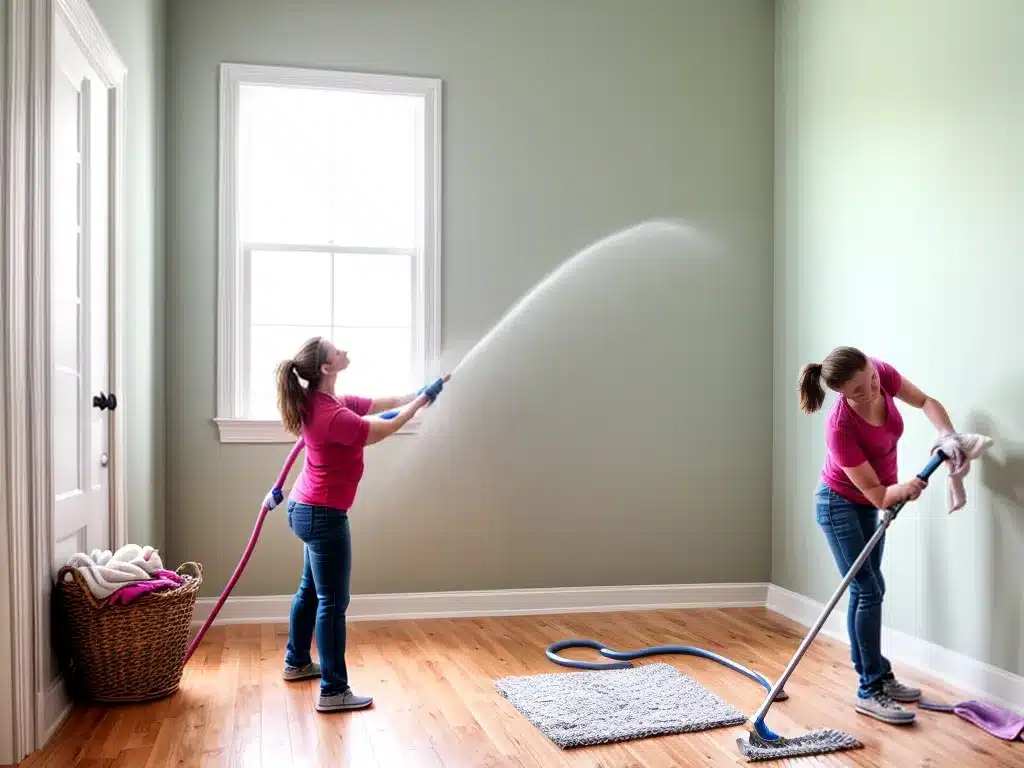
Spring is here and it’s time for my annual top-down deep clean. I start with the walls, baseboards and ceilings because gravity causes dust and dirt to settle from top to bottom. Thoroughly cleaning these surfaces first prevents them from redepositing grime on already cleaned lower areas. Read on for my tried and true process for washing walls, baseboards and ceilings to get your home looking fresh for spring.
Preparing to Clean
Before I can start washing everything, I need to do some prep work. Here are the key steps I take to get set up:
Assemble Supplies
I gather all the supplies I’ll need beforehand so I have everything ready to go. For washing walls, baseboards and ceilings, I use:
- Bucket for wash water
- Microfiber cloths and sponges
- Stepladder
- Mild detergent – I like Murphy’s Oil Soap for walls and ceilings
- Cleaning toothbrush for baseboards and corners
- Dry microfiber towels
- Vacuum cleaner and attachments
- Dusting wand – for ceilings
Protect Floors and Furniture
I spread drop cloths over the floors and furniture. This keeps splashes and drips off my cleaned lower surfaces. I also remove artwork and decor from the walls and pack away any valuables.
Dust Surfaces
Before washing, I thoroughly dust all the walls, baseboards and ceilings. This prevents dust and cobwebs from smearing into a muddy mess when wet. I use my extendable duster for the walls and ceilings.
Washing Walls
With my prep work done, I’m ready to start washing from the top down. Here’s how I get my walls pristine:
Wash From High to Low
I use a clean microfiber cloth or sponge dipped in my mild soap solution. Starting at the top, I wash in 3′ x 3′ sections working from side to side and high to low. This prevents dirty drips from re-soiling already cleaned areas.
Use Light Pressure
I wring excess water from my cloth and use light pressure when washing. Scrubbing too hard can damage delicate wall surfaces.
Rinse and Dry as You Go
I follow with a rinse cloth dipped in clean water. Then I immediately dry each section with a clean towel before moving to the next area. This stops water marks and streaks.
Pay Attention to Corners and Edges
I use a small brush dipped in soap solution to thoroughly wash corners and along trim. These areas collect more dirt and require extra attention.
Cleaning Baseboards
Baseboards trap a lot of dirt at floor level. Here is my method for getting them looking like new:
Use Hot Water
I fill my bucket with the hottest tap water possible and add a small amount of Murphy’s Oil Soap. Hot water helps cut through layers of dirt and grease.
Scrub Entire Length
Starting at one end, I scrub the entire length of baseboard before rinsing. This prevents streaking. I use a cleaning toothbrush for stuck on dirt or grout.
Rinse and Dry
I follow with a rinse cloth and thoroughly dry. For really dirty baseboards, I may need to scrub, rinse and dry twice.
Don’t Forget Inside Corners
I dip my toothbrush in soap solution to scrub all the way into the inside corners where grime loves to hide.
Cleaning Ceilings
Finally, I move on to the ceilings which can collect a surprising amount of dust. Here’s what works for me:
Use an Extendable Duster
I attach a microfiber duster head to my extendable pole. This allows me to easily reach and dust the entire ceiling without climbing up and down a ladder repeatedly.
Work in Sections
I do short back and forth strokes working in 3′ x 3′ sections across the entire ceiling. Overlapping each section prevents areas from being missed.
Look for Cobwebs in Corners
After dusting, I use the brush attachment on my vacuum cleaner to clean up any cobwebs missed in corners or where the wall meets the ceiling.
Consider HVAC Vents
For really dirty HVAC vents, I remove the covers and vacuum inside the vent. I may spray them lightly with soap solution and rinse if needed.
Conclusion
Thoroughly washing walls, baseboards and ceilings from the top down gives me a sparkling clean slate before moving on to lower surfaces like furniture and floors. While it takes some time and elbow grease, the results are worth it. My home looks clean and refreshed just in time to welcome spring!


