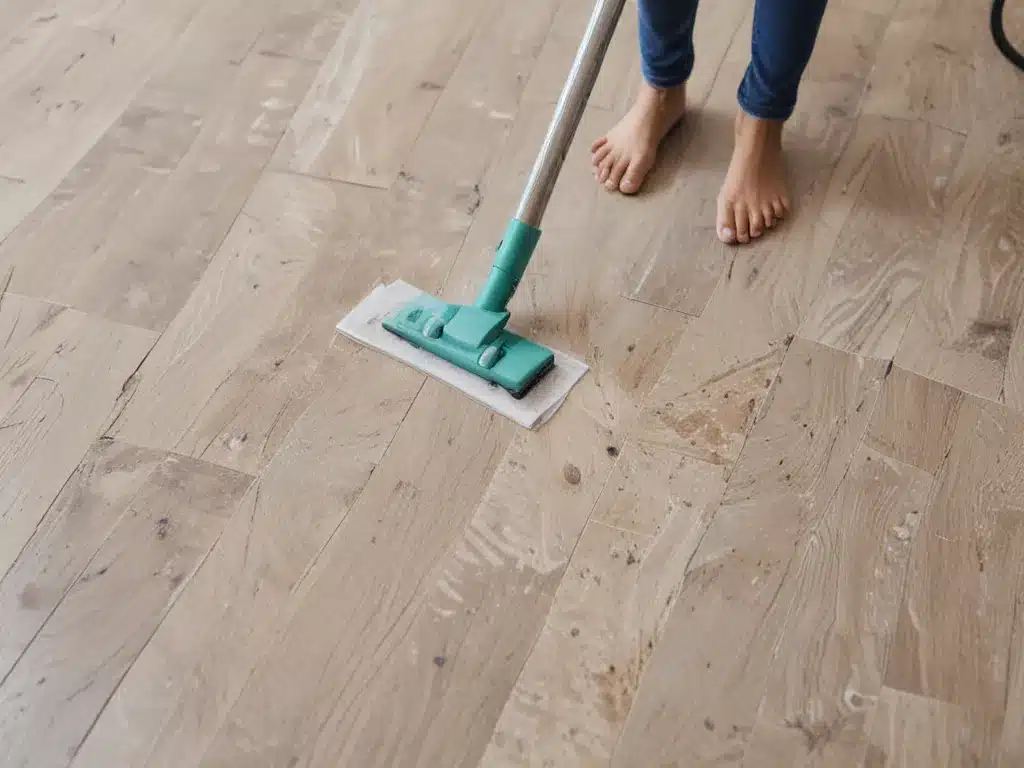
Spring is here and it’s time to do some deep cleaning around the house. As part of your spring cleaning routine, consider giving your floors a deep clean for a fresh start. Here’s how to tackle this task and get your floors looking their best.
Assess Your Floors’ Condition
First, take a good look at your floors. Are there stains, scratches, or worn spots? Make note of any problem areas. Check for dullness or buildup of dirt and grime that makes the floors appear darker or cloudier.
Pay attention to high traffic areas like entryways, hallways, and the kitchen which tend to show the most wear. Also inspect areas around furniture where chairs and table legs can rub against and damage flooring.
By carefully assessing the condition of your floors, you’ll know which areas need the most attention during deep cleaning.
Give Floors a Thorough Sweeping and Vacuuming
Before deep cleaning, be sure to clear away any debris or surface dirt by thoroughly sweeping and vacuuming the floors. This prevents spreading loose dirt around while cleaning.
Use a broom to sweep corners and edges. Vacuum all open floor areas including under furniture and along baseboards. Use crevice tools to vacuum inside corners and tight spaces.
Remove area rugs and thoroughly vacuum beneath them. This allows you to clean the floors underneath, which often get neglected.
Proper sweeping and vacuuming clears away dirt so your deep clean can focus on removing deeper grime and stains.
Choose the Right Cleaning Method for Your Floors
The best deep cleaning method depends on your type of flooring:
-
For vinyl, linoleum, laminate, or sealed hardwood floors, use a deep cleaning floor machine like a scrubber or buffing machine along with the appropriate cleaning solutions. This equipment uses rotating pads, brushes, or buffers to agitate and lift up dirt.
-
For unsealed wood floors, deep clean by wet mopping with a wood-safe cleaner or vinegar-water mixture. Avoid excessive moisture.
-
For tile floors, use a concentrated tile cleaner and stiff-bristle scrub brush to clean grout. Rinse thoroughly.
-
For carpets, rent a carpet cleaner or use a carpet shampoo machine to deep clean fibres and lift stains.
Picking floor cleaners specifically formulated for your floor type prevents damage while effectively removing buildup.
Take Your Time and Clean Thoroughly
Set aside enough time for a slow, thorough cleaning session. Work on small sections of about 10-20 square feet at a time. Allow floors to fully dry before moving onto the next section.
Get down on your hands and knees and scrub stubborn spots using a soft brush or microfiber cloth. Use straight back-and-forth motions applying moderate pressure. Let cleaning solutions sit for a few minutes before wiping to allow proper dirt breakdown.
Rinse floors thoroughly with clean water to eliminate any residue. For grout, use a grout brush dipped in clean water to lift debris out of crevices.
With patience and elbow grease, you can lift up layers of dirt and grime to reveal the beautiful floors underneath.
Finish by Sealing and Protecting Floors
Once floors are deep cleaned, it’s important to seal and protect them to lock in the clean look.
For vinyl, linoleum, laminate, and some hardwood floors, apply 1-2 coats of a no-wax floor sealant. This creates a protective barrier against future dirt, stains, and scratches.
For tile floors, seal grout lines with a penetrating grout sealer. This prevents stains and mildew from taking hold in porous grout.
Use floor protectants like felt pad floor protectors under furniture legs and mats at entrances to minimize everyday wear and tear.
Sealing and protecting floors after deep cleaning will help them maintain their renewed appearance.
Enjoy Your Fresh Start
With some concentrated effort, you can give your floors a deep clean for a fresh start. Just think how nice it will feel to walk across floors that are truly clean from top to bottom, corner to corner.
A thorough deep cleaning removes layers of grime to reveal the floors’ original beauty. Sealing and protecting them keeps floors looking revived longer.
So give your floors some TLC this season. Just follow these tips and soon you’ll be enjoying your fresh start underfoot!


