Introduction
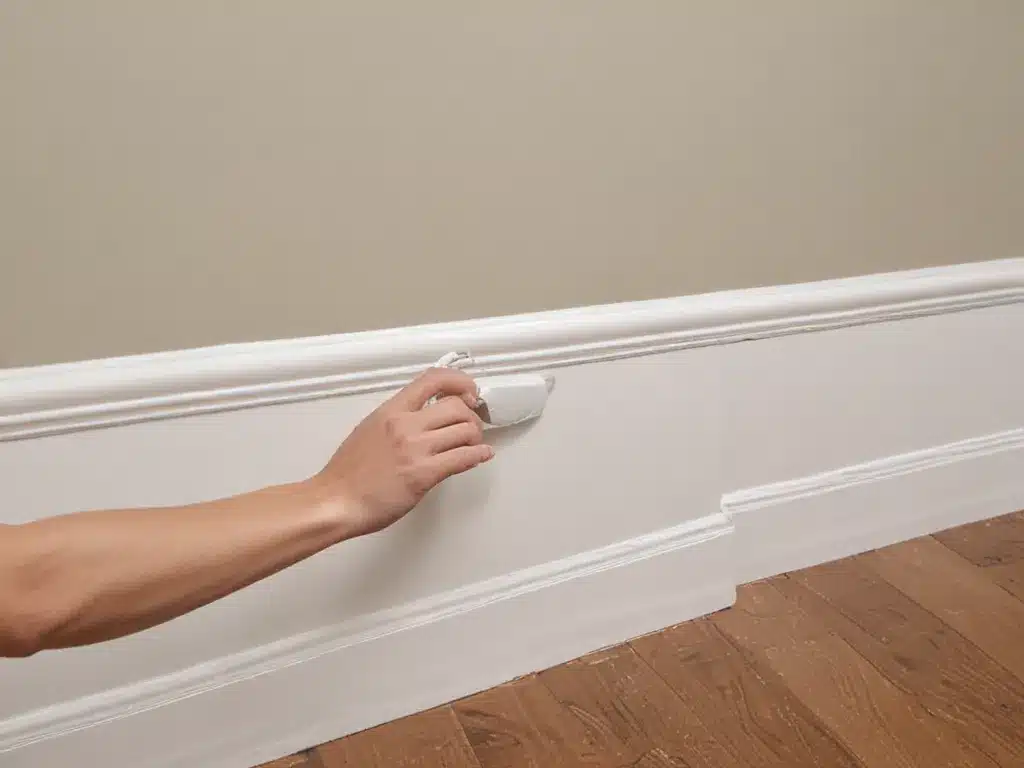
Touching up walls and baseboards is an easy way to keep your home looking clean and new. With some simple supplies and techniques, you can fix nicks, scuffs, and paint flaws to make it appear like nothing ever happened. In this guide, I will walk you through everything you need to know to successfully touch up walls and baseboards.
Gather Supplies
Before starting any touch up project, you need to gather the right supplies. Here is what you’ll need:
-
Paint – Use the same paint that is currently on the walls or baseboards. If you don’t have leftover paint, take a paint chip to the hardware store to get more in the same color and sheen.
-
Small paintbrush – You’ll need a brush that is about 1-2 inches wide with soft bristles. This allows you to precisely apply paint just to the damaged areas.
-
Painter’s tape – Tape off any adjacent surfaces you don’t want to get paint on.
-
Sandpaper – Lightly sand damaged areas to rough up the surface before painting.
-
Primer – For covering stains or larger patches, use primer first.
-
Putty knife – Useful for scraping off any loose paint or filling small holes.
-
Rags – Have some rags on hand to wipe away excess paint.
Prep the Surface
Proper surface preparation is key to achieving an invisible touch up. Here are the steps I take:
-
Remove any dirt or debris from the area you’ll be painting. Wipe away with a clean, dry rag.
-
Lightly sand the damaged spot with fine grit sandpaper. This roughens the surface so the new paint can adhere.
-
Carefully scrape away any loose or chipping paint using a putty knife.
-
For larger holes or cracks, apply spackle compound and let dry completely. Sand smooth.
-
Use painter’s tape to mask off any nearby baseboards, outlets, etc.
-
Wipe the area with a tack cloth to remove dust.
-
If painting over stains or unpainted patches, apply primer first and let dry.
Apply the Paint
Now you’re ready to start painting. Here are some tips:
-
Only paint the damaged area, not the entire wall or baseboard. Use a steady hand.
-
Dip the brush into the paint about 1/2 inch. Tap off excess paint against the edge of the can.
-
Paint using light, smooth strokes blending outward from the repair. Feather the edges.
-
Add additional coats as needed, allowing paint to dry in between.
-
Paint in the direction of the wall or baseboard. Maintain any brush stroke textures.
-
Work quickly and gently to avoid dripping. Keep paint limited to the damaged spot.
-
Let paint dry completely before removing painter’s tape.
-
Clean brushes with water and store any leftover paint.
Common Touch Up Situations
Here are some specific tips for handling common flaws:
Nail Pops – Reset the popped nail with a hammer. Fill the hole with spackle, let dry, and sand smooth. Spot prime if needed before painting.
Wall Scuffs – Lightly sand the scuffed area. Wipe away dust. Spot paint using thin, blended coats.
Baseboard Scuffs – Clean the area. Apply painter’s tape around the scuff. Paint using short, angled brush strokes to match original texture.
Stains – Seal stained areas with primer. If stains bleed through, apply oil-based primer. Allow primer to fully dry before spot painting.
Paint Imperfections – Sand or scrape away any bumps, runs, or splatters in existing paint. Wipe dust away and touch up spot.
Conclusion
With this guide, you now have the steps and techniques needed to successfully repair and touch up minor wall and baseboard imperfections. Careful surface prep, using proper supplies, applying paint in thin coats, and blending edges are all critical. Touch ups take patience and precision, but are very rewarding when done right.


