Introduction
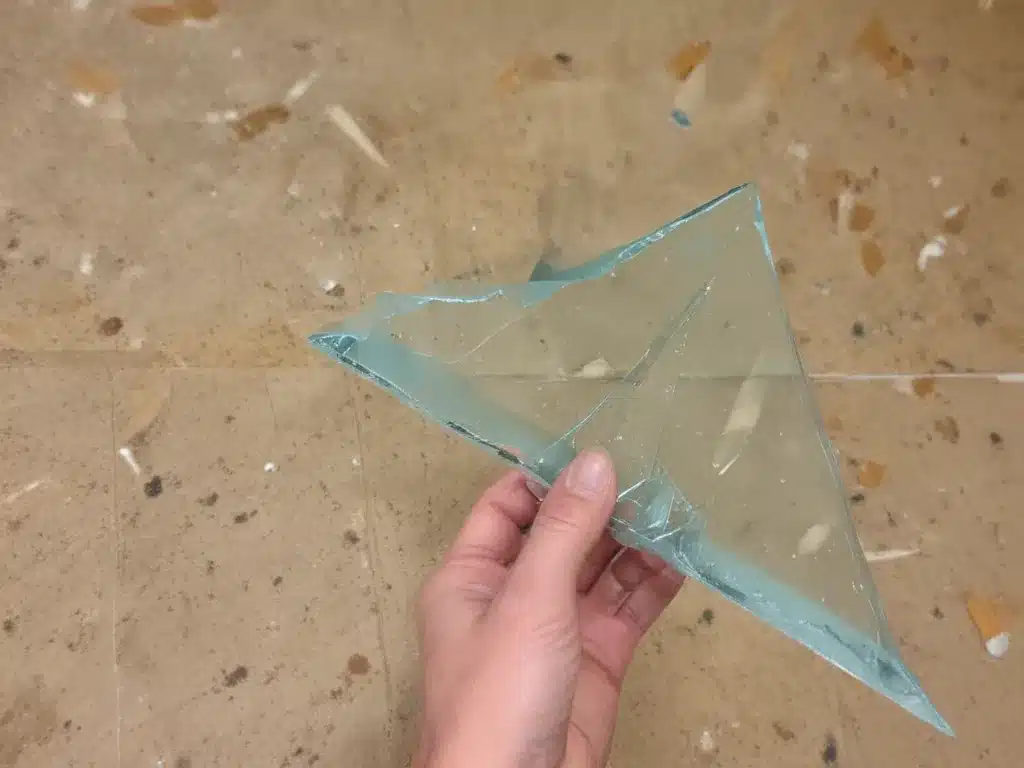
As a professional cleaning service, we understand the importance of properly handling and removing broken glass and sharps. These materials pose significant safety risks if not dealt with appropriately. In this article, I will provide a comprehensive guide on how to safely and effectively remove broken glass and sharps, covering various scenarios and best practices.
Understanding the Risks
Broken glass and sharps (needles, blades, and other sharp objects) can cause serious injuries if not handled with care. The main risks associated with these materials include:
- Cuts and lacerations
- Puncture wounds
- Infection (in case of contaminated sharps)
- Tetanus (if a rusty object breaks the skin)
It is crucial to take the necessary precautions when dealing with broken glass and sharps to prevent these risks.
Protective Equipment
Before attempting to remove broken glass or sharps, it is essential to wear appropriate personal protective equipment (PPE). The recommended PPE includes:
- Thick, puncture-resistant gloves
- Safety glasses or goggles
- Sturdy, closed-toe shoes or boots
- Long-sleeved clothing (to protect arms)
Having the right PPE minimizes the risk of injury and ensures your safety during the cleaning process.
Preparing the Area
Prior to commencing the removal process, it is important to prepare the area. Follow these steps:
- Clear the area of any unnecessary items or obstacles.
- Secure the area to prevent unauthorized access.
- If the area is outdoors, check for wind direction and avoid creating dust or debris that could spread the hazard further.
By properly preparing the area, you can work more efficiently and reduce the risk of spreading the hazard.
Step-by-Step Guide for Removing Broken Glass
Here is a step-by-step guide for removing broken glass:
-
Identify the Affected Area: Carefully inspect the area to locate all visible pieces of broken glass. Pay attention to corners, crevices, and hard-to-reach areas.
-
Sweep or Vacuum: Use a dustpan and brush or a vacuum cleaner with a HEPA filter to pick up larger pieces of broken glass. Be cautious and avoid pushing or grinding the glass into the surface.
-
Use a Bright Light: Shine a bright light at a low angle to help identify any remaining glass shards or slivers that may be difficult to see.
-
Use a Sticky Surface: Apply a sticky material, such as duct tape or a lint roller, to pick up any remaining small pieces of glass.
-
Discard Properly: Place all collected glass in a puncture-resistant container, such as a thick plastic bottle or a sharps container, for proper disposal.
-
Clean the Surface: After removing all visible glass, thoroughly clean the affected area with a disinfectant solution and a microfiber cloth or mop.
Step-by-Step Guide for Removing Sharps
Here is a step-by-step guide for removing sharps:
-
Identify the Sharps: Carefully inspect the area and locate all visible sharps, such as needles, blades, or other sharp objects.
-
Use a Sharps Container: Obtain a puncture-resistant sharps container specifically designed for the safe disposal of sharps.
-
Pick Up with Tongs: Use a pair of sturdy tongs or pliers to pick up each sharp object and place it directly into the sharps container.
-
Avoid Handling with Hands: Never attempt to pick up sharps with your bare hands, even if wearing gloves.
-
Discard Properly: Once all sharps have been collected, seal the sharps container and dispose of it according to local regulations for biohazardous waste.
-
Clean the Surface: After removing all visible sharps, thoroughly clean the affected area with a disinfectant solution and a microfiber cloth or mop.
Special Considerations
In certain situations, additional precautions may be necessary:
-
Biohazardous Materials: If the broken glass or sharps are contaminated with bodily fluids or other biohazardous materials, seek professional assistance for proper cleanup and disposal. Our biohazard cleaning service is equipped to handle such scenarios safely.
-
Large Quantities: For large-scale incidents involving significant amounts of broken glass or sharps, it may be advisable to hire a professional cleaning service to ensure a thorough and efficient cleanup.
-
Public Areas: If the incident occurred in a public area, such as a park or sidewalk, notify the appropriate authorities to ensure public safety and proper cleanup procedures.
Disposal and Recycling
After the cleanup process is complete, it is important to properly dispose of or recycle the collected materials:
-
Broken Glass: Wrap or contain the broken glass securely and dispose of it according to local regulations for non-hazardous waste.
-
Sharps: Sealed sharps containers should be disposed of as biohazardous waste through authorized medical waste disposal channels.
-
Recycling: If the broken glass is not contaminated, consider recycling it if your local recycling facility accepts glass.
Conclusion
Removing broken glass and sharps requires careful attention to safety protocols and proper procedures. By following the steps outlined in this guide and taking the necessary precautions, you can effectively and safely clean up these hazardous materials. Remember, if you encounter a situation that seems beyond your capabilities or comfort level, it is always best to seek professional assistance. Our team at AdamCleaning.uk is equipped and trained to handle biohazardous materials, including broken glass and sharps, ensuring a thorough and safe cleanup process.


