Introduction
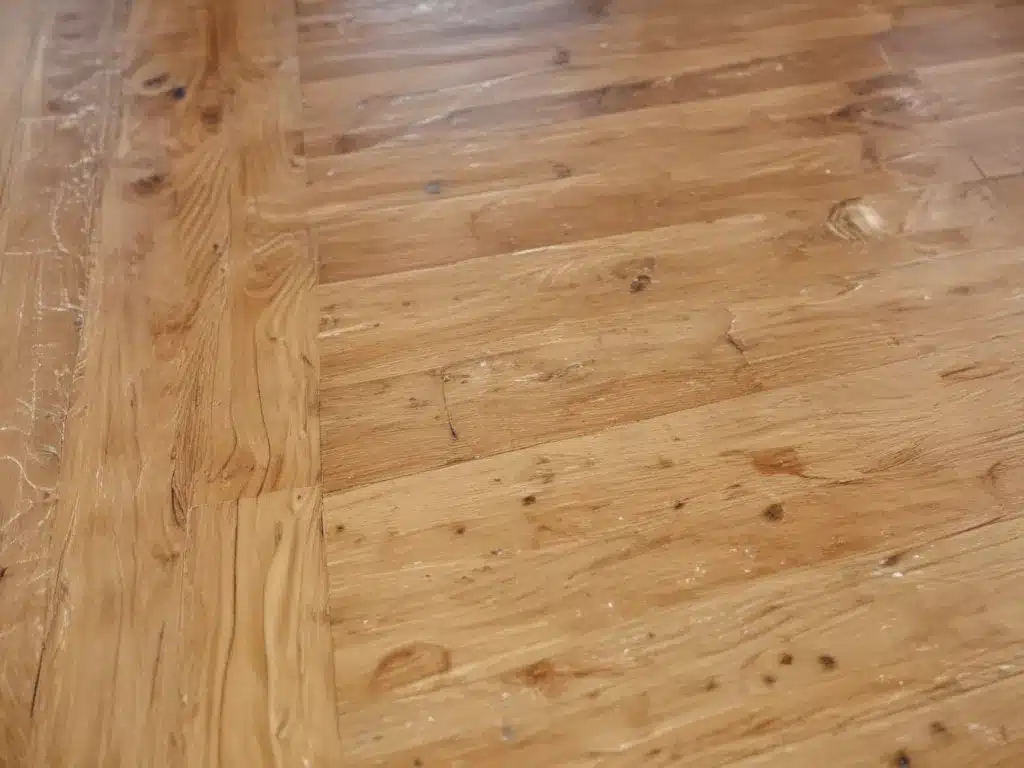
Hardwood floors have a natural beauty that can instantly elevate the look and feel of any room. However, maintaining their shine and luster requires regular care and attention. In this comprehensive tutorial, I will guide you through the process of washing and waxing your hardwood floors using a DIY approach. By following these steps, you can achieve a stunning and long-lasting shine while saving money on professional cleaning services.
Preparing for the Task
Before we delve into the washing and waxing process, it’s essential to gather the necessary supplies. The following items are required:
- Broom or vacuum cleaner
- Microfiber mop or cleaning pad
- Hardwood floor cleaner (pH-neutral and specifically designed for hardwood floors)
- Hardwood floor wax or polish
- Soft cloths or paper towels
- Bucket or cleaning solution dispenser
Ensure that you have all the supplies ready before starting the process. Proper preparation will make the task smoother and more efficient.
Step 1: Sweeping or Vacuuming
The first step in the process is to thoroughly sweep or vacuum the hardwood floors. This step removes any loose dirt, dust, or debris that could potentially scratch the floor during the washing process. Pay special attention to corners and hard-to-reach areas, as these spots tend to accumulate more dirt over time.
Step 2: Cleaning the Floors
Once the floors are free of loose debris, it’s time to start the cleaning process. Here’s how you can do it:
- Dilute the hardwood floor cleaner according to the manufacturer’s instructions.
- Dip the microfiber mop or cleaning pad into the cleaning solution, ensuring that it is damp but not dripping wet.
- Start mopping the floor in small sections, working your way across the room in a systematic pattern.
- Apply gentle pressure and make sure to clean in the direction of the wood grain.
- Rinse the mop or pad frequently to prevent the spread of dirt and grime.
- For stubborn stains or heavily soiled areas, use a soft cloth or paper towel dampened with the cleaning solution and gently scrub the area.
Remember, it’s crucial to use a hardwood floor cleaner specifically designed for this purpose. Regular household cleaners or harsh chemicals can damage the finish and dull the wood’s natural shine.
Step 3: Drying the Floors
After cleaning, it’s important to allow the floors to dry completely before proceeding to the next step. This typically takes between 30 minutes and an hour, depending on the humidity levels and ventilation in the room. Use fans or open windows to facilitate faster drying if necessary.
Step 4: Applying the Wax or Polish
Once the floors are completely dry, it’s time to apply the hardwood floor wax or polish. This step helps to protect the wood and enhance its natural shine. Here’s how to do it:
- Ensure that the floors are free of any dust or debris before applying the wax or polish.
- Apply a thin, even layer of wax or polish to a small section of the floor using a clean, soft cloth or applicator pad.
- Work in the direction of the wood grain, spreading the wax or polish evenly.
- Allow the wax or polish to dry according to the manufacturer’s instructions, typically between 20 and 30 minutes.
- Once the wax or polish has dried, buff the area using a clean, dry cloth or buffing pad to bring out the shine.
- Repeat the process for the remaining sections of the floor, ensuring that there are no overlaps or missed areas.
Remember, applying too much wax or polish can leave a sticky or uneven finish, so it’s essential to follow the manufacturer’s instructions carefully.
Step 5: Maintenance and Care
To maintain the shine and protect your hardwood floors, it’s recommended to follow these guidelines:
- Sweep or vacuum regularly to remove loose dirt and debris.
- Use felt pads or furniture sliders under chairs and tables to prevent scratches.
- Avoid walking on the floors with shoes, especially those with hard or rough soles.
- Place mats or rugs in high-traffic areas to reduce wear and tear.
- Wipe up spills immediately to prevent staining or damage.
- Repeat the washing and waxing process every 6 to 12 months, depending on the level of foot traffic and wear.
By following these simple steps and maintaining a regular cleaning routine, you can keep your hardwood floors looking beautiful and shining for years to come.
Conclusion
Washing and waxing hardwood floors is a rewarding DIY project that can save you money while ensuring the longevity and beauty of your floors. By using the right techniques and products, you can achieve professional-quality results without the need for expensive services. Remember to follow the steps carefully, work in small sections, and maintain a consistent cleaning routine for best results.
If you encounter any particularly challenging stains or require professional biohazard cleaning services, don’t hesitate to reach out to Adam Cleaning. Their team of experts specializes in biohazard cleaning, ensuring a safe and thorough cleaning process for your home or business.


