Introduction
Do you struggle with persistent soap scum buildup in your shower? Have you tried countless commercial cleaners, only to be left frustrated with lackluster results? Fear not, my friend! In this comprehensive guide, I will unveil a powerful, homemade shower cleaner that effortlessly banishes even the most stubborn soap scum, restoring your shower to a sparkling condition. Say goodbye to harsh chemicals and embrace the simplicity and effectiveness of natural ingredients.
What is Soap Scum?
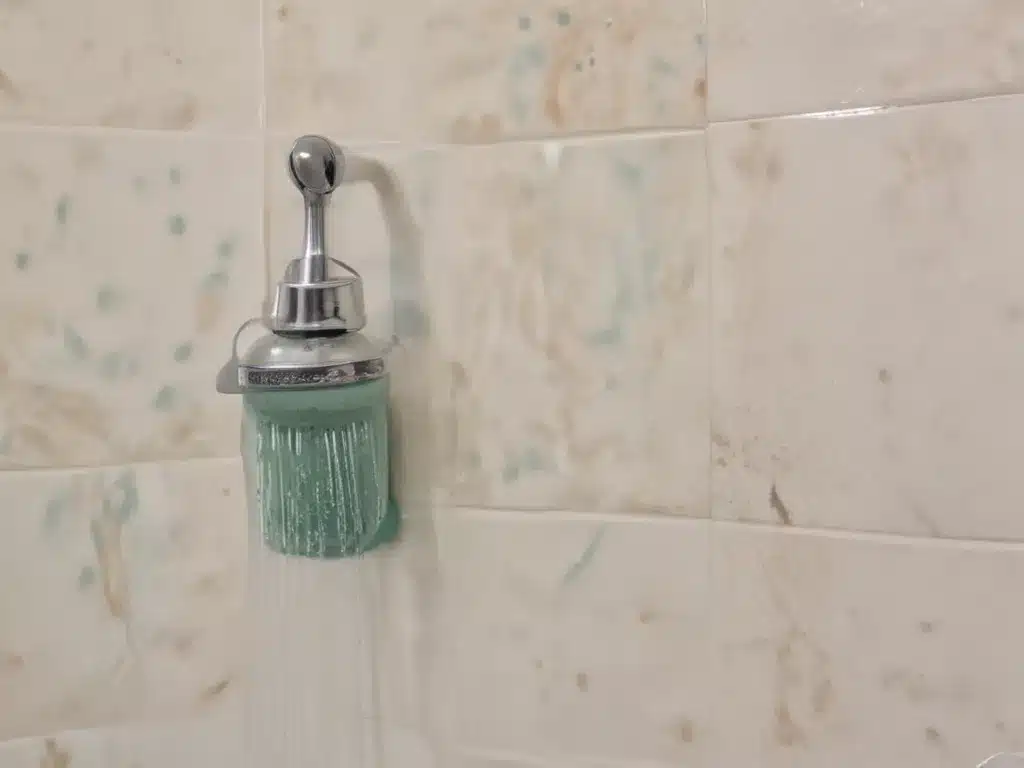
Before we delve into the recipe for our DIY shower cleaner, let’s understand the culprit we’re combating: soap scum. Soap scum is a filmy, unsightly residue that accumulates on shower surfaces due to a combination of soap, hard water minerals, and body oils. This tenacious buildup can be challenging to remove, often requiring elbow grease and potent cleaners.
The Power of Natural Ingredients
Our homemade shower cleaner harnesses the cleaning prowess of simple, readily available ingredients found in most households. The star players in this formulation are:
- Baking Soda: A natural abrasive that gently scrubs away soap scum without damaging surfaces.
- White Vinegar: An acidic powerhouse that cuts through grime and dissolves mineral deposits.
- Essential Oils (Optional): For a fresh, invigorating scent and added antibacterial properties.
The Recipe
To create your DIY shower cleaner, you’ll need the following ingredients:
- 1 cup of baking soda
- 1/2 cup of white vinegar
- 10-15 drops of essential oil (e.g., lemon, tea tree, or eucalyptus) (optional)
- A spray bottle or container with a tight-fitting lid
Here’s how you can prepare your homemade soap scum remover:
-
Mix the Ingredients: In a bowl, combine the baking soda and vinegar. The mixture will fizz and bubble – this is a natural reaction between the acidic vinegar and the alkaline baking soda. If using essential oils, add them now and stir well.
-
Transfer to a Container: Once the fizzing subsides, transfer the mixture to your spray bottle or container.
-
Shake Well Before Use: Whenever you’re ready to use your DIY shower cleaner, give the bottle a good shake to ensure the ingredients are well-combined.
Application and Usage
Now that you’ve created your powerful homemade cleaner, it’s time to put it to work! Here’s how to use it effectively:
-
Spray or Apply the Cleaner: Generously spray or apply the DIY shower cleaner to the affected areas, ensuring thorough coverage.
-
Let it Work its Magic: Allow the cleaner to sit for 5-10 minutes. This gives the vinegar and baking soda time to break down the soap scum and mineral deposits.
-
Scrub and Rinse: Using a non-abrasive sponge or cloth, gently scrub the treated areas. You’ll be amazed at how easily the soap scum lifts off! Rinse thoroughly with clean water.
-
Repeat if Necessary: For particularly stubborn buildup, you may need to repeat the process. Don’t be discouraged – persistence is key!
Maintain a Clean Shower
To keep your shower sparkling and prevent future soap scum buildup, consider incorporating these simple tips into your routine:
-
Squeegee After Every Use: After showering, take a few seconds to squeegee the walls and doors. This simple step prevents water from drying and leaving mineral deposits.
-
Ventilate Well: Proper ventilation is crucial for reducing moisture and mildew growth. Open windows or use exhaust fans during and after showering.
-
Regular Cleaning: Make a habit of using your DIY shower cleaner once a week or as needed to stay ahead of soap scum buildup.
-
Invest in a Water Softener: If you live in an area with hard water, consider installing a water softener to reduce mineral deposits and extend the life of your cleaning efforts.
Cost-Effective and Eco-Friendly
Not only is this DIY shower cleaner remarkably effective, but it’s also incredibly cost-effective and environmentally friendly. By using basic household items, you’ll save money on expensive commercial cleaners and reduce your household’s chemical footprint. Plus, with no harsh fumes or toxic ingredients, you can breathe easy while enjoying a spotless shower.
Professional Cleaning Services
While this DIY shower cleaner is a fantastic solution for routine cleaning, sometimes a deep, professional cleaning is necessary. If you find yourself overwhelmed by stubborn soap scum or facing a daunting cleaning task, consider enlisting the services of a reputable cleaning company like Adam Cleaning. Their team of experienced professionals is equipped with specialized tools and techniques to tackle even the toughest cleaning challenges, ensuring a thorough and efficient job.
Conclusion
Embrace the power of natural ingredients and bid farewell to unsightly soap scum with this DIY shower cleaner. Not only will you enjoy a sparkling clean shower, but you’ll also save money and reduce your environmental impact. With a little elbow grease and regular maintenance, your shower will remain a refreshing oasis for years to come. So, roll up your sleeves, mix up a batch of this miraculous cleaner, and get ready to say goodbye to soap scum for good!


